
No-Sew Snowman Pillow Idea

Adding seasonal decor, like this fun no-sew snowman pillow, is for sure one of my favorite crafts to make. It’s a fast DIY since this one doesn’t need your Cricut. You could cut the face of the snowman out with the HTV but I just freehand drew the nose and eyes. Let’s get started.
Disclosure: Some links on this page are affiliate links – meaning if you click through and make a purchase I may receive a commission at no additional cost to you. For more information, read our full affiliate disclosure here.

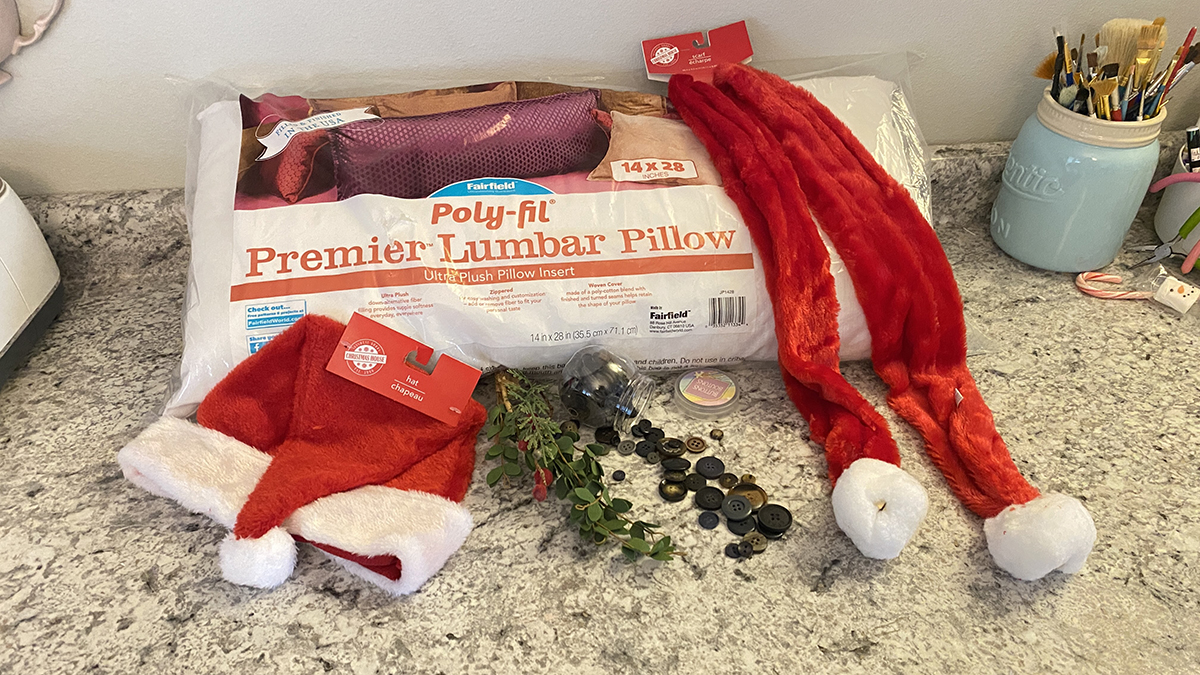
No-Sew Snowman Pillow Supplies
This is a sponsored post as I was gifted the pillow insert as part of a Pillow Party from Fairfield. See the full pillow party details here.
- Fairfield World’s Lumbar Pillow Insert (14×28-inches)
- Hat & Scarf (mine are from the Dollar Tree)
- Small & Large Black Buttons (also from the Dollar Tree)
- Orange Felt – for the Nose
- Black HTV Vinyl, black felt, or Black Cardstock – for the Eyes
- Embellishments for the Hat (Optional)
- Adhesive (I used hot glue for the buttons)

No-Sew Snowman Pillow – DIY Christmas Decor
This no-sew snowman pillow is really easy. I wanted to walk you through the steps I used to make him and help guide you to make one too. I do encourage you to get creative, have fun, and remember – there are no mistakes when crafting, only room for embellishments.
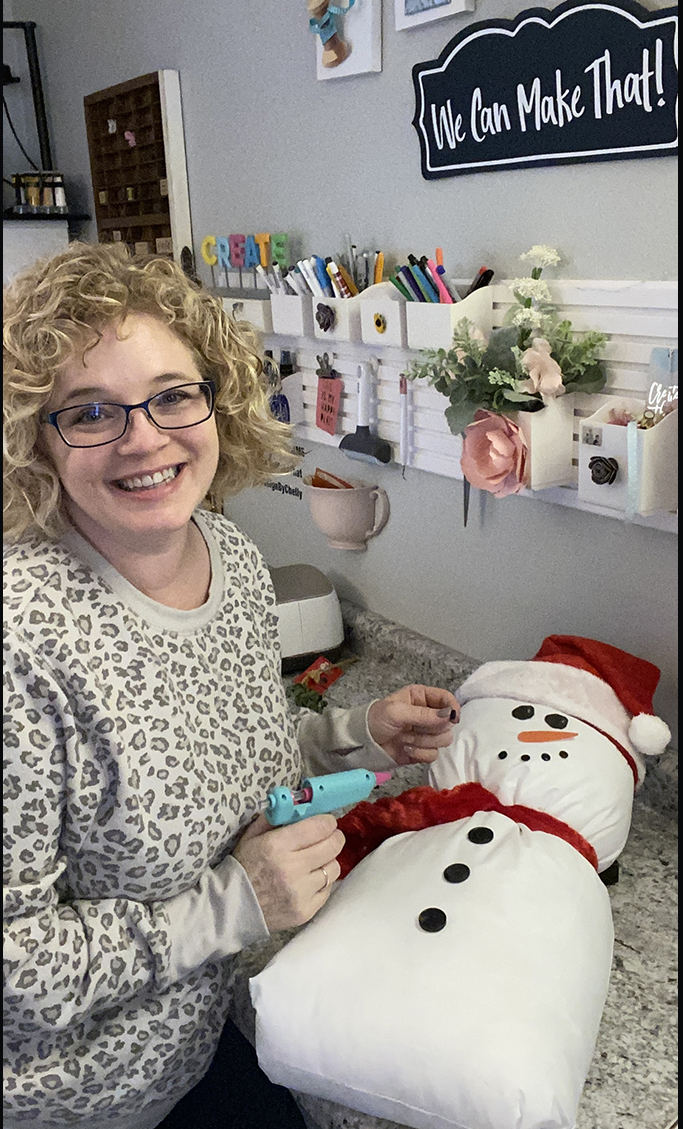
Creating crafting decor items are one of my favorite things to do. Along with card making and chatting about small business marketing.
How to assemble your No-Sew Christmas pillow
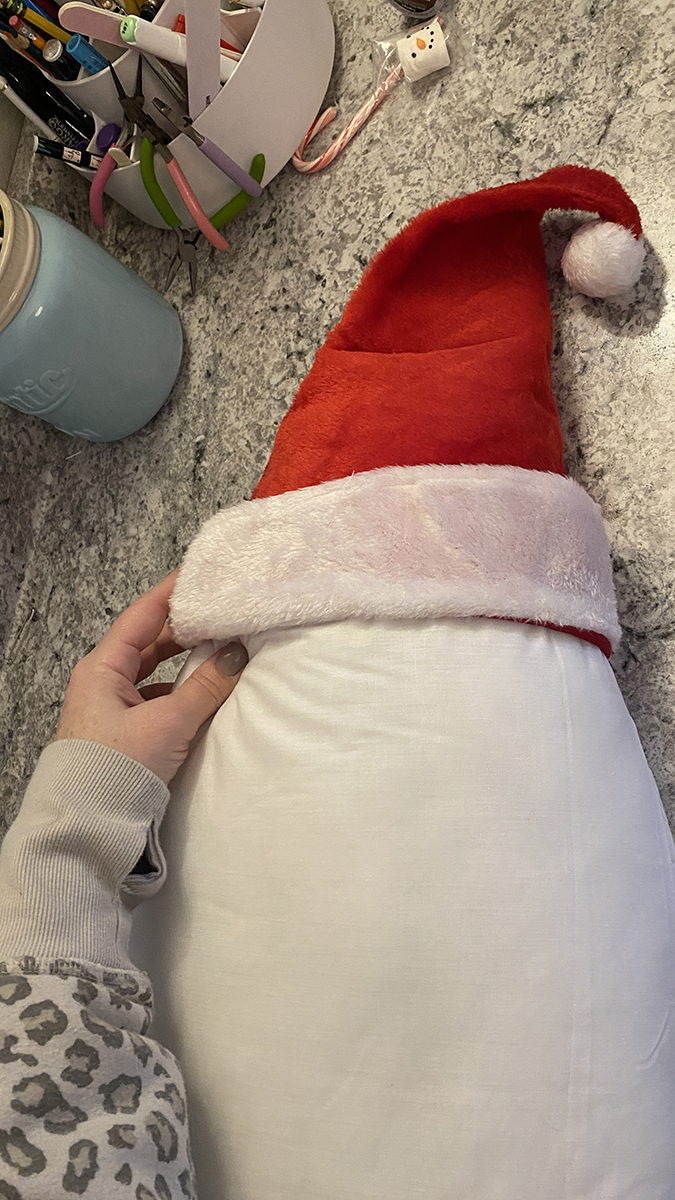
Step One: Add the Hat and Scarf
I did bring my pillow form to the Dollar Tree to find one that fits. I wanted a cozy knit hat but ours didn’t have any with matching scarfs. At the second Dollar Tree, I visited is when I found this fun Santa hat and scarf. They fit perfectly on the pillow as well. Win-win!
To begin, I stood my Fairfield World’s Lumbar pillow insert up vertically so I could better see how he will look when I’m all done and he’s sitting on my sofa.
Then simply stuffed the top of the pillow into the hat. My hat was a perfect fit, it was just snug enough to stay on without any help. If yours is too big I would suggest pinching or folding over the access material in the back and securing it with a safety pin.
The scarf is just as easy. Simply tie the scarf around your pillow. Adding it about 2/3 the way up on the pillow makes him proportionate with his head and body.
This Santa-looking scarf was just as easy as the hat. I tied it like I would do my own scarf and it stayed perfectly.
Make it tight to squish the pillow and create an indent on the pillow form to make his neck obvious. This creates a round looking head-shape for your no-sew snowman pillow.

Step Two: Adding the Nose
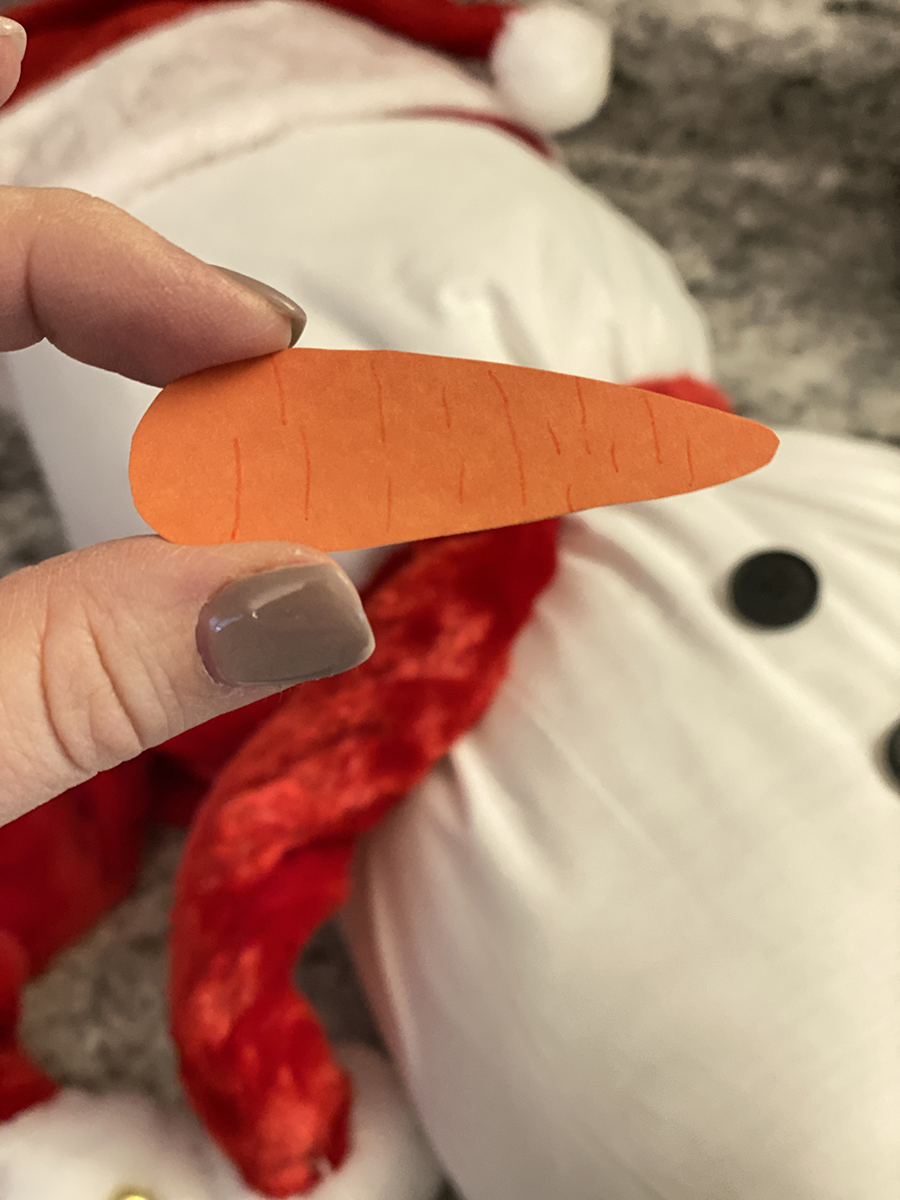
No snowman is complete without a carrot nose, right? I used a paper nose for this blog post but I do plan to grab some orange felt next time I’m out.
I drew the carrot shape free hand and cut it out. Secure your carrot nose with fabric or hot glue. Don’t forget to add some lines on the carrot to make it looks more real. Using a darker orange color is good too. If you don’t have it on hand you can always use black or a brown Sharpie® on your felt or paper.
Carrot placement idea: For some reason, it think he looks “happier” when the carrot is pointing up. But there’s no right or wrong way! If you need ideas search Pinterest for “Snowman Faces” and you’ll find lots of ideas. But wait… keep reading to learn about the Joann’s $100 gift card *giveaway!
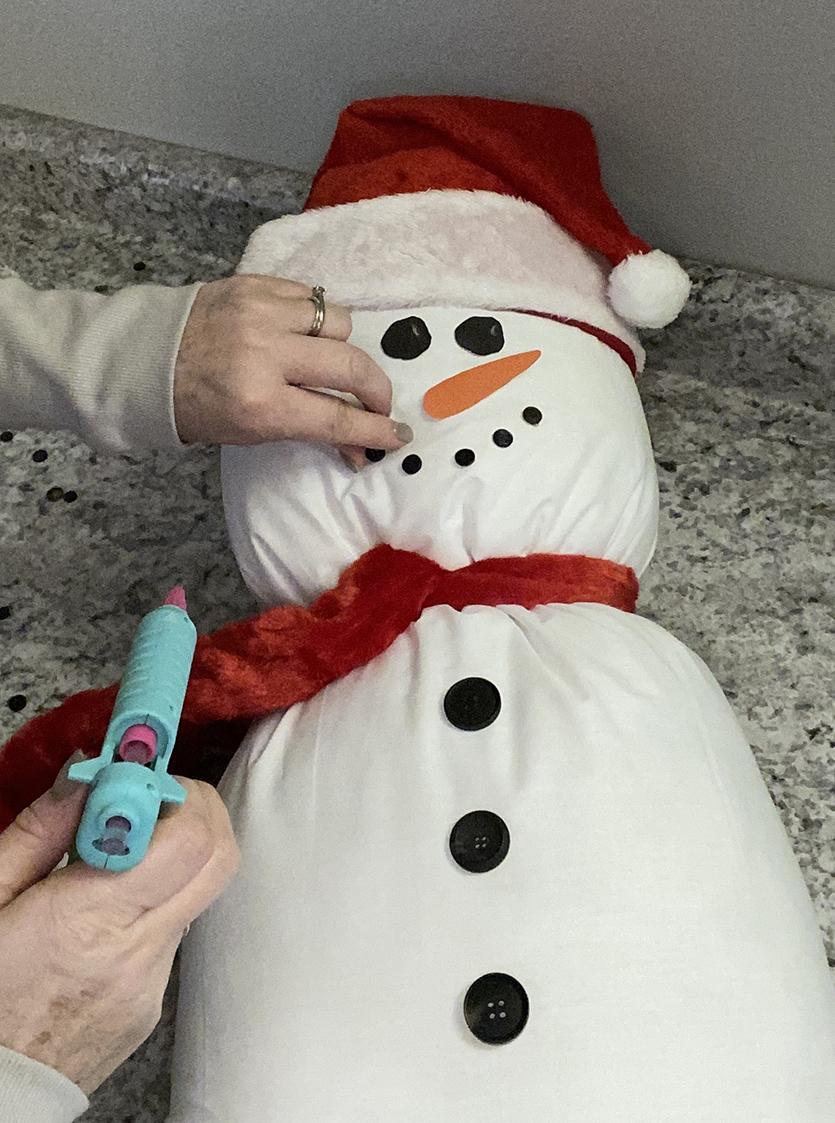
Step Three: Adding Buttons
Lay your snowman flat and begin laying the buttons where you think they should go. This helps you decide the placement for the buttons before you begin gluing them down.
When you glue the mouth buttons I started in the center, then did each corner. Filling in the rest helps it stay how you envisioned it.
He’s turning out so cute! And so fast – it’s taking me longer to type the blog post than it did to create him. haha. Plus, I can’t stop signing, Let’s go Build a Snowman from Frozen – Anyone else?
Step Four: Adding the Eyes
Eyes really add life to your snowman. Spend some time to make them speak the message. usually with a snowman is a bright happy day.
I cut mine out of paper again, but I plan to use felt next time.
Eye ideas for your no-sew snowman pillow
- Goggly eyes (glue on)
- HTV Vinyl (heat press on)
- Felt Shapes (glue on)
- Paint them on!
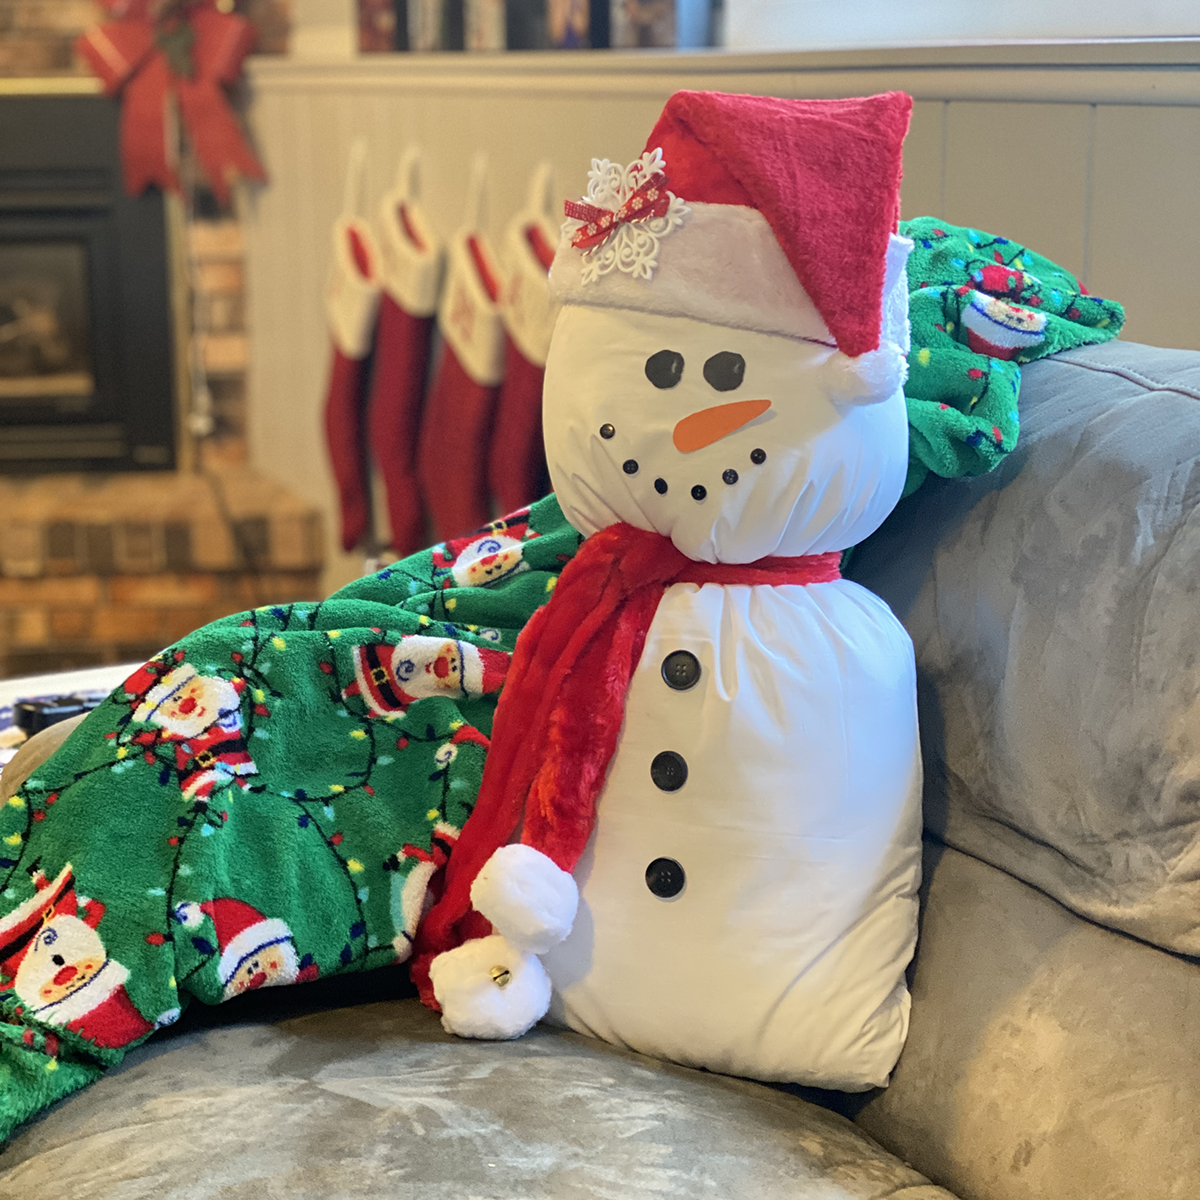
Step Five: Adding Embellishments
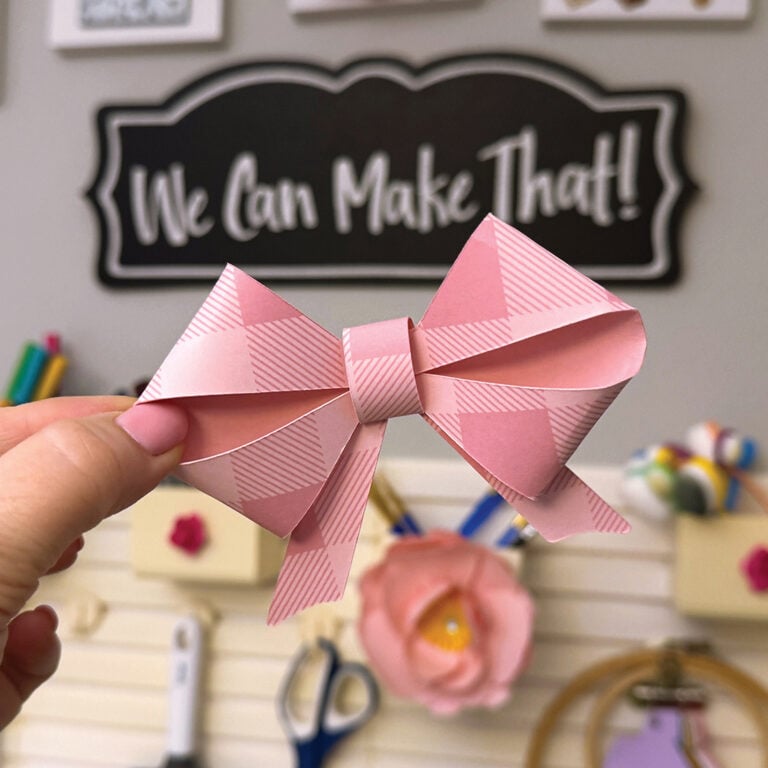
I played with some winter-looking greenery but added a fun felt snowflake. There’s usually always room for one of these messy bows too! I made a small one from some ribbon scraps for the snowflake I added.

He doesn’t even need anything else if you like him more simple. I left off the Christmas greenery to leave him out through February.
I love having a crafting party. The online space is no different. This recycled sweater idea might be my favorite!

Love it I never imagine that it could be down with a pillowcase I am going to try to make one thank you so much good job
Love this will make it
That is so cute… at work (a long time ago LOL) I used a white trash bag of shredded paper and did it with the basics like you are doing here. Your pillow is adorable, and I know… I LOVE snowmen!
I love this, easy yet cute and not kindergarten cute lol.
How do you get the snowman to stand up
The pillow was new and dense, so he just stood up on his own. I think tying the scarf made his lower half more sturdy as well and helped him stand up.
I love this idea….can’t wait to go get all the items I don’t have to make it.
Thanks,
Kelly
I love snowmen. This one is really cute.
If I won the gift card, I would have so much fun buying fabric, thread, yarn, paint….I love crafts of all kinds!!!!
I MAKE AND DONATE PILLOWCASES TO LOCAL HOSPITAL FOR KIDS DAY SURGERIES. IT BRINGS THEM SO MUCH COMFORT & ALTHOUGH I AM ON A FIXED INCOME I LOVE TO DO WHAT I CAN TO MAKE THEIR SURGERY A LITTLE LESS SCARY. I WOULD USE THE $ TO BUY MORE MUCH NEEDED FABRICS
I LOVE Snowmen!! With the gift card I’m sure I would buy more supplies for my Cricut…or a Cricut Maker
I would buy jewelry making and sewing supplies to replace the ones lost in our recent move
I love the pillows. Not sure what I would buy, There are so many things in the store to choose from.
I would use the gift card to buy some holiday home decor projects.
If i won the JoAnn’s giveaway, I would buy lots of wood blanks, yarn, and cute beads!
I would put it towards a mug press!
I would buy some yarn for my mom.
I would love to pick out new fun fabric to make pillows for my Etsy shop
Fabric to make curtains for my craft room.
My comment was supposed to read supplies to use with my Cricut.
I would buy craft supplies to use with my activity.
If I won I would buy items for miniatures to help finish my doll house.
Love this pillow idea and so easy and not expensive. I would use my gift card to purchase materials to make my grandchildren costumes (they love dressing up and playing super heros) and clothing.
If I win the $100 gift card I would buy lots of craft supplies!
I’d buy cricut supplies
I would buy more things to make gifts and decorations!!
I would use the money to upgrade my Cricut to a newer one. Thanks for the chance!! Happy Holidays!
I would buy fabric to make more dog bandanas!
If I’d win the $100 gift card from Joann’s I’d use it to buy supplies for my crafting business. I’m just starting out my business and still in the process of buying supplies and equipment.
I would purchase craft supplies
I’m not exactly sure where we’re supposed to leave our comment on what we’d do if we won the giveaway so I figured I’d play it everywhere I can write. 😬😬
If I win the giveaway for Joanns I’d use it to purchase some new crafting supplies for my daughter for Christmas. She loves making jewelry with beads. 💜
This is a super cute craft! And my kids will love to help!
cute cute idea….perfect for my grand littles!! thank you for the idea