Embroidery Hoop Cricut Craft – Easy DIY Wall Decor
This embroidery hoop Cricut craft is a fun Cricut craft that works beautifully as DIY home decor and can be customized in creative ways for different seasons, rooms, or gift ideas. If you enjoy beginner-friendly Cricut project ideas that don’t require a lot of supplies or time, this is a great way to use your Cricut machine for something both decorative and practical.
Disclosure: Some links on this page are affiliate links – meaning if you click through and make a purchase I may receive a commission at no additional cost to you. For more information, read our full affiliate disclosure here.
This project uses an embroidery hoop, a piece of fabric, ribbon, and heat transfer vinyl to create a lightweight wall hanging. You can keep it simple or dress it up with decorative embellishments, making it a unique way to add personality to your space.
It also works well as an embroidery hoop wreath (for an inside door maybe) or even an embroidery hoop ornament if you scale it down to a smaller size.
This is a great way to use Cricut iron-on in a less expected iron-on project, especially if you’re looking for unique Cricut project ideas beyond shirts and totes.
Watch the Video Tutorial

Supplies Needed for This Embroidery Hoop Craft
Here’s everything I used to make this embroidery hoop craft. You may already have most of these supplies on hand.
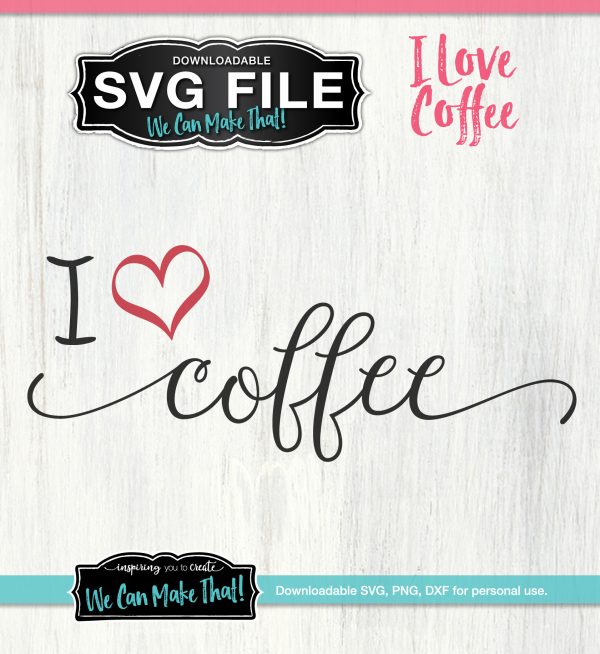
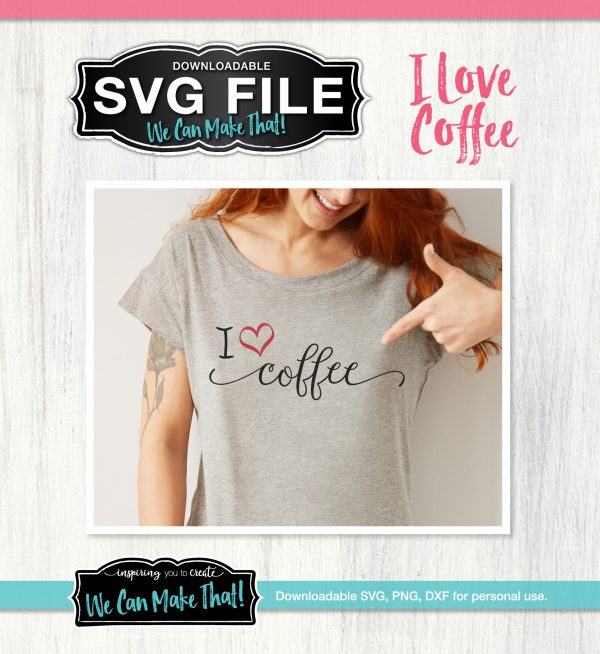
- Coffee Loves Me SVG file (or custom text design)
- Embroidery hoop (a larger hoop works well for wall decor)
- Piece of fabric (cotton, canvas, old shirt, or sweater)
- Ribbon that can handle heat
- Heat transfer vinyl (Siser EasyWeed HTV is my fav) the brand shown is not available anymore
- Cricut or cutting machine (I used a Cricut Maker)
- Cricut mat or cutting mat if needed for your machine
- EasyPress, Iron, or other heat press
- Hot glue gun and glue
- Scissors or craft knife
- Decorative embellishments (optional)
Tip: Avoid shiny ribbon. If it has a sheen, it usually won’t handle heat well.
Step-by-Step: How to Make an Embroidery Hoop Cricut Craft

1. Open Cricut Design Space and Prepare Your Design
- After cutting the design, weed out the excess vinyl.
- Start by opening Cricut Design Space. You may also see this referred to as Cricut design software, but it’s the same program.
- Open Cricut Design Space and create a new project.
- Upload your SVG file or create your own text directly in the software. If you’re adding a pocket or ribbon across the front, size the design so it sits comfortably in the center and not too close to the edges.
- Before cutting, mirror your design since this is a Cricut iron-on project using heat transfer vinyl.
- Place the vinyl shiny side down on your Cricut mat, load it into your Cricut machine, and select the appropriate iron-on setting.

More SVG Ideas for Cricut Projects
Not a coffee fan? or looking for more fun Cricut craft ideas? I have a growing collection of SVG files that work perfectly for home decor, gifts, and practical projects like this one.
More SVGs You Could Use for This Project
-
 Coffee Bar Cut File$3.00
 -
Coffee Loves Me Cut File$3.00
-
 I Heart Coffee SVG$3.00


WAIT LIST OPEN
2. Press the Heat Transfer Vinyl onto the Ribbon
You can use adhesive vinyl, but the HTV will hold up better. This all depends on your ribbon or material used for this step, too.
Once pressed, set the ribbon aside for assembly.
It’s much easier to press HTV onto the ribbon before assembling the embroidery hoop.

Lay the ribbon flat and find the center. Align your design and press it with your heatpress or iron according to the vinyl manufacturer’s instructions.

Some iron-on projects require a warm peel, while others need to cool first, so double-check before removing the carrier sheet.
SVG Club Sale!
Don’t miss out—join today and start downloading as much as you want, whenever you want. It’s time to take your crafting skills to the next level with unlimited SVG downloads!
***At Checkout, Use Code: SAVE$40CLUB – Enjoy this $40 off discount and renew each year at this special rate. Regular price is $99/year. Option to cancel before renewal.
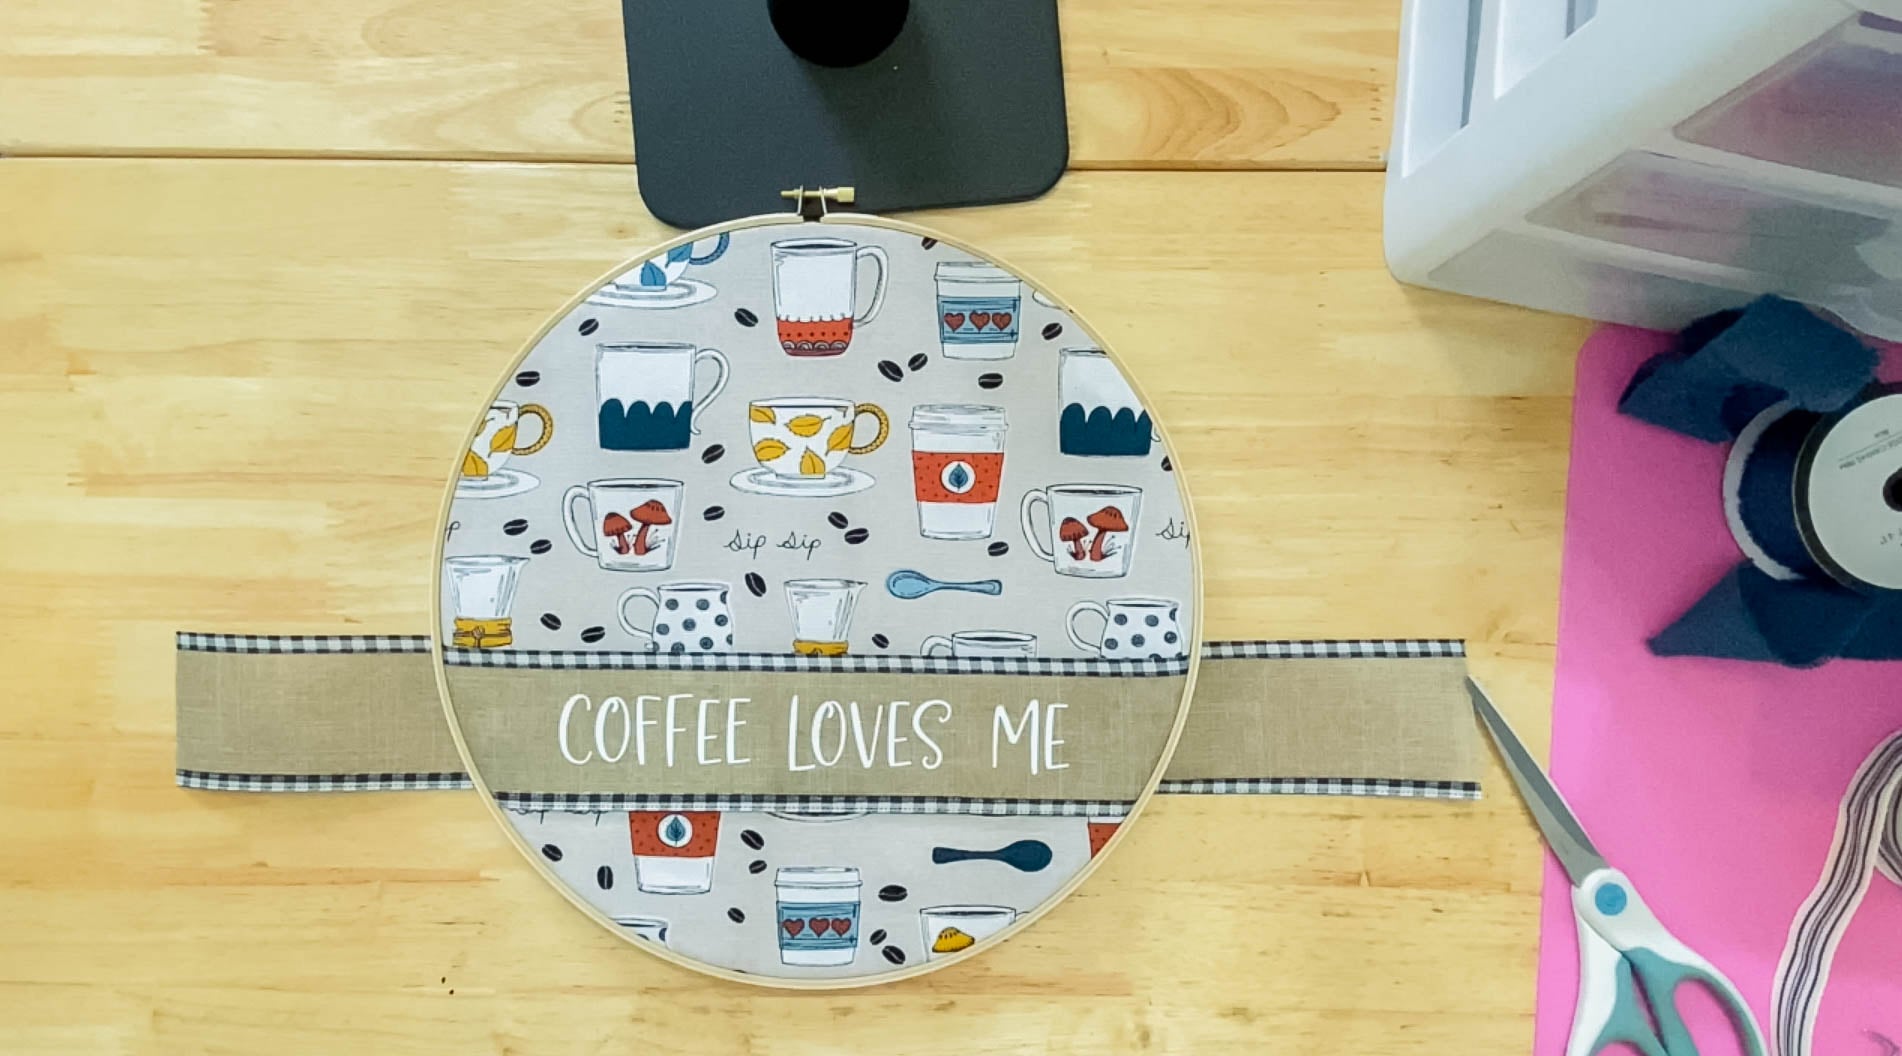
3. Prepare the Fabric and Embroidery Hoop
Lay your piece of fabric flat and decide how much you want visible on the front of the hoop.
Separate the embroidery hoop into two pieces, the inner ring and the outer hoop. Place the inner ring underneath the fabric and lay the outer ring on top.
Pocket Option
If you’re creating a pocket, fold the bottom edge upward and make sure the fold will sit below the top of the hoop so items won’t slip out later.

Take a moment to adjust the fabric so the pattern looks balanced. Tighten the outer ring and gently pull the fabric from the back of the hoop until the front is smooth.
Pay close attention to the top of the hoop so the fabric doesn’t shift during reassembly (see steps below).
4. Assemble the Embroidery Hoop Wall Hanging
Adding the Ribbon
Place the ribbon across the front of the embroidery hoop, and visually center it before securing anything. This is one of those steps where eyeballing works just fine. You want the design to feel balanced across the hoop, especially if you’re adding a pocket or planning to use this for mail or lightweight items.
In the video (above), you’ll see how the ribbon sits slightly lower on the hoop so it doesn’t crowd the edges and still leaves enough space around the design.
Now glue the ribbon in place with a tab of hot glue, or you can rely on the tension of the hoop itself to hold everything together.
If the fabric is pulled tight and the ribbon is positioned where you want it, the hoop does a great job of keeping it from shifting. This also gives you a little flexibility to adjust things before fully committing.

Securing the Hoop and Fabric
Once the ribbon and fabric are positioned, flip the hoop over to work on the back. You’ll likely have excess fabric extending beyond the outer hoop, and that’s completely normal. Trim away the excess fabric, leaving enough material to fold over neatly.
Cutting small slits around the edge of the fabric helps it lay flat against the back of the hoop, especially since you’re working with a round shape. These small cuts make it much easier to tuck everything in without bulky folds.

After trimming, use hot glue to secure the fabric to the back of the hoop. Work in sections, adding a thin line of glue and pressing the fabric down as you go. Make sure the fabric is pulled smooth before gluing so the front stays tight and clean.
Don’t rush this step. Taking a little extra time here helps everything stay flat and keeps the back of the hoop from looking bulky or uneven.
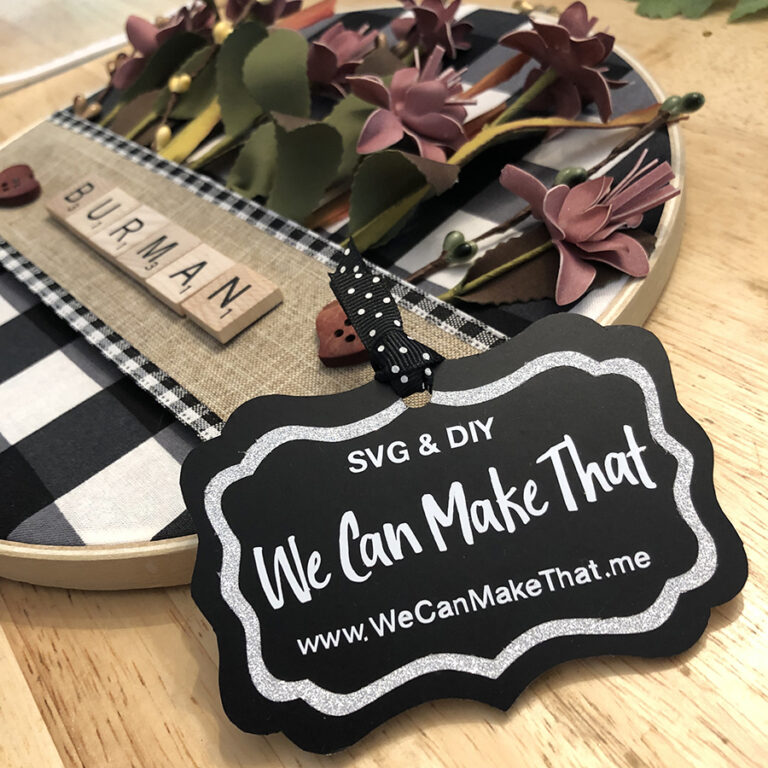
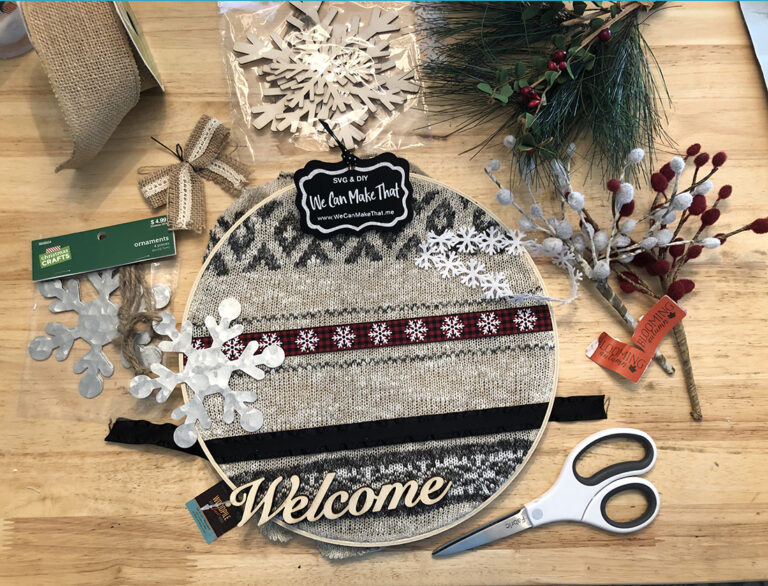
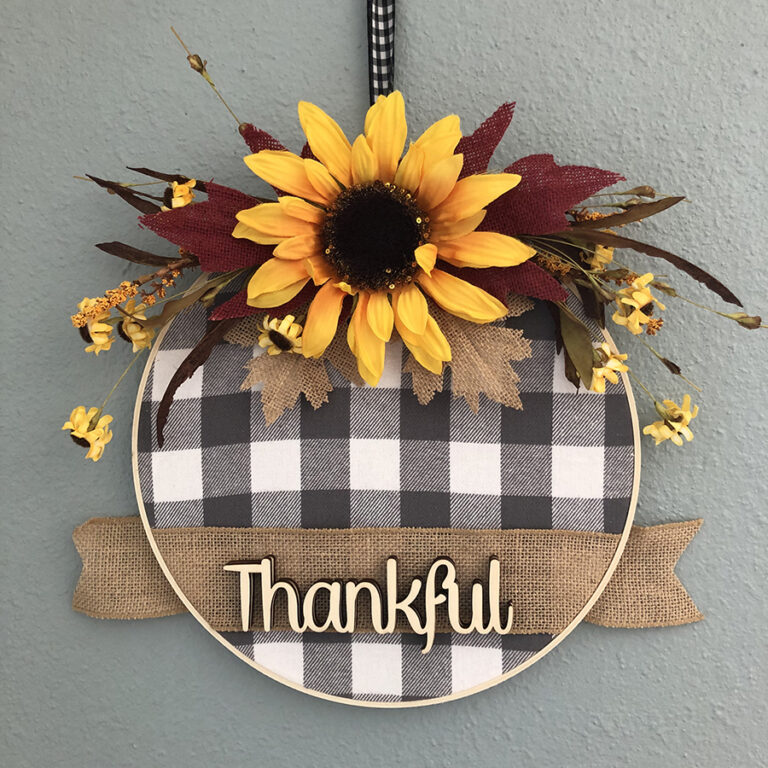
More Embroidery Hoop Craft Ideas
If you love this embroidery hoop craft, be sure to check out my other embroidery hoop projects. These use similar techniques and are a great way to use fabric scraps, ribbon, and iron-on vinyl in creative ways.
Finishing the Hoop
This part of the process makes a big difference in how finished the embroidery hoop craft looks once it’s hanging on the wall. A smooth back helps the hoop sit flat and gives the project a more polished look, even though it’s made with simple materials.

5. Add Decorative Embellishments (Optional)
This is where you can have fun with embroidery hoops that feel personalized.
Tuck in faux greenery, seasonal accents, or small decorative embellishments under the ribbon. This is a fun way to customize the project and turn it into decor that works year-round or for specific holidays.
If you plan to use the hoop for mail or lightweight items, you may want to skip bulky embellishments.

How to Hang Your Embroidery Hoop Craft
You can hang this project directly from the outer hoop or add a loop of ribbon at the top. Because it’s lightweight, it works well on a simple hook, Command Hook, or nail.
If you’re making an embroidery hoop ornament, use thinner ribbon and hang it with twine or string.
And if you love crafting, come hang with me at my free group on Facebook!
Connect with Chelly!