
Embroidery Hoop DIY to use all year long


Disclosure: Some links on this page are affiliate links – meaning if you click through and make a purchase I may receive a commission at no additional cost to you. For more information, read our full affiliate disclosure here.
Make home decor personalized with Scrabble Tiles
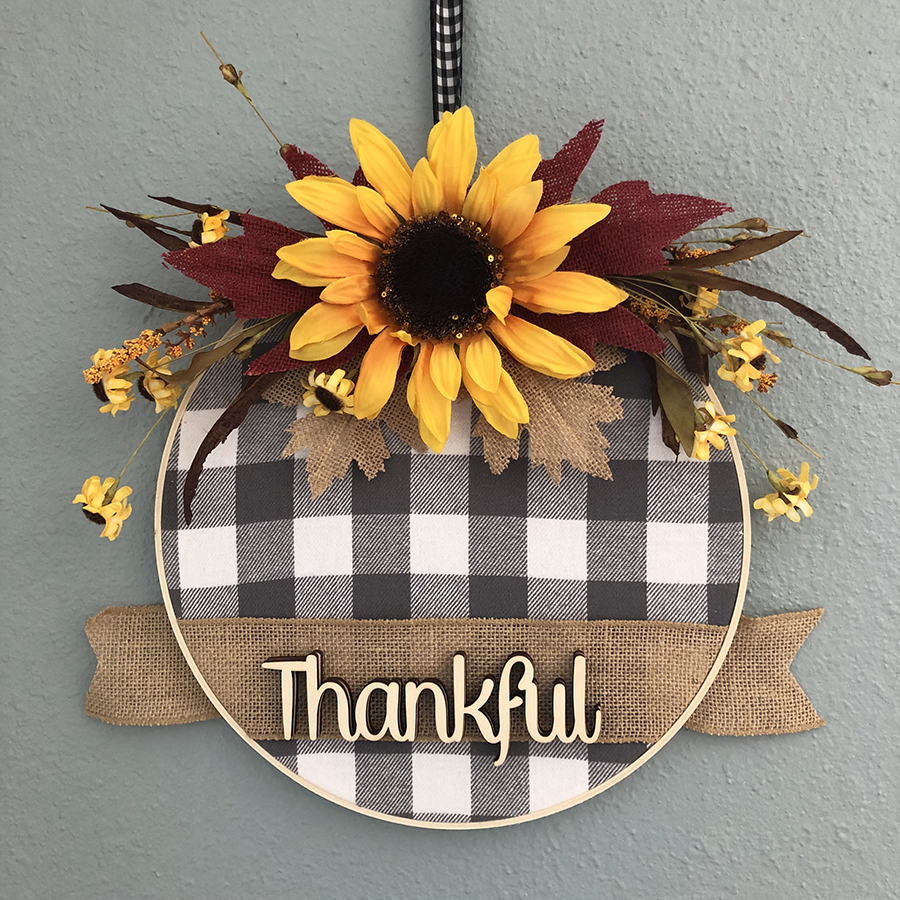
If you love the embroidery hoop wreath look but want to make one that can stay up ALL YEAR, then this is the one. It’s so cute!!
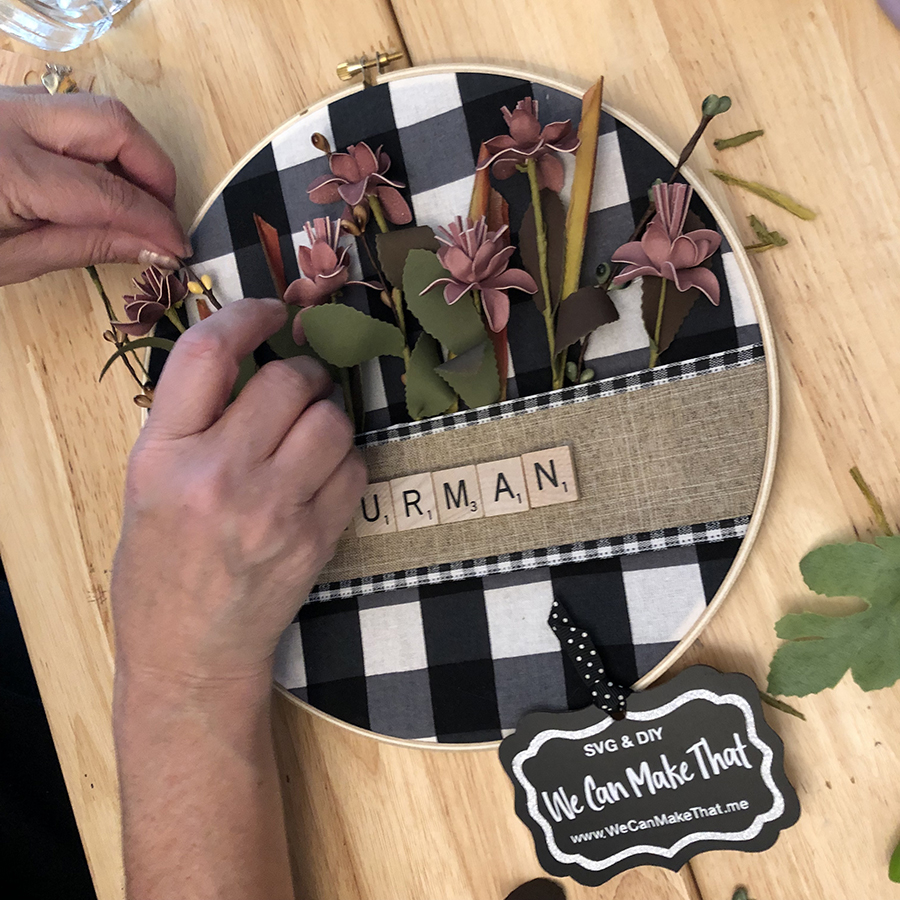
I love a good craft day with my girls. Check out the one my friend Krista made. She added her last name with Scribble Tiles and this one can stay up all year long.

Assemble Your Embroidery Hoop
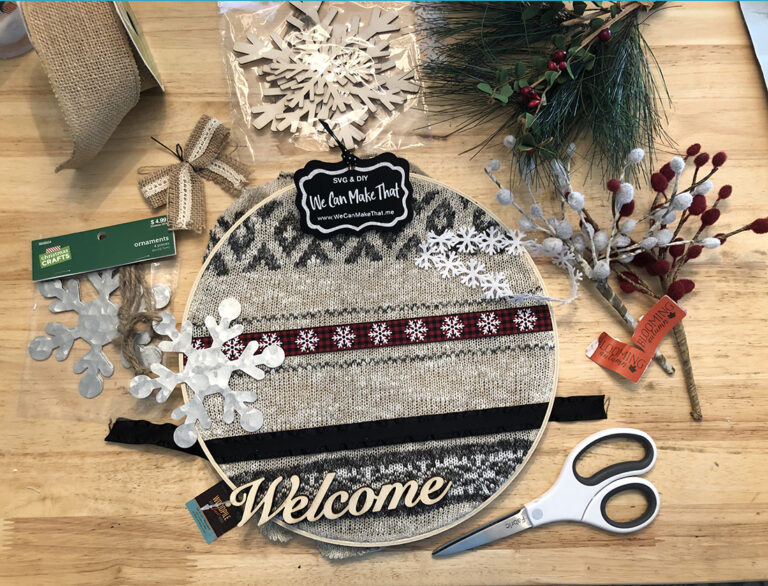
1. Add material: Align the pattern over the back hoop.
2. Embelishments: Add ribbons now if you want (here is where I added my burlap ribbon).
3. Tighten hoop: Place the top hoop on over and tighten almost completely tight.

4. Adjust: Tug the fabric and ribbon to align and finish tightening the hoop.
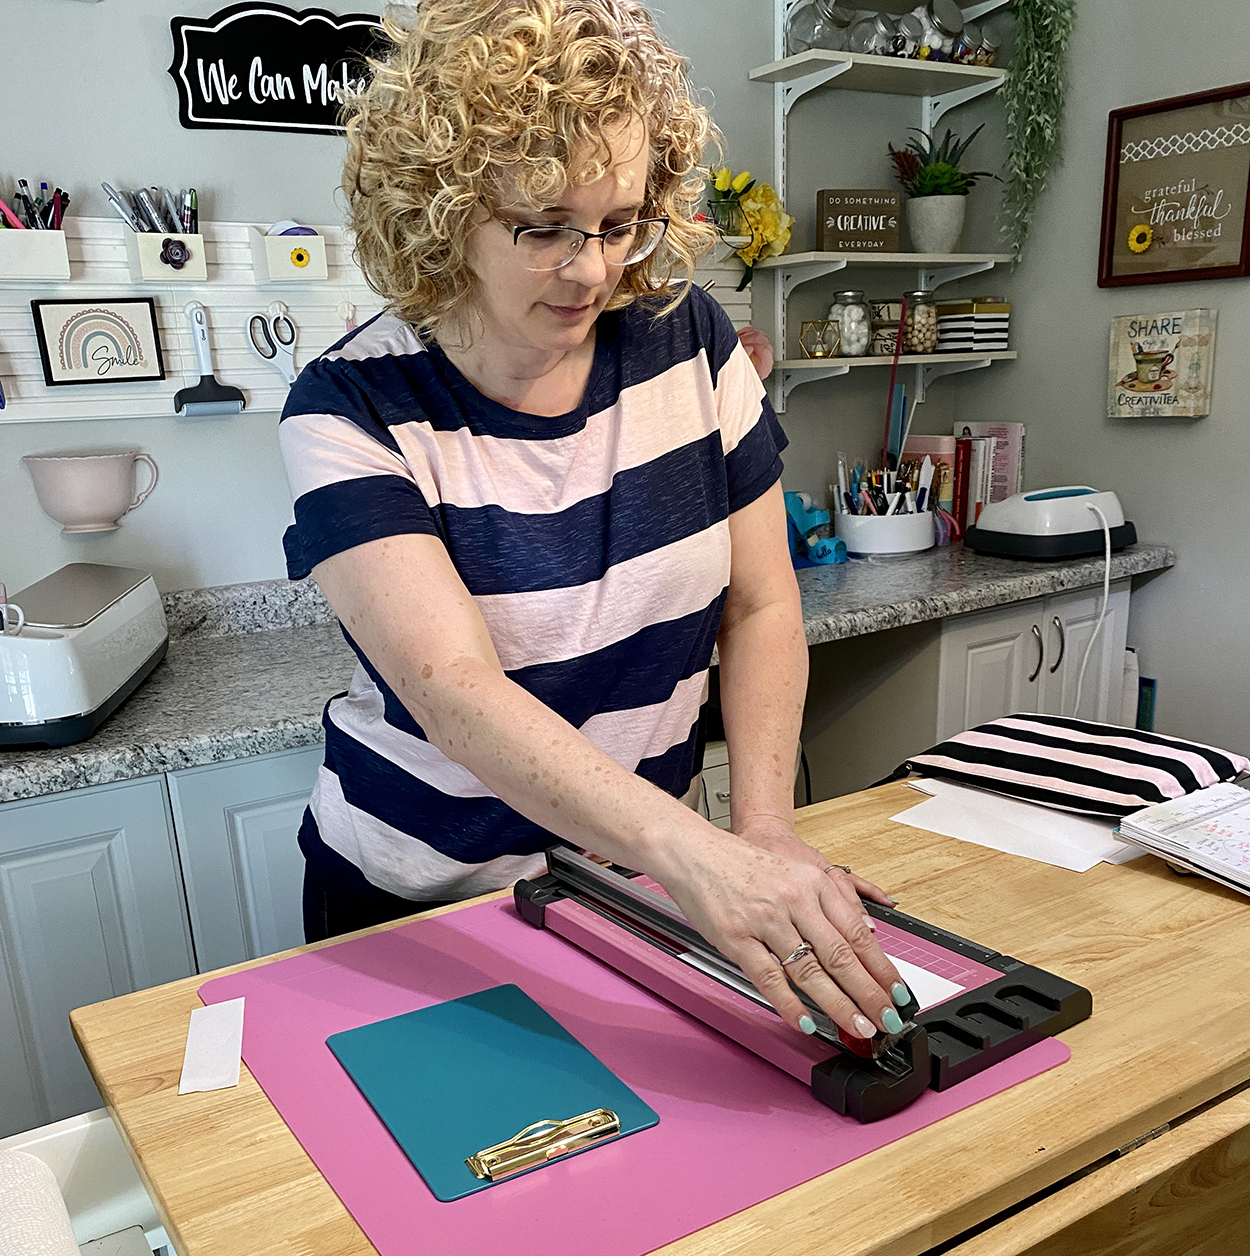
5. Finishing the back: Flip over and trim so excess fabric to about 1/2-1” long.
- Hot glue the excess fabric to the embroidery hoop. This holds the fabric down so it hangs flat onto your wall.

6. Add floral and accent items — the fun part. I love how easy it is to add florals to this one. You can simply tuck them in or use some hot glue to add them.
We made a quick trip to Joann’s for accent items. We grabbed these flowers. They were a little bush we cut apart and tucked under the ribbon.
What else do we create together?
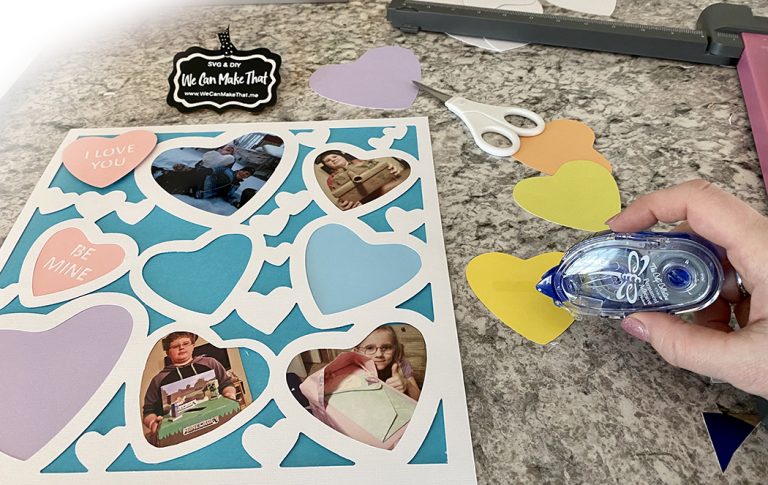
My friend Krista and I love to run off to scrapbook
But a day doing some DIYs is always fun. We had a fun crafting day and came up with this idea too.
Posts you might enjoy…


Fall Embroider y Hoop Wreath Here


We usually do some scrapbooking or card making because she sells Close to My Heart. I LOVE this company for paper. So she’s sorta my dealer. haha.
Yes, I’m addicted to
If you need a good stamp, scrapbooking and card connection, check out her page here!
Connect with Chelly!


6 Comments