Embroidery Hoop Wreaths From Old Shirts
These embroidery hoop wreaths are so much fun to create. Using some simple craft tools this fall embroidery hoop decor is sure to get some smiles from your guests. Using an old shirt, a sunflower and some creativity, we’ll create this easy-to-make fall embroidery hoop.

Disclosure: Some links on this page are affiliate links – meaning if you click through and make a purchase I may receive a commission at no additional cost to you. For more information, read our full affiliate disclosure here.
This one took me three trips to the store and one redo to complete it — but I LOVE it and think it was worth the hassle.
I didn’t have any old, cute shirts to use, so … shopping time it is. I ran to my local thrift store and snagged a few fun items to reuse.
Embroidery Hoop Decor Supply List
- Wooden Embroidery Hoops (or plastic works too)
- Material for base
- Hot Glue and Glue Gun
- Ribbon, for accents
- Faux greenery for accents
Sunflower Embroidery Hoop Wreaths
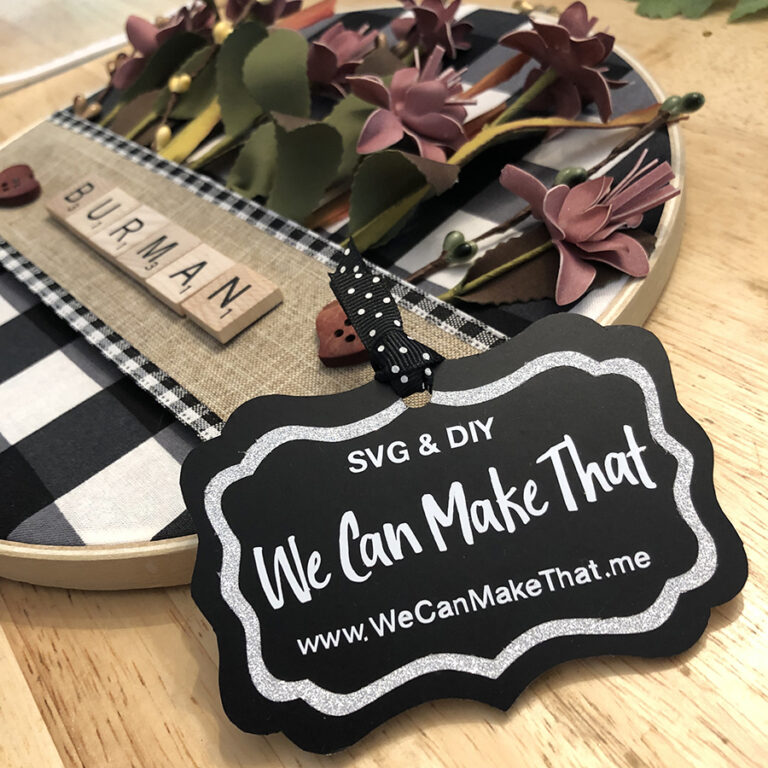
The first one I created had a bigger print for the buffalo plaid. It just wasn’t what I had in mind when it was done.
I think buffalo plaid has to have a certain size plaid vs accents (floral) proportion for the design to look great in the end. Here’s a pic where the plaid was just too large.
It looked off to me with the larger plaid in this medium size embroidery hoot.
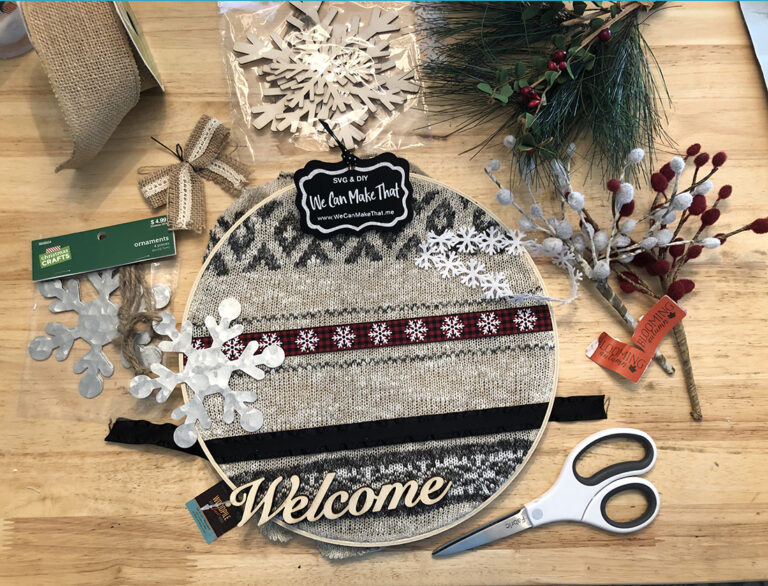
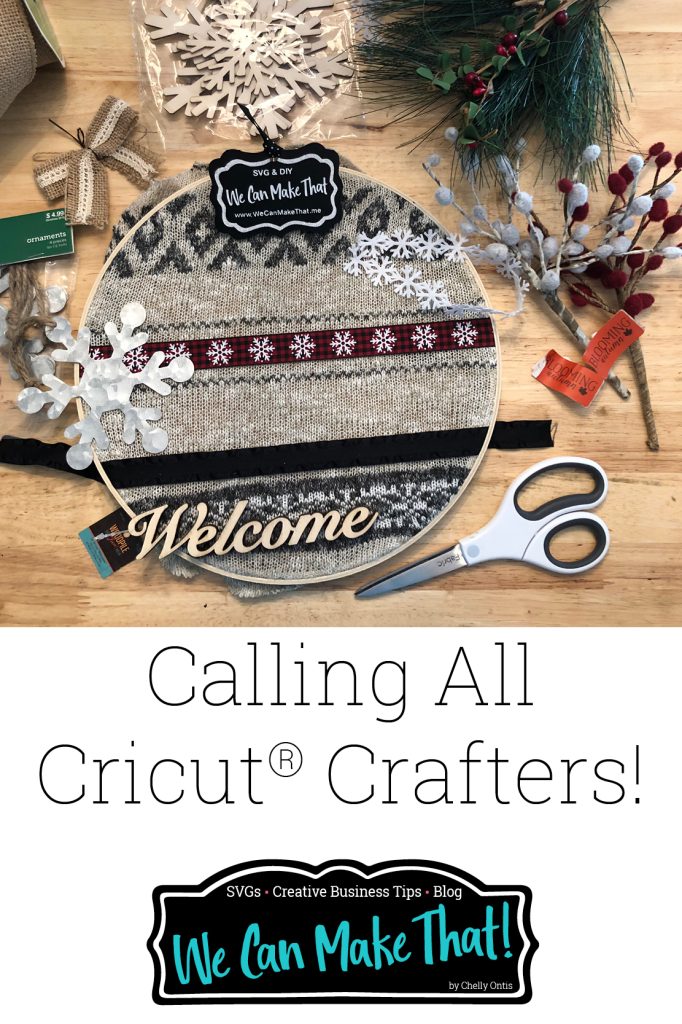
Since I didn’t have cute old shirts to use so: shopping time it is. I ran to my local thrift store and snagged a few fun patterns, plus I found a cute sweater you can see where I made this winter embroidery hoop wreath.
Latest designs in the SVG and printable Shop:
Embroidery Hoop Wreaths and Recycled Shirt DIYs
Assemble Your Embroidery Hoop Wreath
1. First, align the pattern over the smaller hoop. I like to do a rough ‘build’ of the embroidery hoop wreath, so I know what it will look like when I’m done.

2. Next, add ribbons now if you want (here is where I added my burlap ribbon).

3. You will then place the larger hoop on top and tighten the top bracket until it’s almost completely tight.
4. Now, tug on the fabric and ribbon to align things how you want them. Finish tightening the hoop when you are satisfied with the placement.

5. Flip over and trim so excess fabric to about 1/2-1” long. This helps it hang correctly against your wall or door.
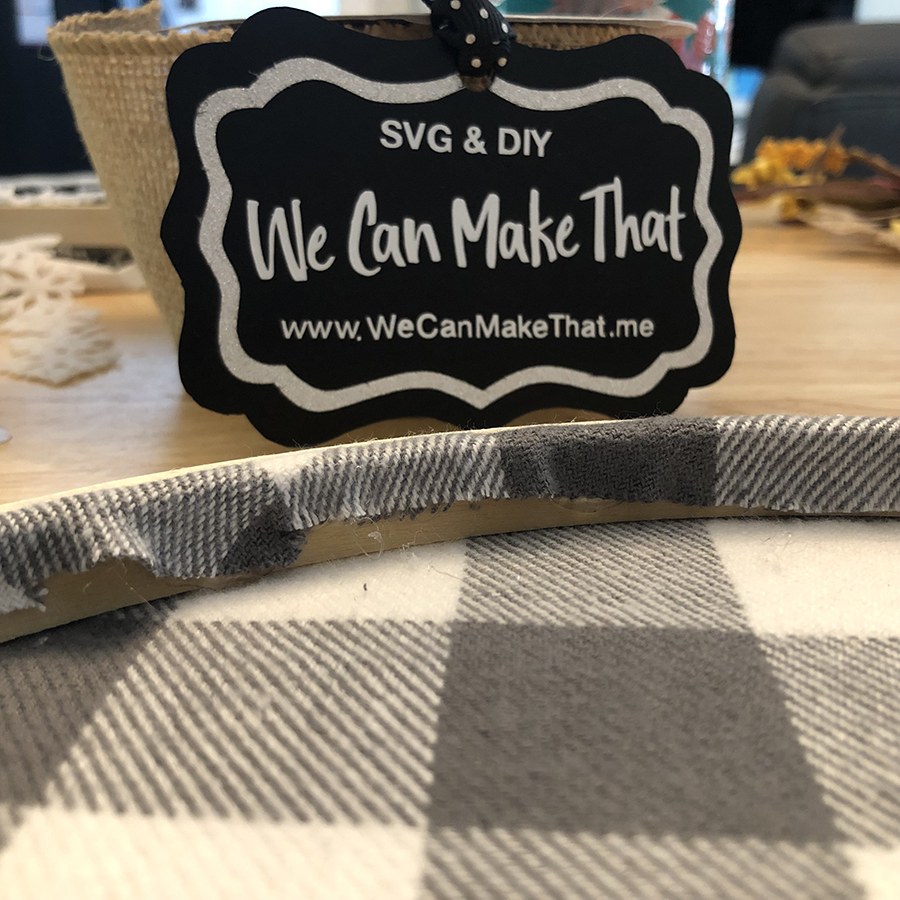
- Hot glue the excess fabric to the embroidery hoop. The fabric needs shouldn’t stick out it hangs flat on your wall but it doesn’t have to look pretty.
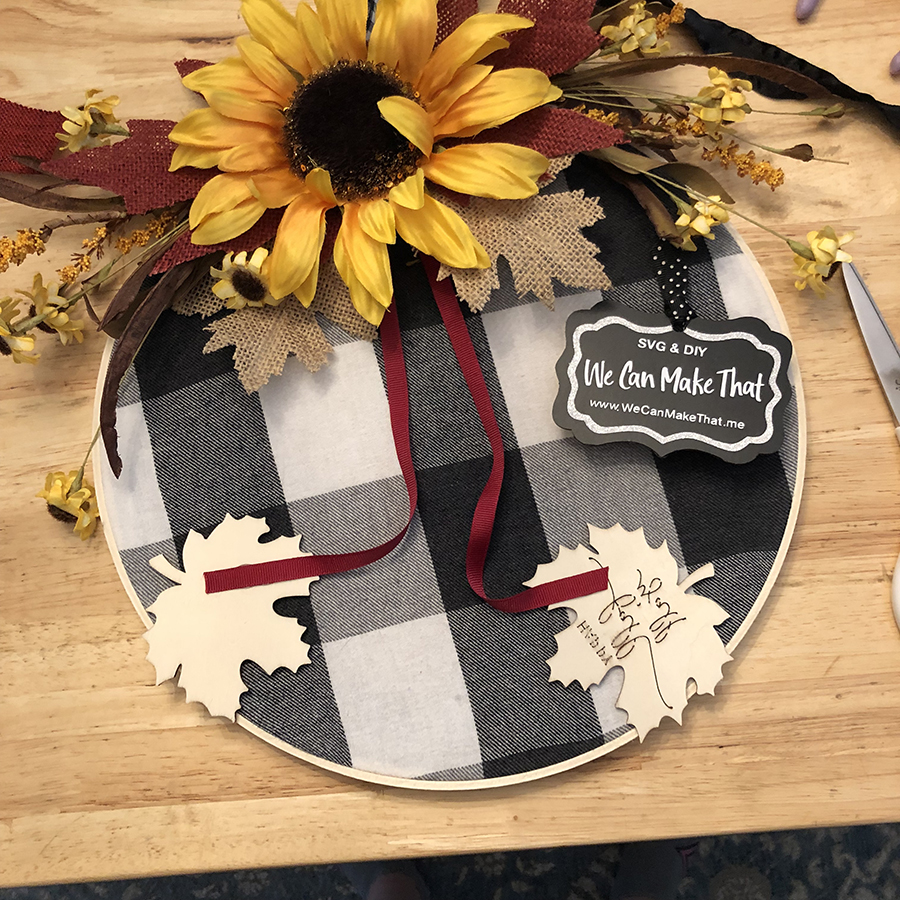
6. Finally, add floral and accent items — the fun part. Haha! Adding the floral accents makes it your own wreath. There’s no right or wrong way, good design is up to the maker. You can use faux floral or paper flowers if it’s not going outside.
These easy embroidery hoop wreaths
- Christmas decor embroidery hoop wreath
- Spring embroidery hoop wreath
Some of my favorites!
My Fav Craft Tools
My Fav Biz Tools
Misc Must-Haves
- Try the Rakuten
- You Are a Bad Ass books by Jen Sincero
- Rhinestone Car Accent
Do you want to see the final?
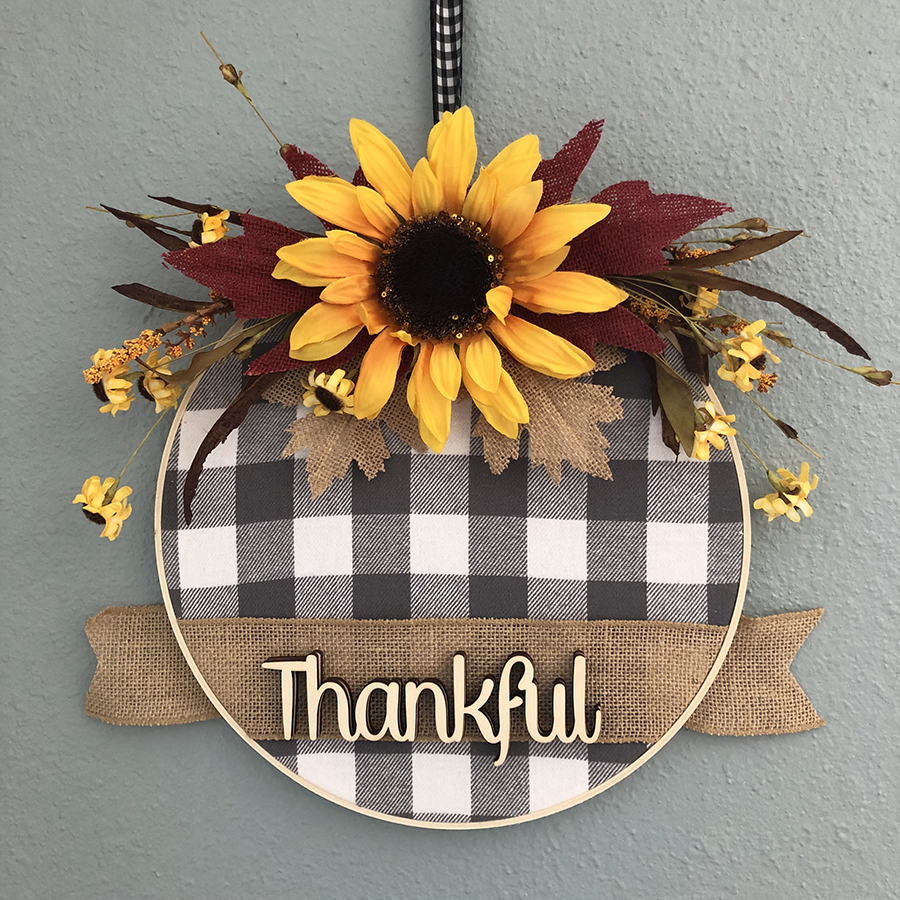
This grayer buffalo plaid had a smaller-sized pattern, and I think it looks more balanced. The gray is more subtle and makes the sunflower pop!

The “thankful” word was from Hobby Lobby. And so was the ribbon.
Speaking of which, isn’t that ribbon adorable??? It has a nice wire in it and holds the placement well. The “thankful” word is hot glued on.
These hoop wreaths are so fun to make!

Have you made one? I’d love to see yours too!!

Let’s Connect on Social Media








What a beautiful wreath. I love the buffalo check with the sunflower. ❤️
This has my head swimming with all the possibilities. Great for the plaid flannel shirts from my late father! Andrea
Ahhhaha! Love the whole using his shirts idea! I have a couple I want to use right now ????❣ I can say 100% cotton shrinks and he hates tight arms/chest. Hehehe
Right! It’s perfect for those shirts you like but can’t wear anymore! And easy to change it out when you want to refresh the decor.
LOVE IT!!!!!! Now I have a project for my husbands old shirts! Thanks
Yes! Then you can tell him you didn’t “throw” it out. haha!