
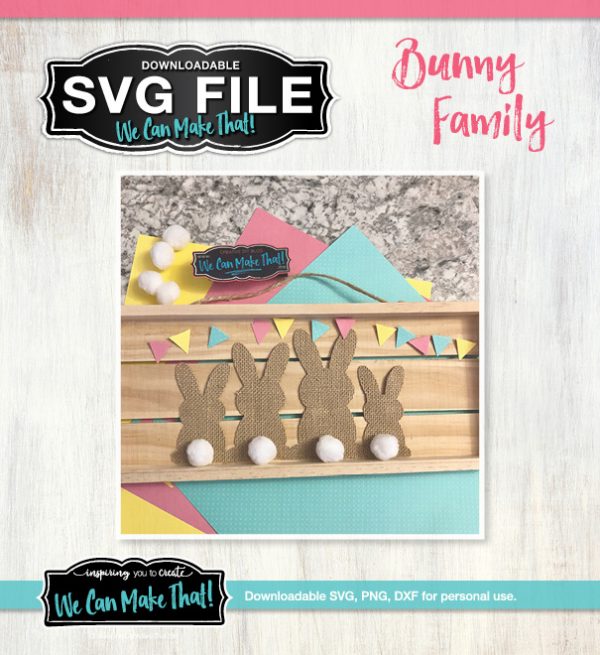
Bunny Family Sign with SVG
I’m guessing you are just as exciting about it being spring as I am.
I love the pastel colors and flowers this season brings. And happy dance the snow is almost ALL gone.
Are you ready for some spring-themed bunny decor?
First, can we all just admit that this is the cutest spring or Easter bunny decoration you have ever seen??
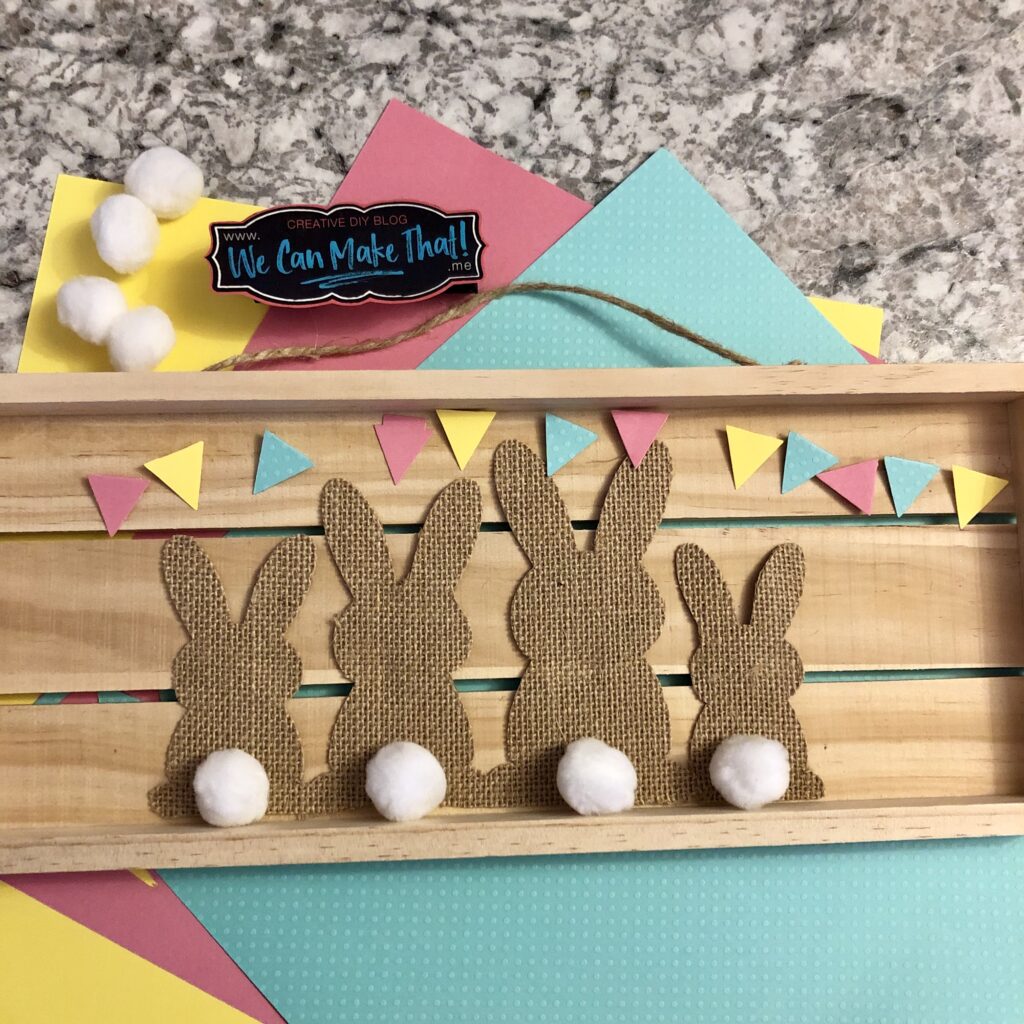
I loved how simple it was to add bunny family members (personal touch to your gift!) and how the banner created just the right pop of color. This SVG files comes with individual bunnies so you can customize it to your family members.
I think you’ll love this Bunny Family SVG not only for it’s cute bunny family, but the included FREE banner SVG is great for other year-round projects you could create.
Also, feel free to use this Easter Bunny project as a craft business product.
In fact, I’d love to connect with you over on my free Facebook group for creative businesses. I help craft businesses get started the right way through my branding services.
Supplies for Bunny Family Sign
- Pallet Sign (or any sign base of your choice)
- Burlap Paper or fun paper for bunny Family
- Bunny Family SVG
- Cricut Maker with Rotary Blade
- Colored Cards stock for the banners
- String for the banner
- Adhesive or glue dots
- Pom-poms for bunny cotton tails
To cut the burlap bunnies, you will want to use the rotary blade that came with the Maker. I’ve shown how to set up the rotary blade on Cricut for another of my burlap projects. If you’ve never used the Cricut rotary blade before then you will want to watch this tutorial. It’s so easy to use and makes these types of products come out looking so much better.

For Non-Cricut users
If you don’t have a Cricut or personal cutter, no problem! If you purchase this Bunny Family SVG it comes with a printable. Simply print the size you need, and cut out and assemble as shown in the video.
How to Assemble your Bunny Family
- Download the Easter Bunny SVG from the Shop. (The banner is included in your download!)
- Upload the SVG into your Cricut design space.
- In the video, I talk about how you can adjust the size of the bunny family, etc. It’s around 4:30 in the video!
- Once your family is complete click “Weld”. We don’t want any bunny family members to feel cut off! Lol!
- Load your burlap on to your Cricut mat.
- Load your rotary blade in your Cricut.
- Click “Make it!” on your Design Space.
- Tip: Begin to warm up your glue gun now.
- Next, cut the banner on the colors you choose.

7. On your banner pieces, simply fold back the top tab. (About 10:30 in the video)
8. Glue or stick your bunny family on to your pallet sign.
a. Turn your pallet over to check that all family members are sticking!
9. Measure out your string. (About 15:00 in the video.)
10. Measure out your banner pieces. Spread them out evenly across your string!
Optional: want to personalize this project? Consider putting vinyl letters across the banner pieces! Family name, new baby’s name, etc. Can we talk about CUTE?
11. Glue your banner pieces on your string with your hot glue gun.
12. Glue your string on to your pallet sign. And obviously cut the trailing end. Ha!
13. Optional: Glue the pom-poms to your bunnies back sides.

Perfect! What a cute Easter project that you can use for so many things:
- Hostess gift
- Teacher appreciation gift
- Home entrance decoration for your family (don’t forget to personalize!)
- And, of course, an Easter decoration
If you make this Easter Bunny project then send me a picture! I’d love to see how you take this project and personalize it to your taste.
-

-

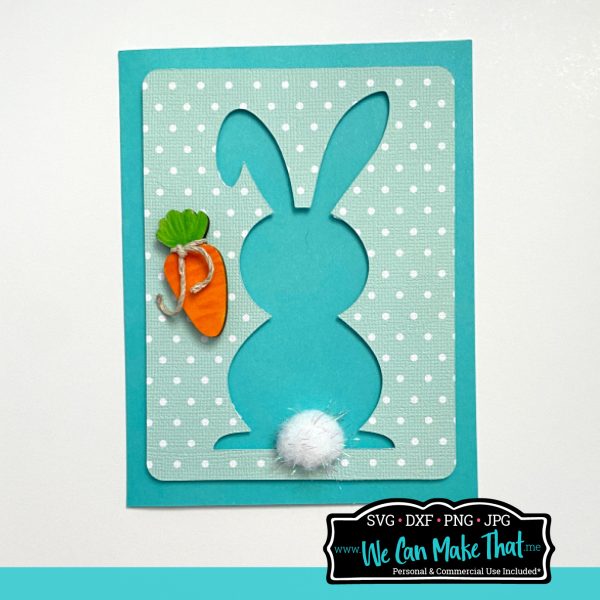
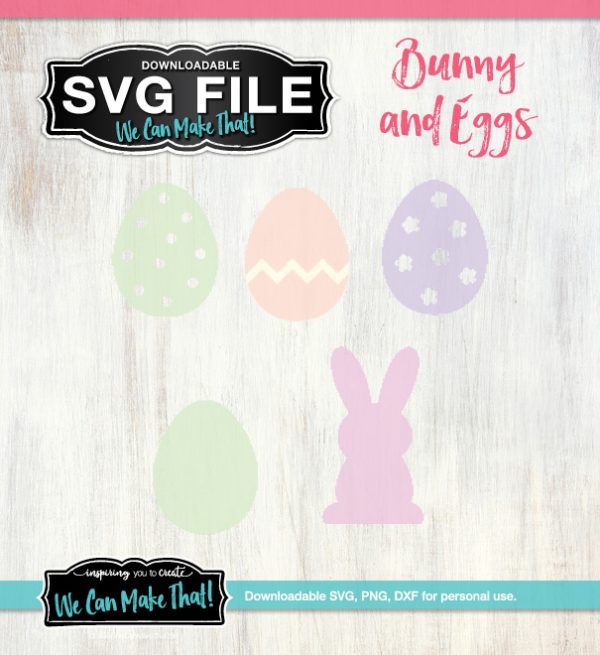
 Bunny and Eggs SVG$3.00
 -
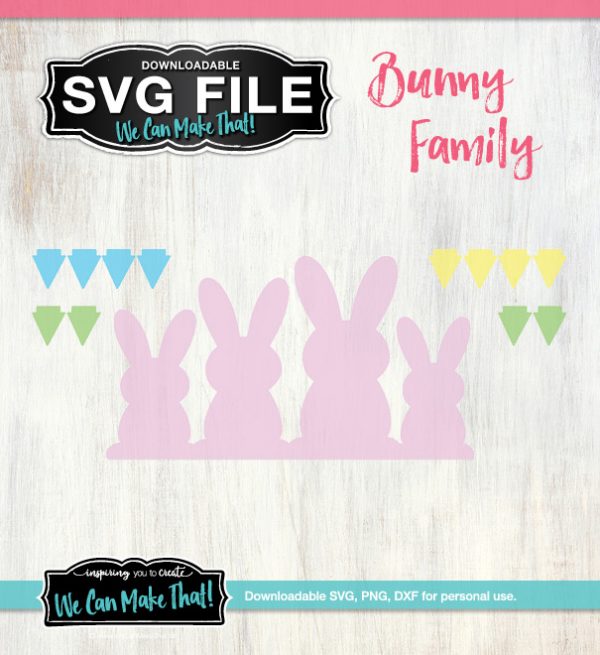
Bunny Family SVG$3.00
You can comment below with your photo OR send it to me on my Facebook page! Can’t wait to see yours!

OMG! This is so cute!