
Winter Wonderland Scrapbook Page
Disclosure: Some links on this page are affiliate links – meaning if you click through and make a purchase I may receive a commission at no additional cost to you. For more information, read our full affiliate disclosure here.
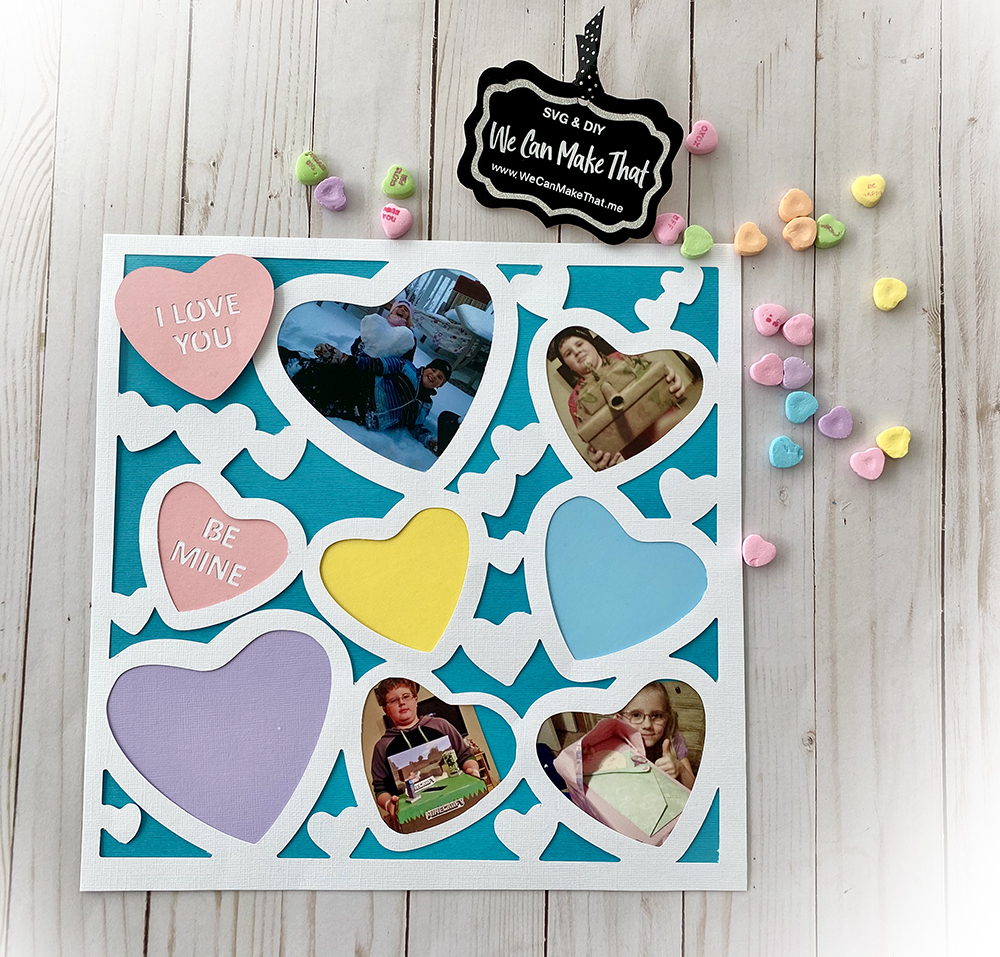
This Winter Scrapbook Page Idea is so easy to cut on your Cricut. You can tuck a lot of photos into the snow hills or use it as a background for your Christmas Photo.

Not many layouts have room for mutiple photos but this layout is great for adding lots and lots of photos. I used pop dots on the base of the snow piles leaving the top open to tuck lots of photos into for an adorable Winter Scrapbook Page Idea.
If you want to make the layout more Christmas-like you can add some Christmas lights to the tree or a star on top. Our Hobby Lobby has some fun stickers that would be so cute to decorate the tree.
Simply CUTe Scrapbook Pages
Our line of Simply Cute, Simply Cut scrapbook pages are so fun, easy and they look like it took you hours. But it won’t!


Supplies for Winter Scrapbook Page Idea
Teal and red are popular winter colors. I used lighter versions of that color pallet. I’ll share what I used in the supply list, but I invite you to get creative and see what matches or coordinates with your photos!

- Winter Wonderland Simply CUTe SVG
- Background 12×12” Cardstock (I used a sea green with poka-dots)
- 2 White 12×12″ Cardstock for the snow hills. I used a pearl-white and a very light blue so they would stand out.
- Green 12×7″ for the Pine Tree
- Scrap of brown for the Tree Trunk
- Scrap for the pop of color for snowflakes. Red is a fun color, I used a coral/red color.
- Pop dots and tape runner

Assembly Winter Scrapbook Page Idea
After you cut out the Winder Wonderland SVG files it should look like this below… I cut out a few extra snowflakes to use as embellishments.

Steps to assemble your Winter Scrapbook Page
Start with small snow hill. Attach it the background with pop dots on the bottom edge.
Slid in the next 2 snow hills with pop dots on the bottom, leave the top edge unglued for photos. Depending on how many pics you have you can put the snow hills closer together or further apart. Both look cute!
Glue the snow tips onto the trees before attaching to your layout.
You’ll first want to glue the trunk just under the first snow hill. Be sure to leave room for the tree itself on each side of the trunk.
Starting with bottom and working your way up, now add the pine tree.
Lastly it’s time to let it snow! Add the snowflakes and your photos. Done!
That’s it. So simply and so cute! If you enjoyed this scrapbook page, checkout our other Simply CUTe scrapbook page options.
Cricut Tip*
The detail on the snowflakes are so small, they might give you a little trouble. I check them before unloading the mat. If they didn’t cut all the way through the paper, I simply push the cut bottom again.
It will go over the cuts and they should be perfect. This works so much better than using the deeper cut feature.


What a pretty winter scene. It would be cute with the adorable snow man tag without the tag.