
Fall Decor Sign DIY for Beginners
If you’re like me, you’ve seen those cute wooden die-cut items at Hobby Lobby and wondered what you could make with them. Well, I have a cute fall decor DIY you can make in no time at all.
Disclosure: Some links on this page are affiliate links – meaning if you click through and make a purchase I may receive a commission at no additional cost to you. For more information, read our full affiliate disclosure here.
This fall decor sign is so easy to make. If you feel you are not crafty but want to try something, this is a good one. Just a few simple supplies and some easy painting to create this fall sign decor.


Supplies for this Easy DIY Fall Decor Sign
- Wooden Die-Cut Wreath, mine was from Hobby Lobby
- Pallet Blank Sign (from Walmart or Hobby Lobby are my favorite)
- Wooden Die-Cut Word (or use a floral sunflower)
- Paint (I used a dark plum color)
- Burlap Wide Ribbon (I used a cream and plum color)
- Florals (I used Sunflowers and Leaves for the top)
- Hot glue gun to put it together.

How To Assemble A Fall Decor DIY
Start by painting any items you want to be colored. To match the ribbon accent, I painted the ‘Thankful’ wooden die-cut word in a dark plum color. Finding paint and ribbon that match and coordinate will help your sign look like it goes together professionally.

You can also paint the wooden die-cut wreath. My sign was a dark color, so the plain wood stood out. I like the contrast. You might want to paint or stain the wooden die-cut wreath if you have a white watch pallet sign.
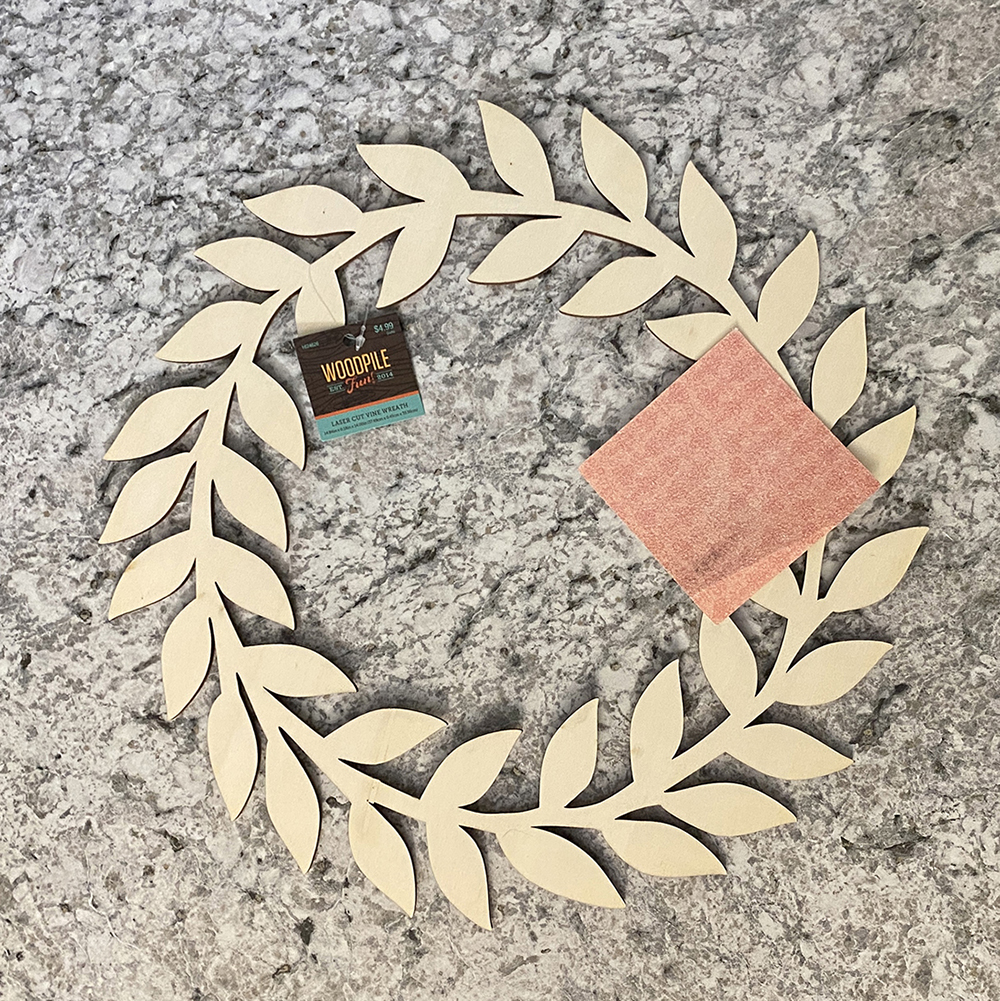
You can also sand the edges a bit to make them ‘softer’ and not such crisp edges — more of a farmhouse feel. If you paint the wreath, this is a good idea, too.
-

-
-
 Family Wreath SVG$3.00
Select the 6″ burlap ribbon to accent the theme you want for your sign. The ones I found in the photo, I found in the wedding section at Hobby Lobby.
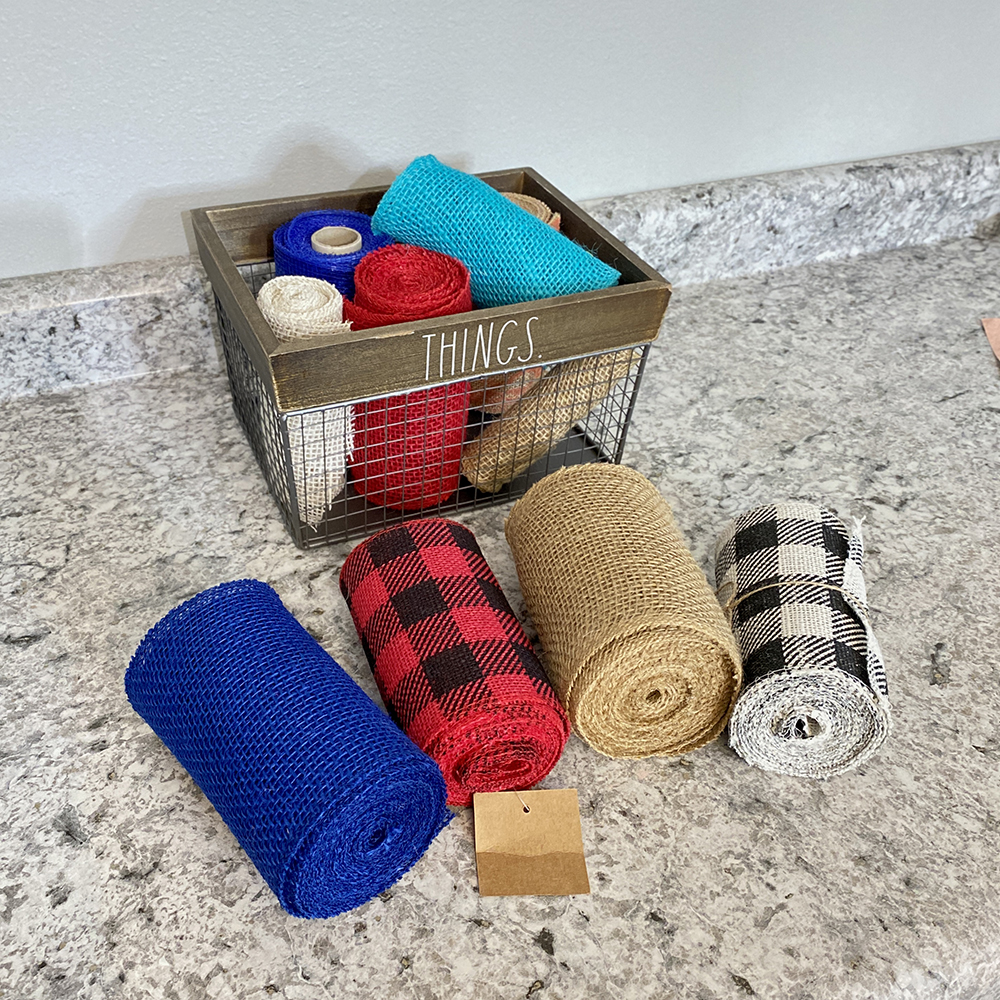
So many fun colors each season. I can’t wait to create some Christmas Signs with the buffalo plaid ones. Now back to fall sign decor…
These sunflowers were in the floral department. I simply pulled the flower off the stem and used my wire cutter to remove the tab on the back.

By cutting this off, the flower will lay better on the top. You could use the green flowers it comes with as accents. I saved mine for another project.
Next, I used hot glue to put this fall sign together. You could use a staple gun to attach the burlap ribbon to the sign.

The video below shows the order I used. This was a pretty simple Fall Decor DIY any level of crafter can create.
Fall Decor DIY with Wooden Die-Cuts
These wooden die-cuts are so cute at Hobby Lobby. They offer so much potential and the creative possibilities are endless.

More Wooden Die Cut Ideas
Here are a few more ways you can use these wooden die-cut wreaths from Hobby Lobby.
This is another wooden die-cut from a craft store I used to make a Christmas Sign.
Make a cute tray to hang!
Here is another idea from another creative DIYer. Check out how Melanie from Southern Crush at Home used her Wooden Wreath.
My newest DIYs …
-

Easy Social Media Marketing for Your Craft Business (Without Feeling Overwhelmed
Learn marketing for your craft business with easy to follow steps and ideas! These simple ideas can make a huge difference in your business.
-

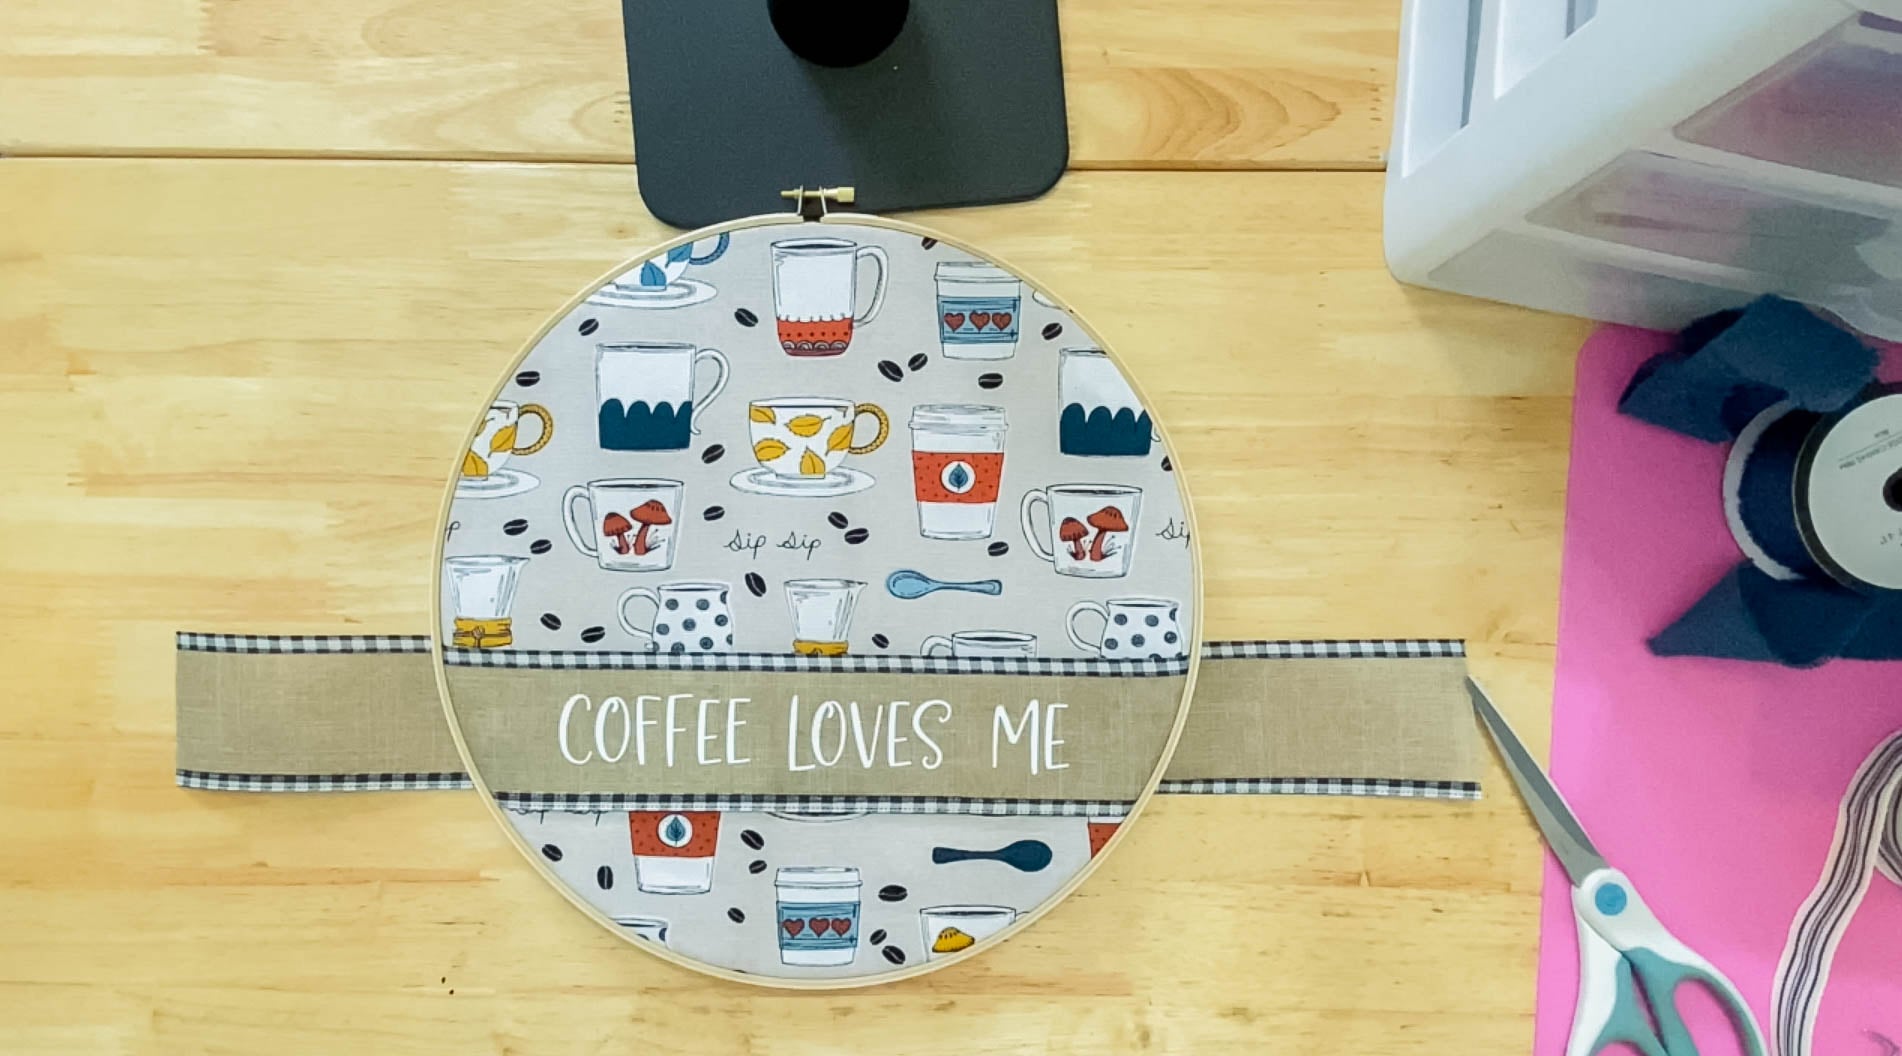
Embroidery Hoop Cricut Craft – Easy DIY Wall Decor
This embroidery hoop Cricut craft is a fun Cricut craft that works beautifully as DIY home decor and can be customized in creative ways for different seasons, rooms, or gift ideas. If you enjoy beginner-friendly Cricut project ideas that don’t require a lot of supplies or time, this is a great way to use your…
-

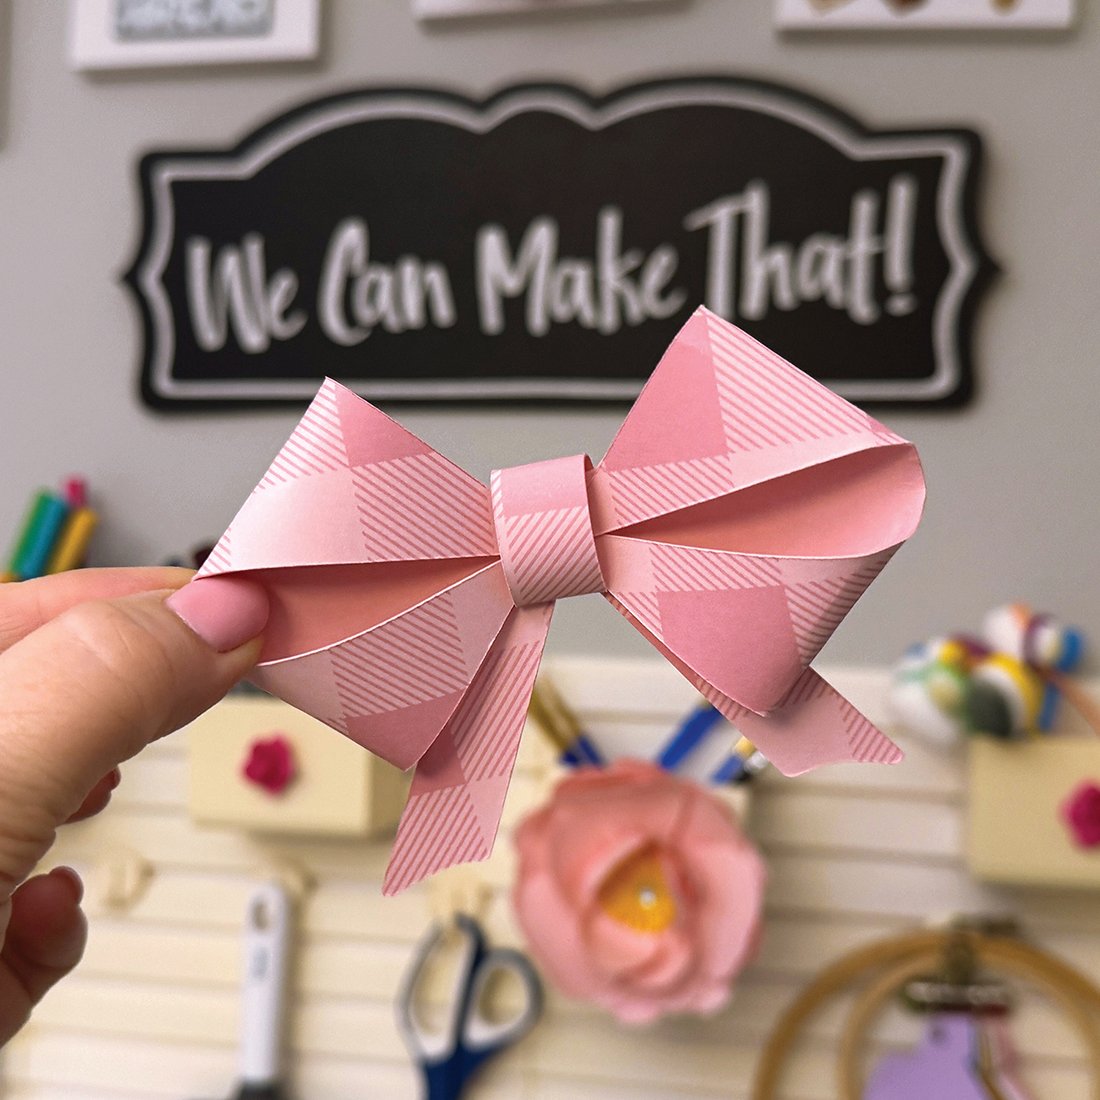
How to Make a 3D Bow SVG (Easy Cricut Assembly Tutorial)
If you’re a Cricut crafter (or you use any cutting machine), you’re going to LOVE this 3D bow SVG. These bows are super cute, quick to cut, and honestly… they look way fancier than the effort required. My favorite kind of craft. In this post, I’m showing you exactly how to cut and assemble my…

Very cute. I think if I make this I will antique wax the wreath because I like that stained look. I’ll also raise up the wreath with the half beads to give more dimension. Thanks for the great inspiration!
Thank you for ALL you do for us!!
Judy Schweigert Mutzenberger
Judy’s Gems and Jewels 3
judysgemsandjewels3@gmail.com