Santa Door Hanger Cricut Idea (Cute, Easy, and Beginner Friendly)

If you’re looking for a wooden door hanger Cricut idea that’s festive, easy, and actually fun to make, this Santa door hanger checks all the boxes. It’s a simple round door hanger project that works great for Cricut crafters, but it can also be made without a cutting machine using the printable template.
Disclosure: Some links on this page are affiliate links – meaning if you click through and make a purchase I may receive a commission at no additional cost to you. For more information, read our full affiliate disclosure here.
This DIY door hanger idea is perfect for Christmas decorating, gifting, or even batch crafting if you love quick projects that still look polished. The best part is how customizable it is, you can keep it classic Santa red, go pink, or switch up the wording to match your style.
Watch the Video Tutorial

Why You’ll Love This Santa Door Hanger
- It creates a bold, festive statement piece without complicated steps
- Beginner-friendly and totally doable with a Cricut
- Perfect for using vinyl scraps (hello, leopard print belt)
- Adds instant Christmas cheer to your front door, porch, or any where in your house
- Easy to customize with colors, patterns, or wording
- Lightweight and simple to hang: no fancy hardware required
- Makes an adorable handmade gift or seasonal decor you’ll pull out year after year
You can hang it on your front door, inside entryway, pantry door, or even use it as wall decor for the holidays. Style it with a wreath, twinkle lights, or a cozy welcome mat and it instantly sets the tone for Christmas.
And yes: this project pairs beautifully with Christmas music, a warm drink, and pretending your house is already clean.
WAIT LIST OPEN
For this wood door hanger Cricut idea, here’s what I used. You can absolutely substitute materials based on what you already have on hand.
Santa Door Hanger Supplies
- Santa door hanger SVG (includes SVG and printable PDF)
- Wooden round door hanger (about 11 to 12 inches)
- Acrylic paint in your color choice
- Paint brush or foam brush
- Cricut or cutting machine
Or scissors if you’re cutting some things by hand - White adhesive vinyl
- Transfer tape
- Santa hat (Dollar Tree size works great)
- Faux leather, vinyl, or material for the belt
- Black faux leather (or any color) for the buckle
- Hot glue gun and glue sticks
- Stapler with slimmer staples
- Scrap cardboard or thick paper
- Optional, buttons for extra detail
More SVGs You Could Use for This Project
-
 Merry Christmas SVG$0.00
 -
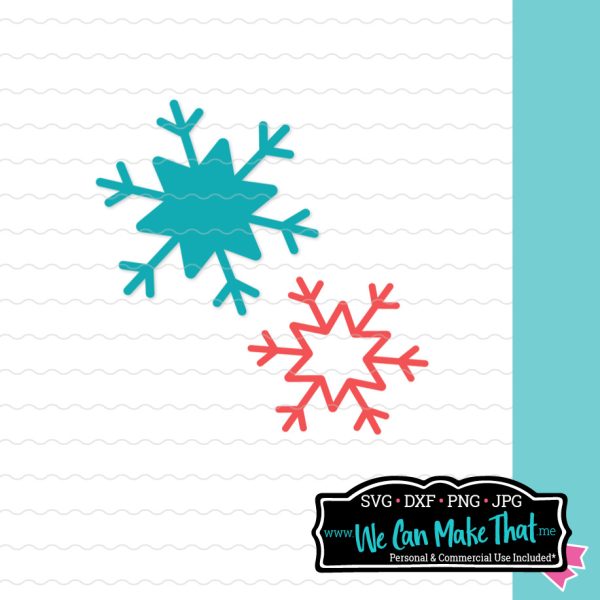
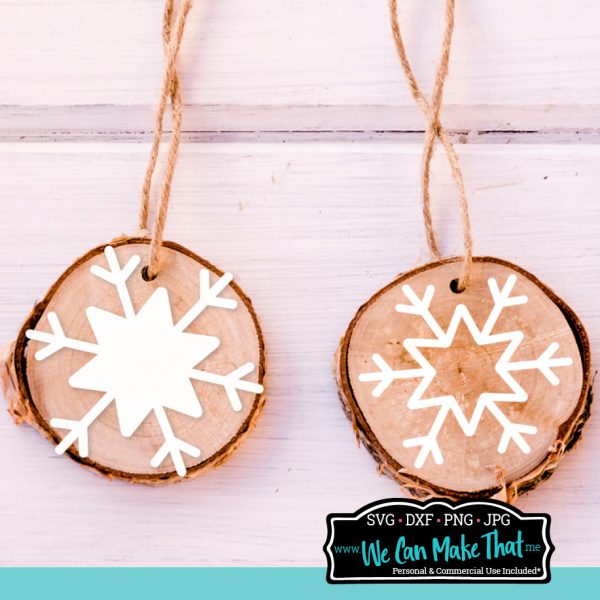
Snowflake Ornaments SVG$0.00
-


Step-by-Step: How to Make a Santa Door Hanger
Step 1: Paint the Wooden Round
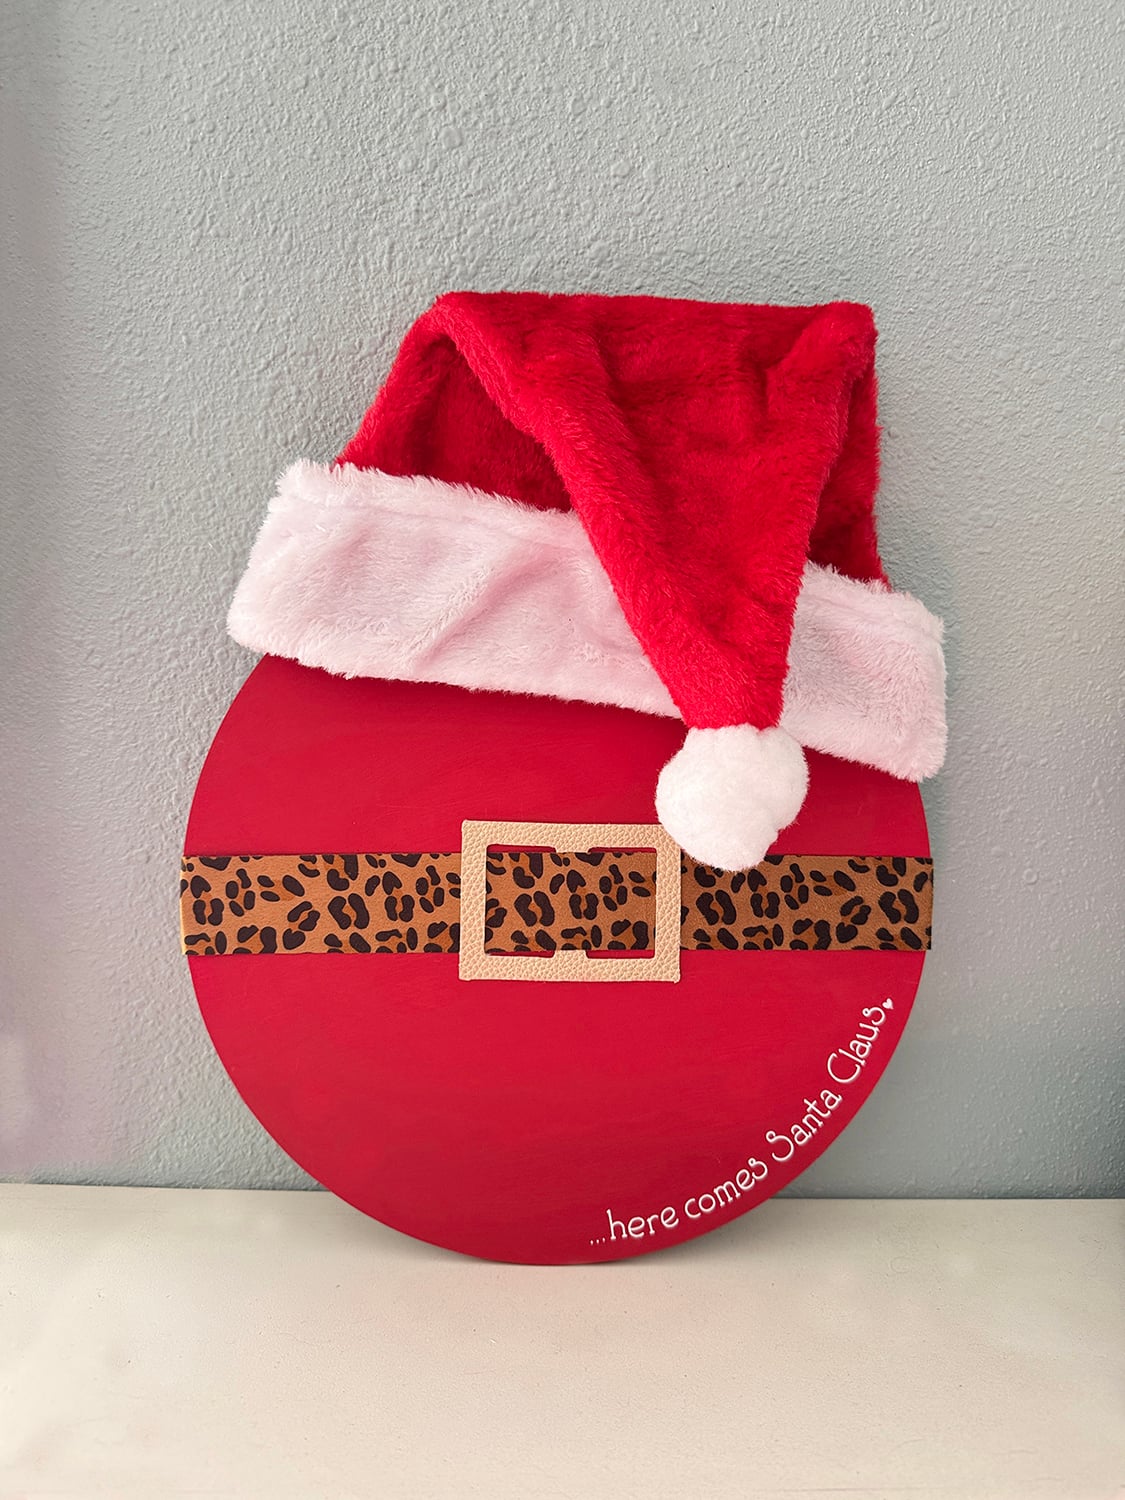
Start by painting your wooden round. Red is a classic choice for a Santa-themed door hanger, but this project works just as well with pink, white, or even neutral tones.
Make sure the paint is fully dry before moving on. This helps prevent fingerprints and keeps your vinyl from lifting later.
Step 2: Upload and Size the Cricut Door Hanger Template
Upload the SVG into Cricut Design Space and keep all the pieces grouped together. Resize the design to fit your round. Mine ended up just under 12 inches wide, which worked perfectly for an 11¾-inch wooden round.
If you don’t have a cutting machine, this project still works. The file includes a printable PDF, so you can print the door hanger template free, cut it out by hand, and use it as a guide for painting or tracing.
This makes it a great option for crafters who want a DIY door sign idea without investing in extra tools.
Step 3: Cut the Words and Design Pieces
Cut the “Here Comes Santa Claus” phrase from white adhesive vinyl. Set the words aside until the very end so you don’t accidentally glue something where the lettering needs to go.
If you’re using this project as inspiration for door hangers for advertising, this is where you could swap the phrase for a business name, welcome sign, or seasonal message.
Step 4: Make the Santa Belt
For the belt, cut a strip of faux leather or table runner material about 1½ inches tall and wide enough to wrap across the round. I sized mine a little larger so it could fold slightly and add dimension.
Cut a small buckle shape from black faux leather and layer it on top of the belt. Dry fit everything before gluing so you can adjust placement and spacing.
This technique works well for many round door hanger ideas, not just Christmas designs.
Step 5: Attach and Shape the Santa Hat
The Santa hat adds personality, but it’s optional. If you prefer a flatter look, you can skip it and adjust the wording or belt placement instead.
If you skip the hat, I’d suggest paint to point the top white, and I’d move the belt up to the top 2/3 of the round. Cut an angle off the cardboard to help the hat fold over and not cover the whole sign.


To give the hat structure, slide a piece of sturdy cardboard inside and shape it until it lays the way you like. Staple it from the back to hold its form, then glue it to the top of the round.
Hot glue the belt onto the wooden round, then add any optional buttons or accents.


Step 6: Adding the Vinyl
Once everything is secure, apply the vinyl words using transfer tape. Go slowly when removing the transfer tape, especially over textured materials like faux leather.

Hanging and Display Options
On the back of the door hanger, you can staple on ribbon, wire, or a hook. You can also use two attachment points so the sign hangs straight.
This project is designed for indoor use. If you’re interested in how to make door hangers for advertising or outdoor display, you’ll want to use weather-safe paint, vinyl, and adhesive.
Customization and DIY Door Hanger Ideas
This design is easy to customize, which makes it a great base for other DIY door hanger ideas. You can remove the hat, enlarge the text, add a white painted top section to resemble Santa’s hat, or switch out the phrase entirely.
The same layout works well for welcome signs, holiday decor, or seasonal door hanger templates. Once you understand the sizing and placement, you can reuse this method for countless round door hanger ideas throughout the year.
This is one of those Cricut door hanger projects that looks detailed but comes together quickly, making it perfect for both beginner crafters and experienced makers who want an easy win.
Your craft business doesn’t need MORE ideas.
You need a clear Plan!
The Creative Business Club helps you decide what is best for your business that will actually bring in sales. What members enjoy most:
- Know what to post each month (no more “posting and praying”).
- Attract the right customers with smarter content
- Stay consistent and turn followers into buyers.
- Get support + co-working to actually get it done.

This isn’t just advice. It’s accountability, action, and a path that actually works.
Whether you hang it on your own front door, gift it to someone special, or add it to your holiday decor lineup, this DIY Santa door hanger is one of those projects that instantly feels worth the effort. With simple supplies and lots of room to personalize, it’s an easy, budget-friendly Cricut project that works for beginners and seasoned crafters alike: and it brings serious Christmas cheer every time you see it.
If you make one, be sure to tag me on social so I can see it! I love seeing how you make these projects your own.
And if you love crafting, come hang with me at my free group on Facebook!
Connect with Chelly!