
Easy to Make Cute, No-Sew Curtain Idea
I think we can all agree curtains can be pricey. If you agree, you will love these DIY curtains I made without a sewing machine. This no-sew curtain idea is so easy you’ll do it in all your rooms! And these kitchen curtains took me about 15 minutes to put up.

Disclosure: Some links on this page are affiliate links – meaning if you click through and make a purchase I may receive a commission at no additional cost to you. For more information, read our full affiliate disclosure here.
I had a hard time finding curtains for my newly remodeled kitchen. I had a vision in mind (and no budget left after the remodel). So, I decided with the price of curtains, I probably needed to DIY curtain ideas for this project. I wanted cheap curtains but not cheap looking. haha.

I often use my Cricut and DIY home decor projects, but this is just a fun curtain DIY project. This simple idea can work if you want sheer curtains, white curtains, farmhouse style, seasonal or need to do a fun DIY to fill your creative bucket.
Essentially, it’s a great window treatment you can do, no matter the size of the window or your creative skill level. It’s easy and cute!

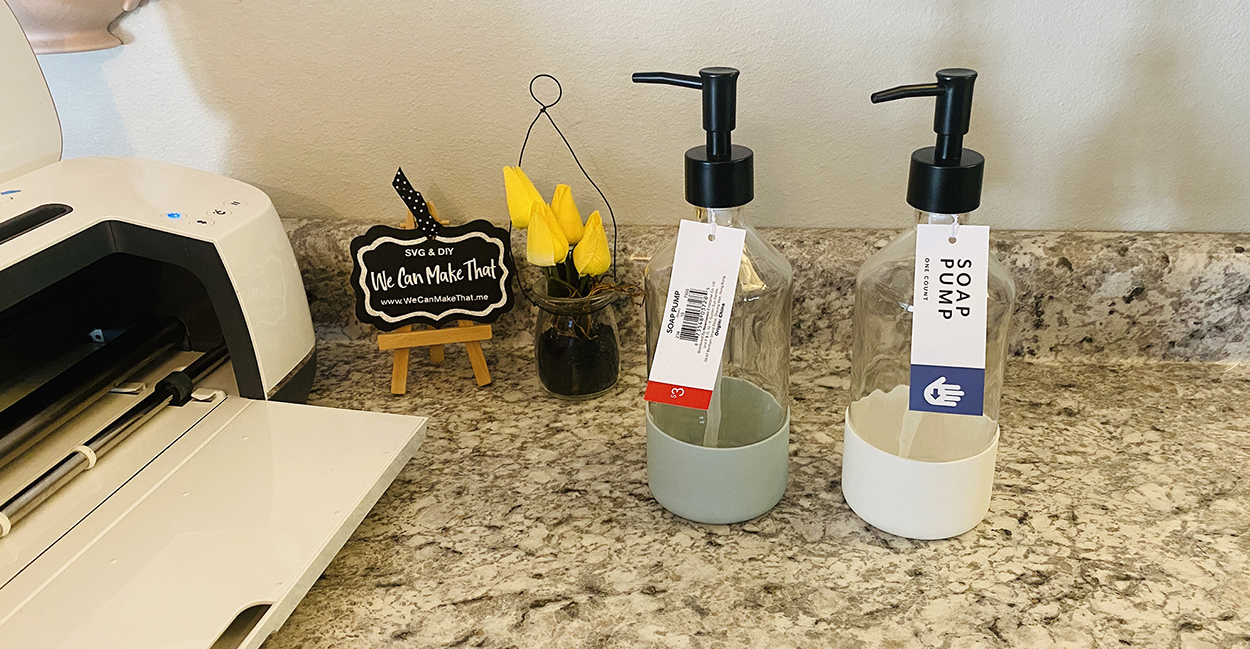
Supplies for no-sew curtain idea
I for my supplies at Walmart (tension rod), Kohl’s (napkins) and Lowe’s (Curtain Clips). I believe Hobby Lobby is another good place to find supplies.
- Tension Rod or Curtain Rod (depends on your window)
- Curtain Panels (cloth napkins)
- Drapery Clips / Curtain Clips / Clip Rings / Clip-on Curtain Rings
- Tape Measure

Optional Supplies you MIGHT need:
- Hem Tape (only if your window is really small)
- Step Stool
- Safety Pins
- Fabric Glue / Hot Glue
- Straight Pins
The fun part of this kitchen curtain idea I made was the napkin fabrics available give you endless possibilities for curtain fabric. But you don’t have to sew the straight edge of the fabric either. ha. I mean, I do love to sew, but needing the perfect straight edge is not one of my talents. haha.

Places to hang your no-sew curtains.
These cute curtains have so many possibilities. They are perfect for a lot of windows around your home or even your office. You can personalize your own curtains to the seasons or switch them pretty easily!
- Kitchen Window
- Dining Room Window
- Smaller Living Room Windows
- Entryway Windows
- Door Window (magnet curtain rods are good for this one)
- Bathroom Window
- Mud Room Window
- Garage Windows
- Great Room Windows
More No-SEW Crafts…
If you are looking for more no-sew crafts try this one. This snowman pillow is so easy to make only takes a few minutes.

Simple Steps for Your No-Sew Curtains
These are so simple they are like ready-made curtains but at a much lower price. With just four simple steps (maybe 5), you can create your own cafe curtains style quickly.

They look so cute, and you can grab some fabric napkins on clearance each season and change them out so quickly. This is the perfect easy fix for pricey curtains = DIY a pair of curtains today!
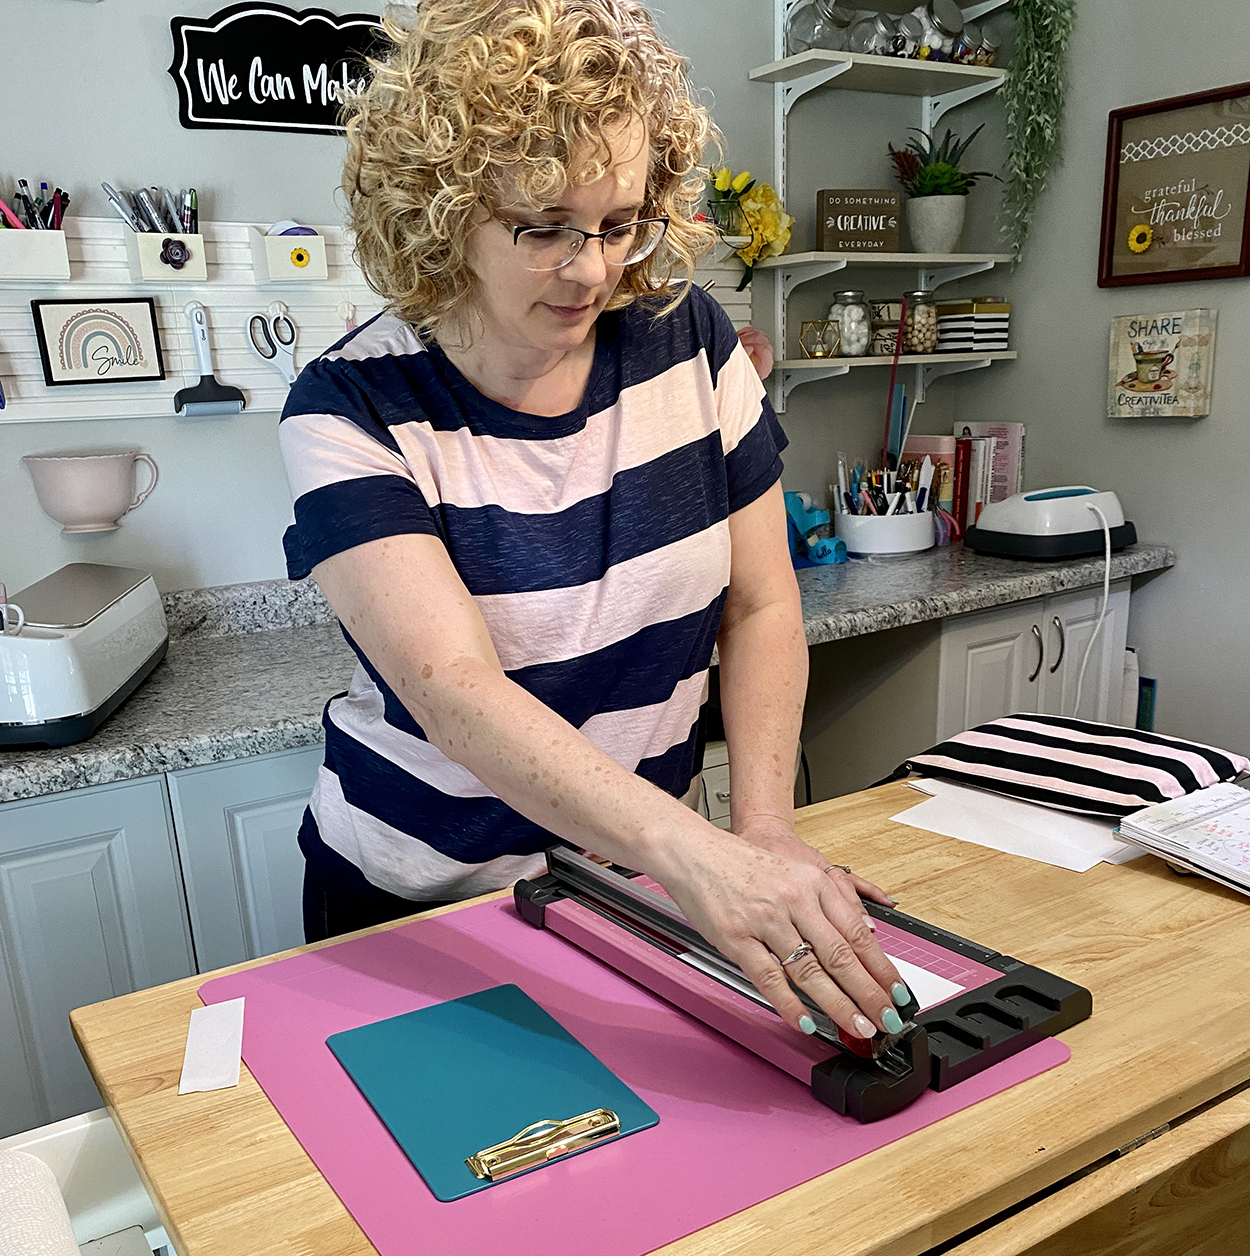
Step 1: Measure your window
Measure the width of the window. You will decide on how many napkins (or material) to buy.
For a straight edge, they are pretty much the same width. If you want a slight gather or way to your curtains, double or four times the width.
The width of an average kitchen sink, you would want 2 or 4 curtains, depending on the amount of gathered look you like.
TIP: Keep an even amount that might look best, but there’s no right or wrong here.
Step 2: Determine the Length of Your No-Sew Curtains
You might need to fold them in half. If this is the case, the napkin will hang better if you iron the fold. The bottom hem will then be the finished edge of the napkin. Off-set the fold a smidge, so the edges side doesn’t show when they hung.
This crisp fold on the piece of fabric will look more curtain-like when hung if it’s ironed or use the natural fold on your napkin.

Step 3: Hang Your Curtain Rod
If you can use the tension rod, this makes this new-sew curtain idea so simple. Mounting a curtain isn’t hard, but just takes a few more minutes.
The tension rod can be hung on the top or halfway through if you want to block the sun at eye level or need some privacy.
My curtains are just for decor, so I’m hanging mine on the top.
Step 4: Add your Clips to Your Material (Napkin)
Attach the clips to your napkin on the fold or along the edge (depending on the length you want them.
If you want longer curtains, you can unfold them but I suggest ironing them first. I used the pressed seam for these.

Step 5: (optional) Add Accents
This step is optional, but you can add some greenery, a bow, or fake succulents as I did here. I simply bend the stem to hold them in the window. You might need to raise the rod to ‘pin’ in and prevent it from falling or tipping forward. These are top heave but so cute! (from Hobby Lobby).

That is all. So simple, and I think they look adorable. You can add some greenery or a hanging plant to add some character to your window.
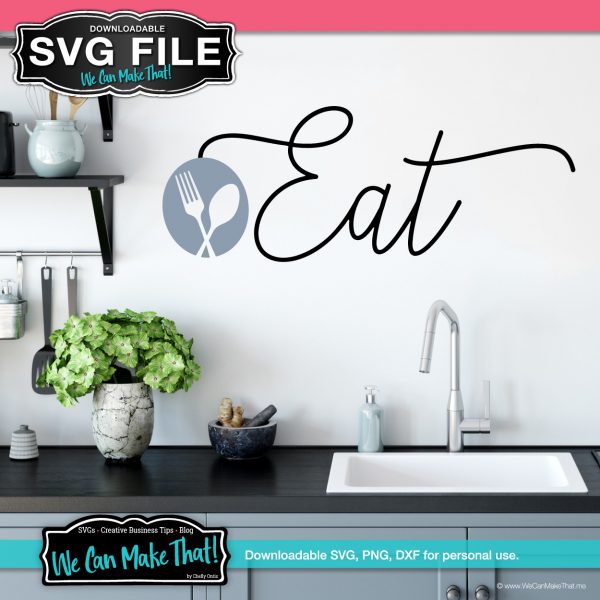
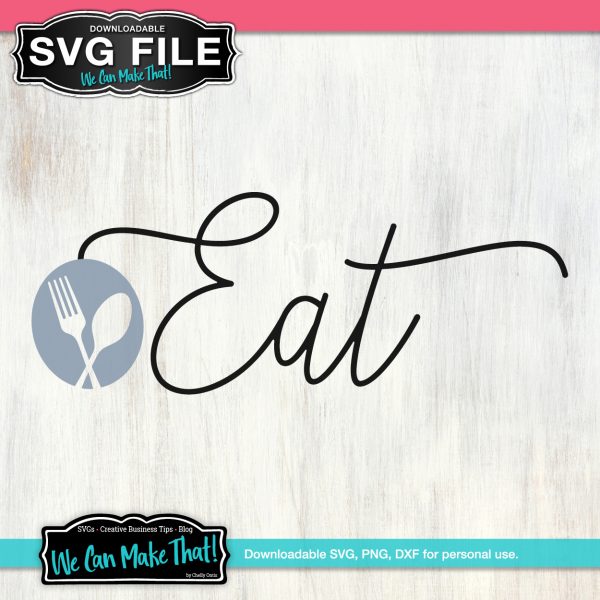
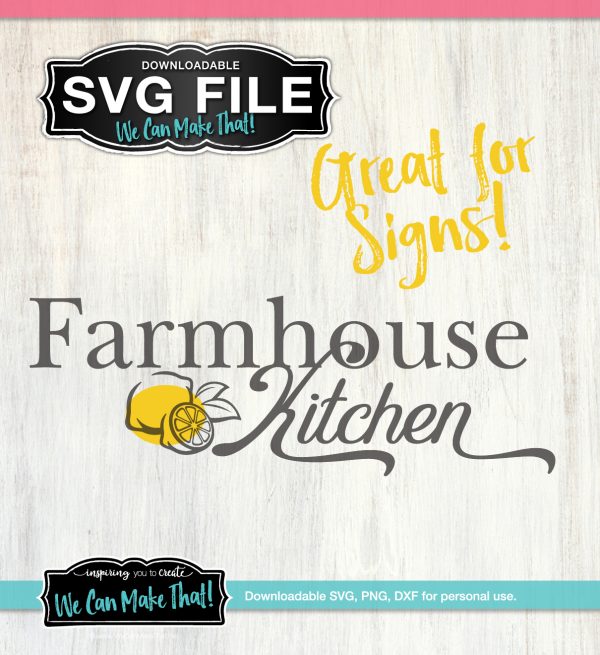
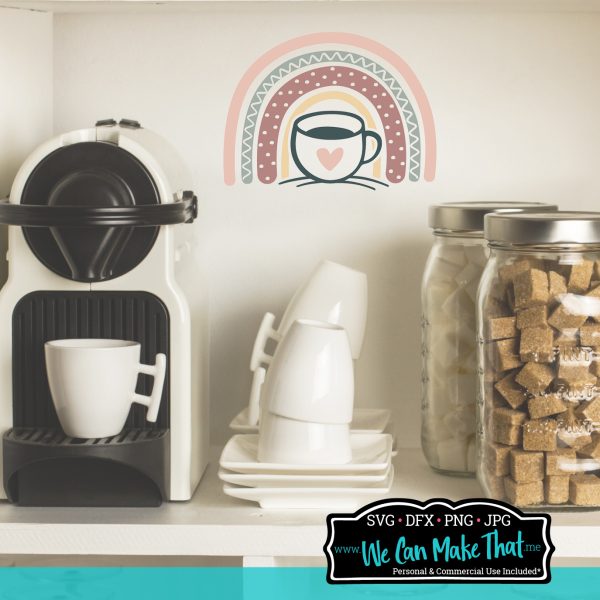
Kitchen Themed SVGs in our Shop


4 Other Ideas for Ready-Made Curtains
- Add some fun to your napkins. Use fabric glue (or a hot glue gun) and add pom pom strip along the edge.
- Use a flat sheet and cut to fit. This is helpful is you have a large window. Fold over the raw edge and add your clips along this edge.
- Use table runners for the fabric part of this curtain. This makes new attractive curtains for your home.
- Grab some antique flour sacks for a farmhouse-style curtain idea.

Put a new spin on traditional curtains and make this your style of your own DIY, the end result can be so different for everyone!
If you have extra fabric left, you can use it to make a table runner to match. Or, add the extra napkin under your napkin holder on your table to bring the decor together.
Looking for more decor ideas?
I love using my Cricut to make and create decor for around my house. Use these SVGs for kitchen decor signs.
-

-


-
 Free Gather SVG$0.00


Kitchen Remodel
This kitchen didn’t always look like this. When we bought this house, it had a “fun” 1978 theme going on. And was falling apart. I grabbed some scratch paper, my Pinterest account and got to work.
The idea of the navy and white cabinets was questioned by the builder many times. But in the end, he said he really likes them, too (not that it mattered because I loved them, LOL).
I shared the process and the end results here on the blog. It was fun to be creative with interior design and then watch it all come to life.
See the steps and before pictures here on the Kitchen remodel post and the final kitchen blog post.
Connect with Chelly!


this is perfect …. cool idea
I hung my kitchen towels over the rod as triangles hanging down, overlapping a bit, looks a bit more finished.
I made a valance for the glass block window in my bathroom with a tension rod and two napkins. I placed the napkins over the rod in a triangle (half on one side, half on the other with a little bit of overlap. I used another napkin to make strips, folded in half, hemmed and sewed them to make bows for each side. A little bit of sewing, but just a straight stitch.