Easy Farmhouse Soap Dispensers with Your Cricut
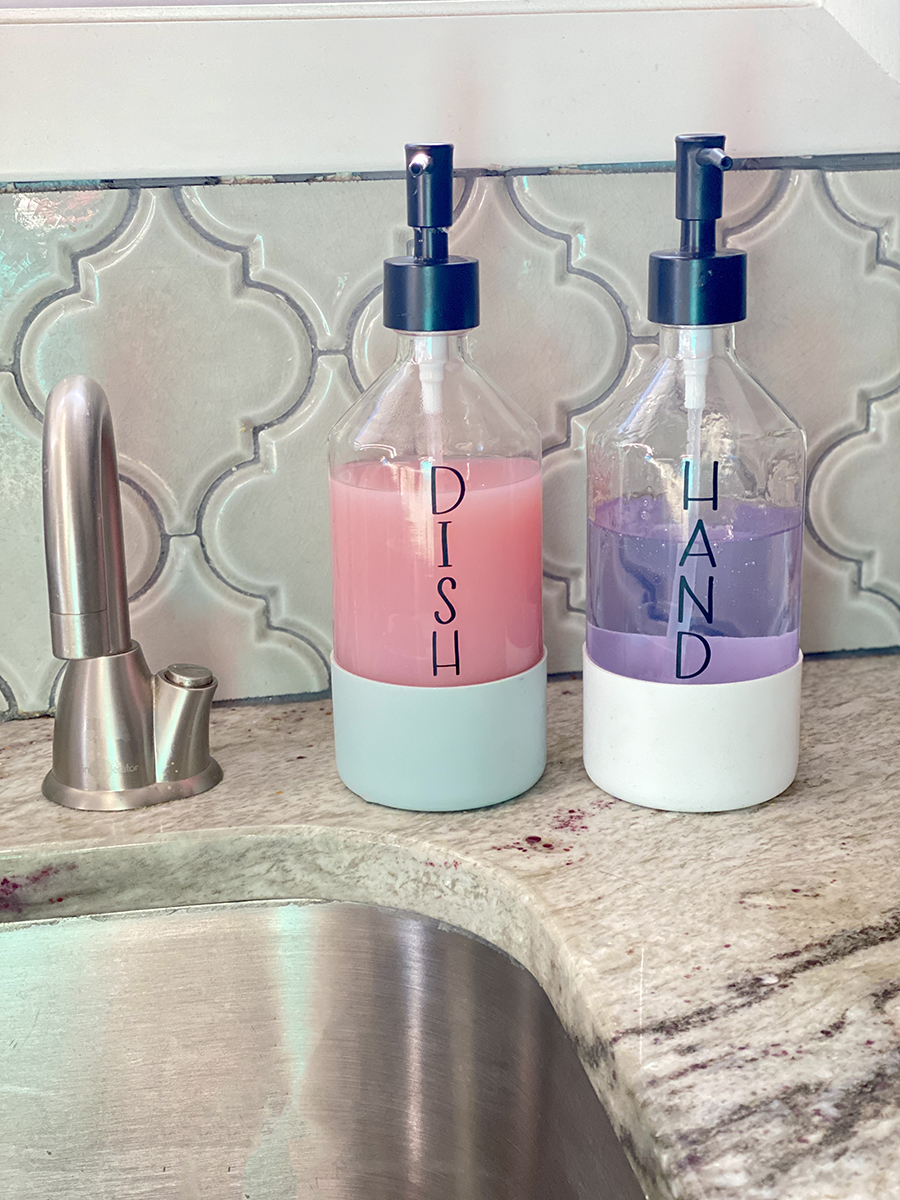
I have not met a woman who doesn’t love Target, and especially their dollar section. That’s where I found these ADORABLE soap dispensers. Aren’t they adorable?? Let’s DIY these Soap Dispensers with our Cricut!

Disclosure: Some links on this page are affiliate links – meaning if you click through and make a purchase I may receive a commission at no additional cost to you. For more information, read our full affiliate disclosure here.
Nothing like the Target dollar section and creativity to make your kitchen even cuter, right?
These grabbed my eye right away and I instantly thought, “I can add vinyl to those….” I’m sure you have uttered those words to yourself before as well — and it’s like we are BFFs if you said yes. LOL

Supplies to decorate your Glass Soap Dispensers!
- Favorite Font: I use CZSkinny from Design Bundles
- Soap Dispensers (mine are from Target)
- Cleaner – the vinyl sticks better if you clean the surface with a glass cleaner.
Making Farmhouse Soap Dispensers with Cricut
I started by cleaning the glass. This gives them a few minutes to dry before adding the vinyl. I spray a bit of cleaner with a paper towel and wipe them clean.

I might have a font problem. For real bro…. ha. But I believe fonts help you create a feeling. Often setting the tone for the look you want to want in your home. Using files like our Gather Free SVG or adding some labels to things around your home. Like soap dishes!
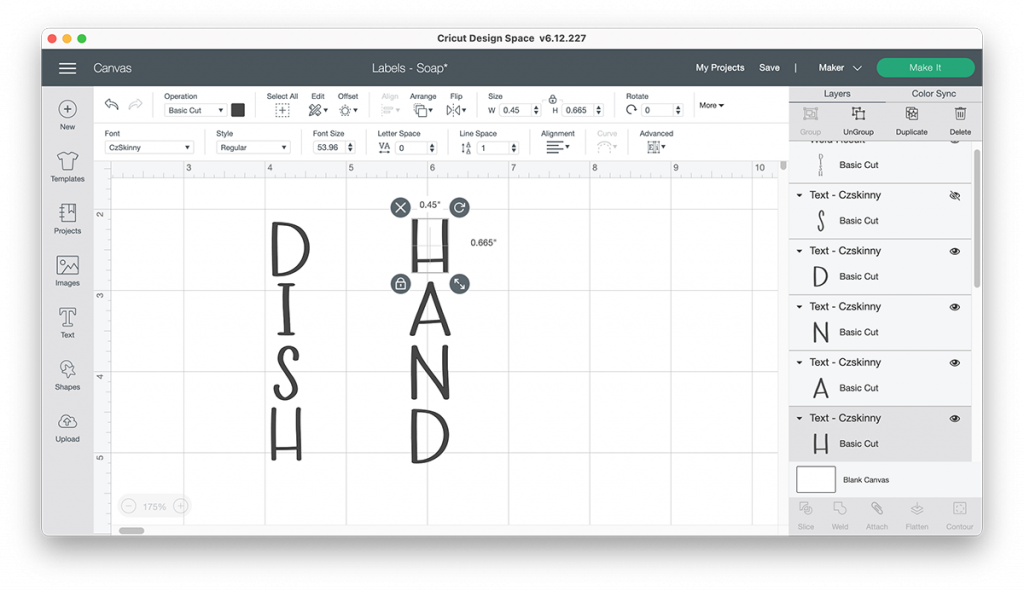
In Cricut’s Design Space, I made a text box and typed the word DISH, adding a return after each letter. Be sure to center the text so it cuts correctly.

Looking for other fun kitchen decor DIYs?
Easy to Make Cute, No-Sew Curtain Idea
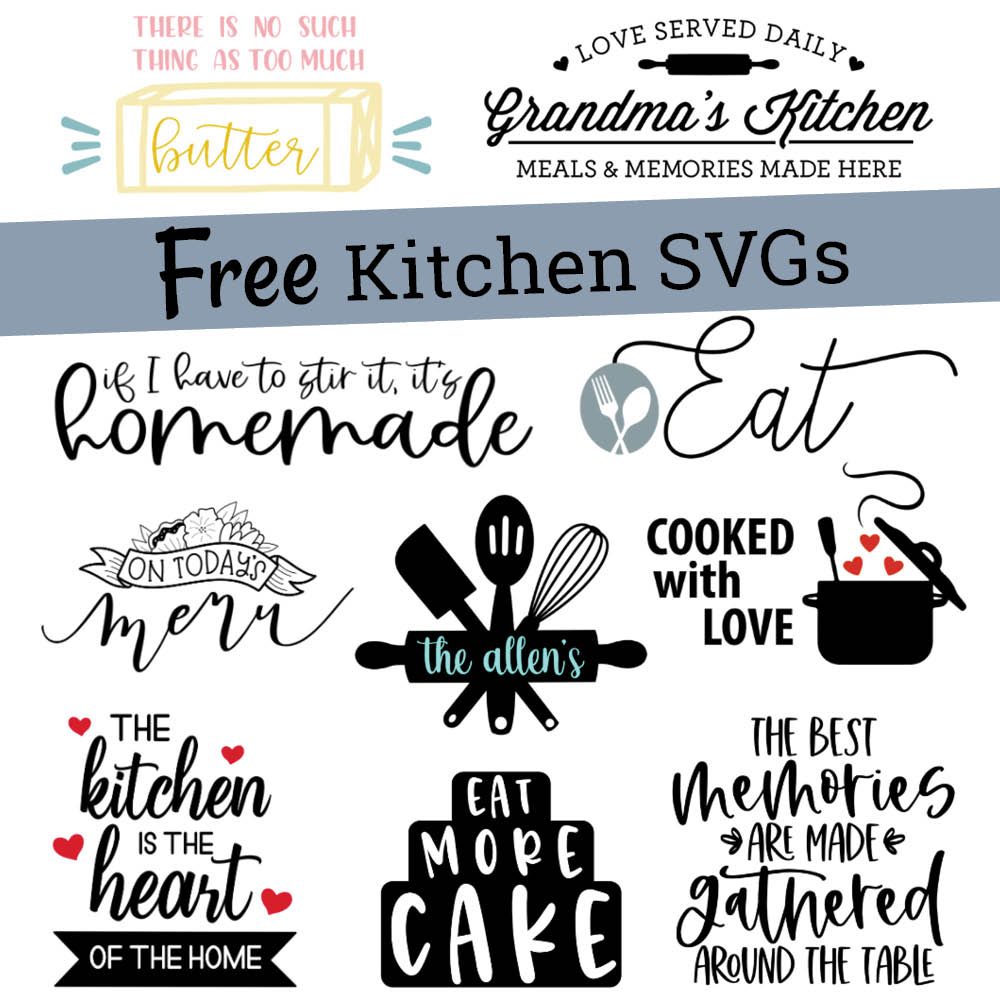
16 Free Kitchen Sign SVGs
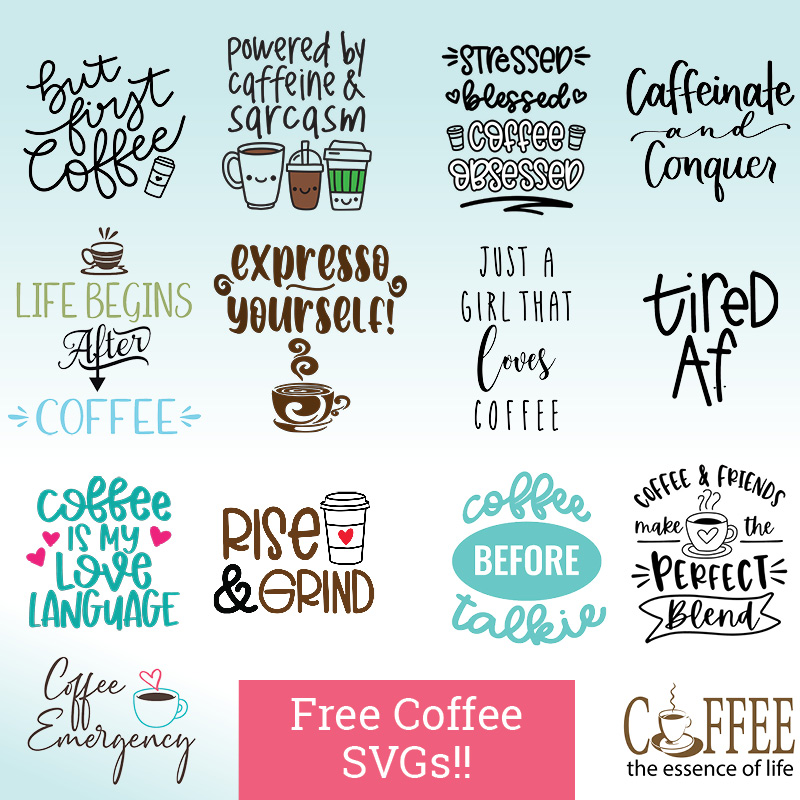
Free Coffee SVG Files
Kitchen Remodel is D.O.N.E.
Before cutting be sure to measure the space you want your word to fit in. We don’t want to waste vinyl! ha.

Next, I played with the spacing to adjust the space between each letter. This should visually look even so adjust any of them if needed.
To keep them in place, be sure to attach them before you click Make it.
I used the regular vinyl so they are not dishwasher safe. My plan was to just wash them as needed. They will hold up just fine and look so cute.
That way, you can use it later if you want. You are keeping the SVG design together for later use but making the cutting process easier this time.
When I said this was easy, I wasn’t kidding. That’s about it for this project. The main part or sometimes the hardest part of this type of easy DIY project is picking the right font.
The font I choose created the Farmhouse feel I was going for on this project and they look so good in our kitchen. I think it’s close to Rae Dunn’s style, but a little more playful.

Kitchen Themed SVGs
Decorating Glass Soap Dispensers
That’s it. It’s easy and if you mess up or don’t like them, it’s easy to remove the vinyl. I think they turned out cute. Look at those cuties next to my hot water tap! (Seriously my favorite part of the kitchen remodel. I can make a cup of tea in the time it takes to fill my teacup. I got mine at Lowes!)
Goodbye 1978 kitchen!

Now I have to brag about my kitchen a bit. We bought our house a few years ago, and the only thing we hated was the kitchen. It was not updated like the rest of the house. Before my oldest graduated, we updated the kitchen, and we are so glad we did. It’s so pretty I think.

Our contractor wasn’t sure about the navy and white cabinets but when it was done, he agreed it was a good idea. (Not that I really cared what he thought, I loved it!) You can read the two blog posts about the kitchen remodel here. Remodeling my kitchen and the remodel is DONE.


