
Is your Cricut still in the box? Card Making 101

Who got a Cricut for Christmas, but it is still in the box?
Maybe you thought, “That would be so cute to create shirts for my daughter!” Maybe you were more ambitious (or crazy, the jury is still out) and thought, “I could make a business out of crafts and finally stay home!”
Whatever your thought was for wanting a Cricut, is it still in the box and you are stuck on where to start?
Don’t worry, girl. I got your back. Let’s get you started by creating a simple card. I promise you won’t break it. Just OPEN. THAT. BOX!
Your First Project on Your New Cricut

This first project should not be difficult, but it should be cute! That’s what I love about these cards! They are the perfect project for a beginning Cricut-er, and they can be completely customized to your own design!
Supplies for Cricut Card
- Paper for the card (back layer), or pre-cut card
- Paper for the top layer
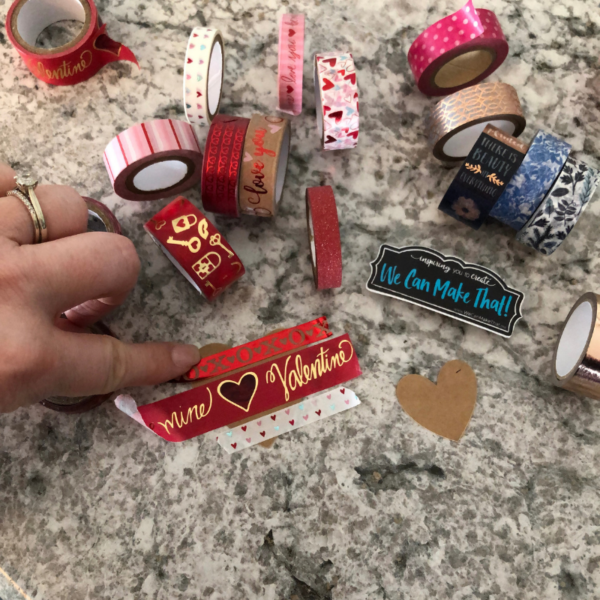
- Washi tape
- Dimensional pop dots
- Cricut
- Adhesive
- Optional: Marker or embellishments to decorate your top layer
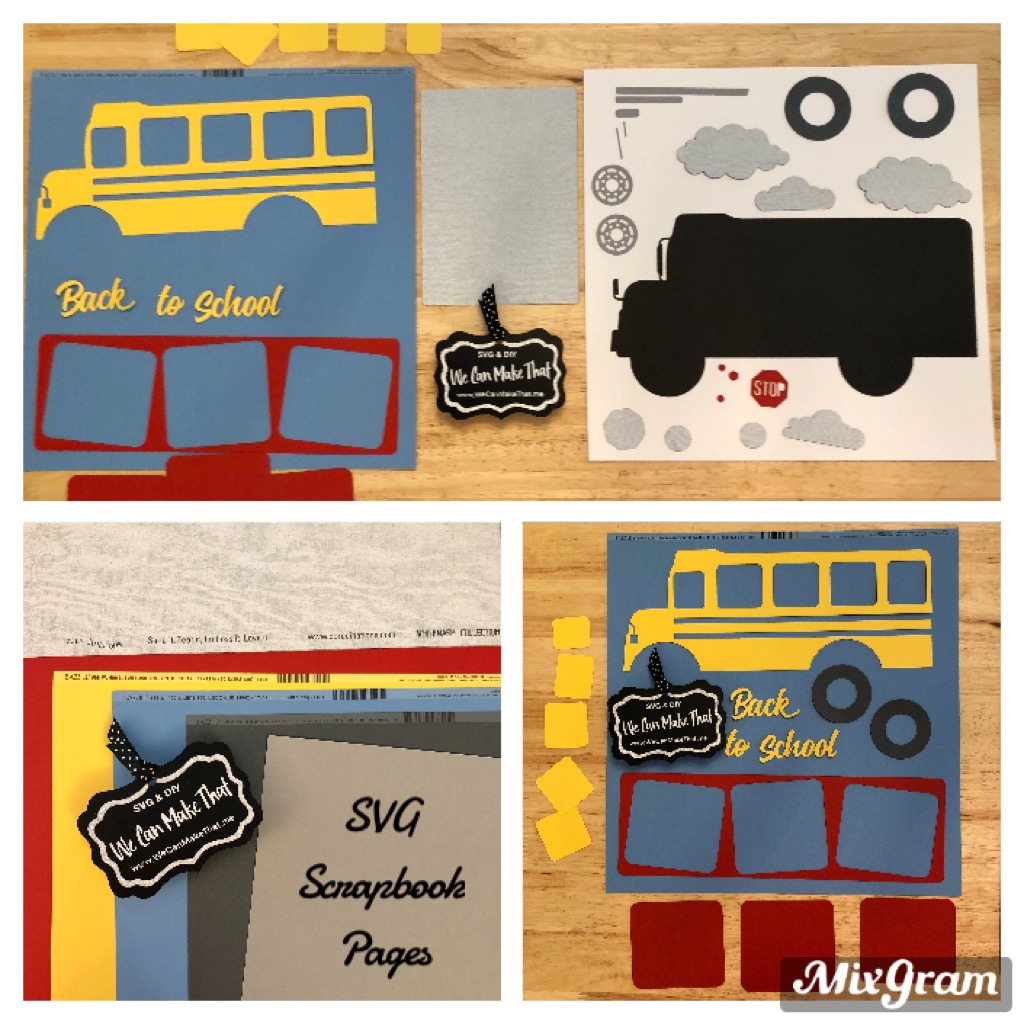
Looking for Free SVG Files?
I love to Inspire You To Create and regularly bring you free SVG collages like this post. We have many free themes: Free camping SVGs, Free Doormat SVGS, Free Inspiring Quotes SVGs, St. Patrick’s Day SVGs, and Free Coffee SVG themes.
To view the list of blog posts that have free SVG files you can use with your Cricut or cutting machine, click HERE.

Step-by-Step for the Design Space
- Open the Cricut box & set up the Cricut system on your computer.
- Click “New Project.”
- Click on the “Shapes” tab on the left-side menu. Choose a square.
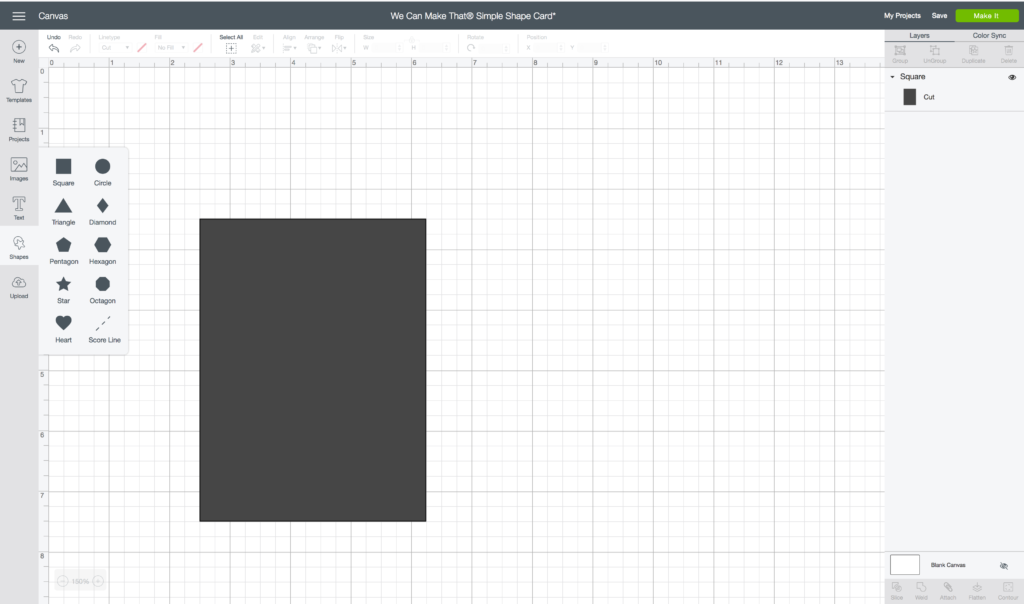
4. Change the square size to match your card (bottom layer) size.
- Begin to watch the video above at 2 minutes & 30 seconds to see how to adjust to a non-square card size!
5. Add the shape that you want on the top layer of your card to the inside of your square.

6. When you have all the shapes you want, click in a white space and drag over your entire project (entire square) to select – Click “Attach.”
Select “Make It” in the top right corner.
Hit “Continue” after you position your document on the cutting mat.
This will need to be the same on your ACTUAL cutting mat as well!
Set up your cut screen, cut the card, and ta-da!
After the Cut
- Remove the shapes from your top layer card.
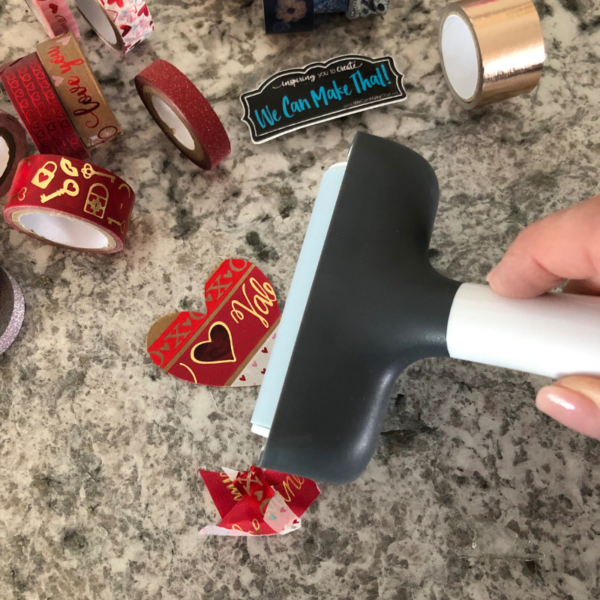
- Next, apply washi tape behind your shapes that you removed.
- Make sure to roll the washi tape on so that it sticks & doesn’t have any bubbles.
3. Add dimensional pop dots on your top layer card. Be sure to add some around the shape so that it doesn’t sag.
4. Adhere one side the top layer on your bottom layer card. (No washi tape shapes yet…)
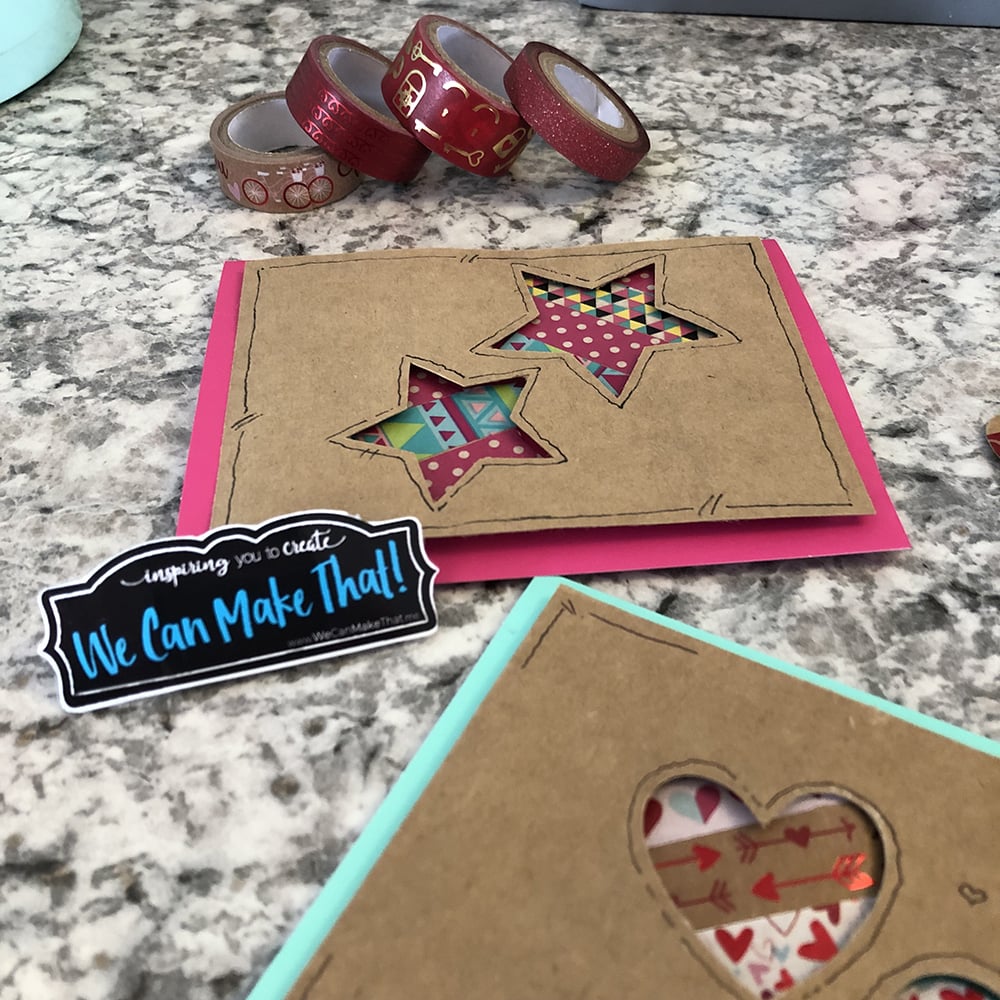
5. Layer your cut-out washi tape shapes under the top layer. Make sure to use lots of adhesive to keep the shapes on the bottom layer card!
6. Now adhere the other side of the top layer.
7. Optional: Add embellishments to show off your unique style!
Once you make a simple shape card, then you can do almost anything on Cricut! Check out my video library for your next project idea!
Perfect for all occasions!
You can use these cards as quick thank you notes, graduation cards, create a personalized set for a friend, or, like I sometimes do, give to the elderly in a nearby nursing home.
- Stars = Graduation, congrats, birthday
- Hearts = Wedding, new baby, hello
- Circles = make a fun balloon card
- mix shapes = child’s birthday
Also, there is an SVG in the shop that you can use to make a Bunny shape! Perfect for a spring-themed card! You can see it here.
Whatever you do with these cards, I want to see them! Make sure that you send me a photo on the We Can Make That Facebook page or comment below with your photo.


Thank you for this quick idea for a card front. I have been using my Cricut for almost a year and made several cards, but I haven’t tried creating my own card front, yet. Now I will!