4th of July Fireworks Scrapbook Page
Let’s make a 4th of July Scrapbook page of Your 4th of July Firework. This Scrapbook Page has a SVG to create with your Cricut or other cutting machine.
Disclosure: Some links on this page are affiliate links – meaning if you click through and make a purchase I may receive a commission at no additional cost to you. For more information, read our full affiliate disclosure here.
Simply CUTe SVG | Simply CUTE, Simply CUT for quick scrapbook pages you can cut and assemble in just minutes.
This one was so fun to create. Check out my new 4th of July Fireworks Scrapbook Page. I’m super excited about this puppy! Ha.
Here’s a look at the final 4th of July Fireworks Scrapbook Layout all assembled with a couple of photos added
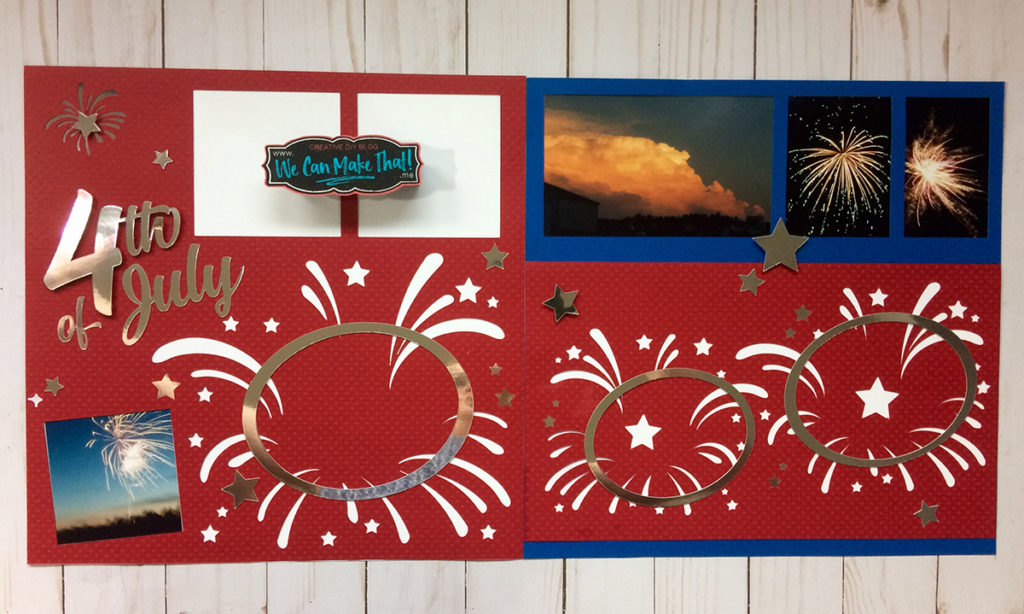
Who else takes tons of fireworks pictures each July 4th holiday only to leave them in your camera ??
I’m guessing you raised your hand. And this Simply CUTe SVG will be perfect for you too.
My Simply CUTe SVGs allow you to create quick and CUTe scrapbook pages in a short time for your scrapbooks.
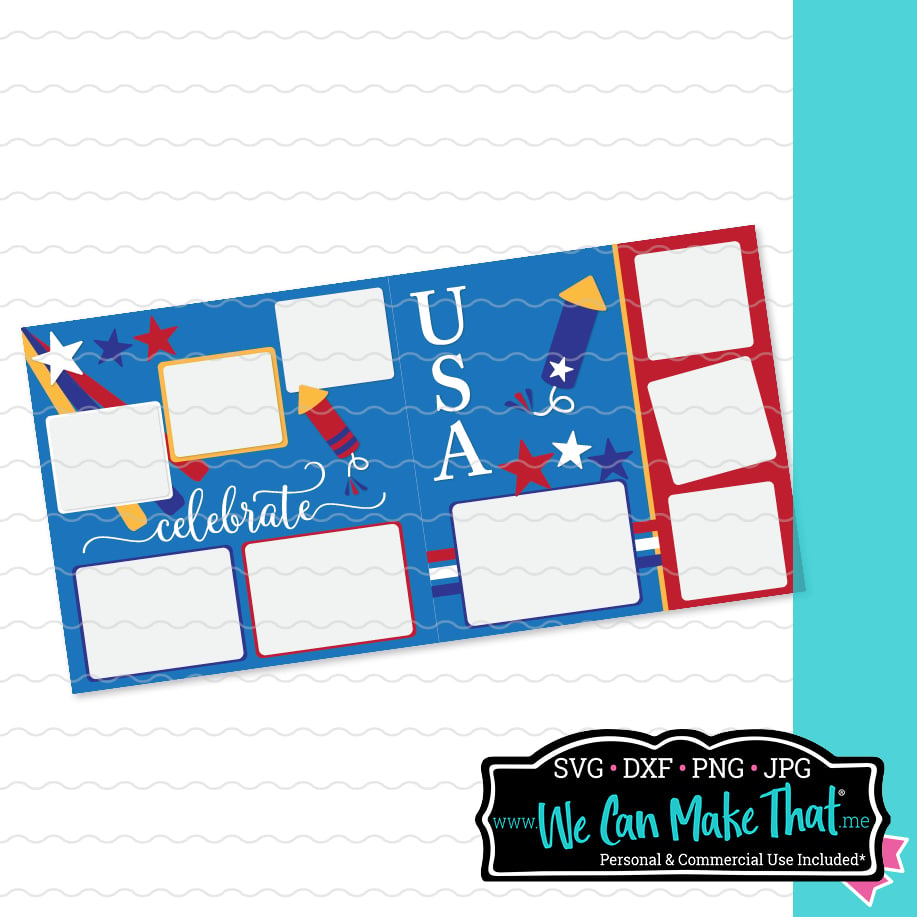
I used my Simply CUTe concept to design this layout. It’s an easy design and holds at least nine pictures!
SVGs for Scrapbooking with Your Cricut
4th of July Fireworks Scrapbook Page “Simply CUTe” Steps:
Here are the easy steps you’ll need to follow if you want to make it look just like mine. It’s also easy to tweak and make it your look with papers and embellishments of your choice if you want. You can even rotate the pages (or the silver ovals) for a new look. I usually cut two out, one for each of my kids’ books.
I’ll list the colors and items I used according to the picture of my final product:
Supply list:
- 1 – Blue 12×12 Cardstock Sheet of Paper
- 2 – Red 12×12 Cardstock Sheets of Paper
- 1 – Silver 12×12 Cardstock Sheet of Paper
- 2 – White 12×12 Cardstock Sheets of Paper for the backing. (The starburst will appear this color.)
- Adhesive and tape of your choice, plus pop dots for embellishments
- Pictures (I used 9-10 total)
SVGs for Scrapbooking with Your Cricut
Step 1). Prepping the files & supplies
Purchase and download the files Simply CUTe 4th of July Scrapbook page SVG from my Shop.
Collect your paper and pics. Unzip the folder (if your computer didn’t already do this).
When Purchasing the SVG files, you will receive are:
- 1 Blue page SVG file
- 2 Red page SVG files
- 1 Silver page SVG file
You can use any color, but this way you should be able to see what each layer will be used for when comparing to the finished layout.
Next, upload only the four SVG files to Cricut® Design Space.

Click the picture to learn more about uploading SVGs.
Step 2). Cutting the items in Cricut Design Space™“>Cricut® Design Space
After all four files uploaded, I selected and placed them all into a New Project. When cutting I used the EYE on the right side to hide, view, and attach each layer before I cut.
*Be sure to click the ATTACH button for each file, so it cuts as shown.

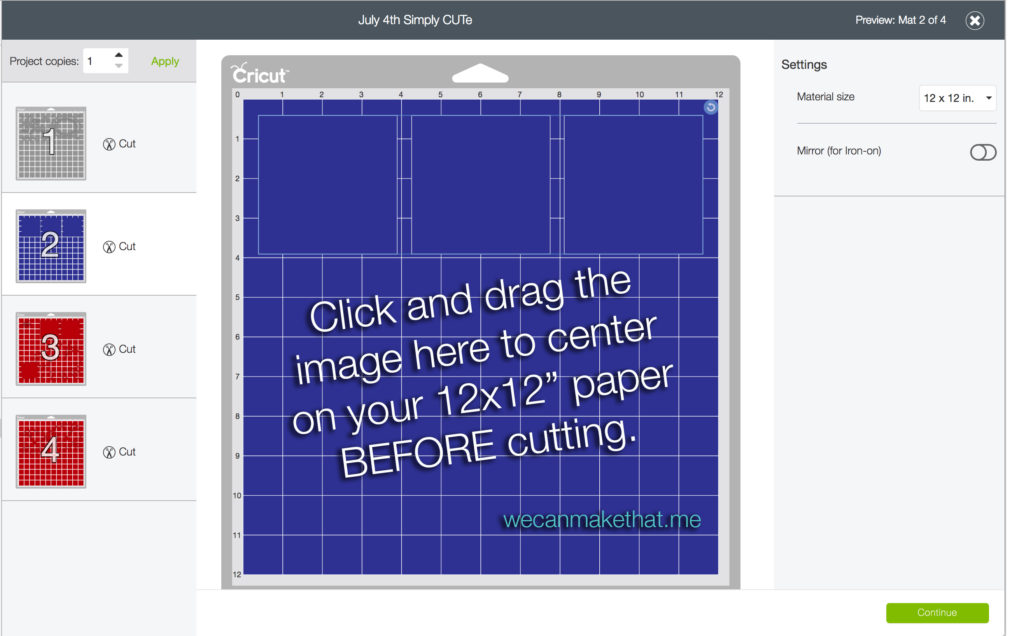
Before you click cut, be sure to center the large red file and the large blue file, so it cuts where you want it too on your 12×12 scrapbook page. I visually centered these on the 12×12″ page.
Please note: On the last mat view they appeared off-center, check on the first view, so they are where you want them. (I did this in Cricut Design Space™“>Cricut® Design Space BETA version of the software. Hopefully, that’s upgraded soon).
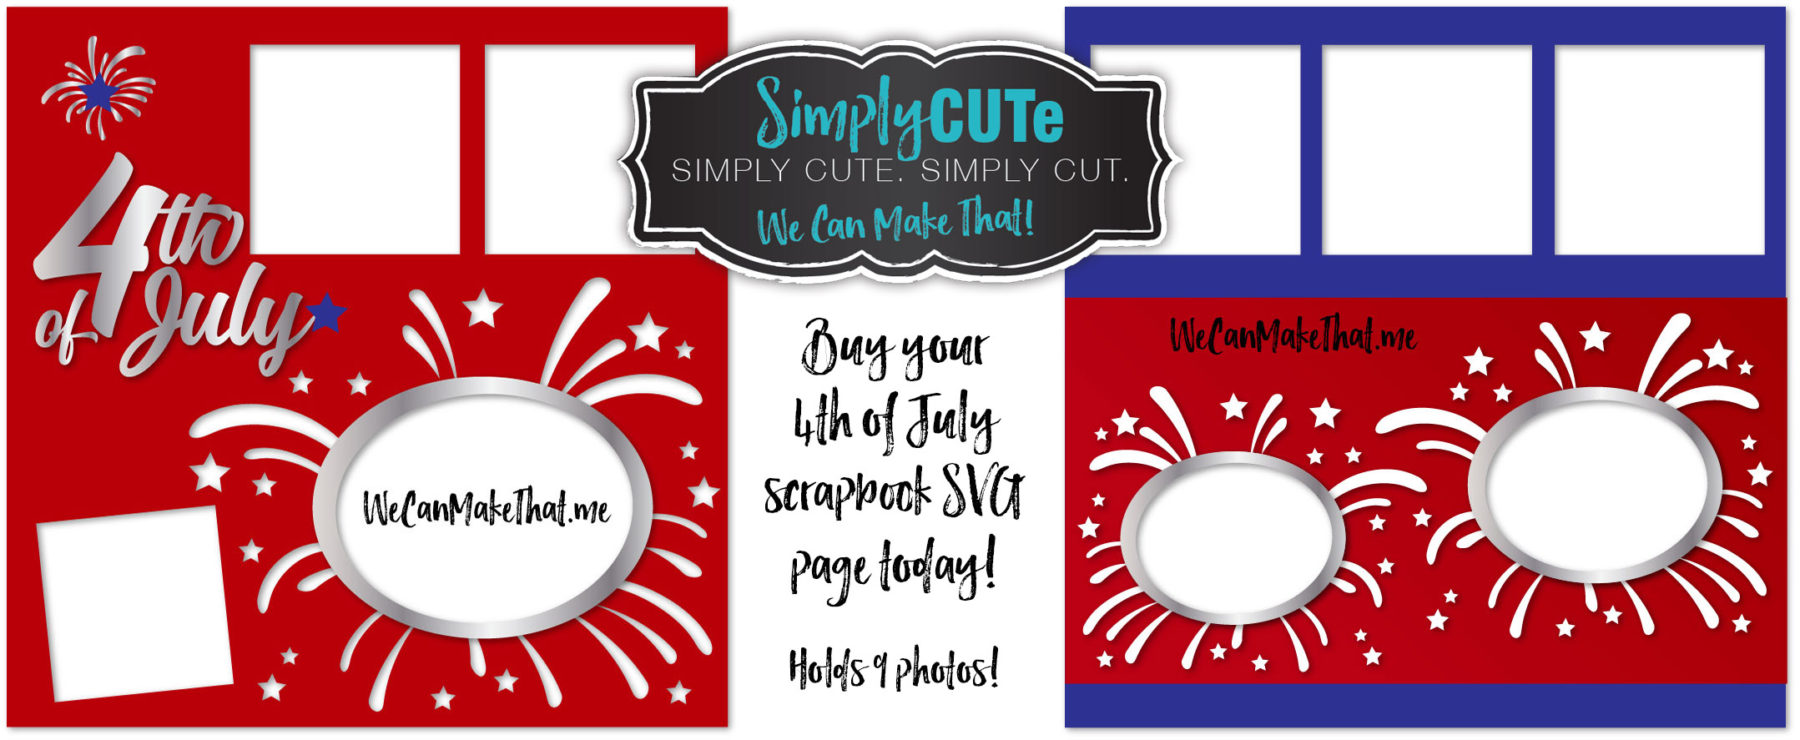
Below are JPGs included in the purchase for a visual aid that you can refer to as you cut and assemble your page.
They are generic examples of color:
Step 3: Now all that is left is to assemble your page!
The pre-designed page speeds up your scrapping time and lets you finish a 2-page layout in no time! Here are a few steps to follow.
July 4th Fireworks Simple CUTe Assembly Instructions:
- Add photos behind the Red and Blue page photo cut-outs.
- You can cut the bar between the boxes on the top to better fit your pictures. I used double-sided tape to adhere it between my pics shown here.

- Tape the silver circles behind the cut-out stars of your choice. (You can use the silver scraps to add more if you want.)
- Cut one white page to 6 3/4″ X 12″. Adhere to the back of the red 7″X12″ starburst page shown on page 2.
- Add pop dots to the “4TH” of July silver word. I taped the “of July” words down with double-sided tape.
- Add photos to silver circle borders. They can go either wide or tall direction. I adhered mine with pop dots to make them POP!

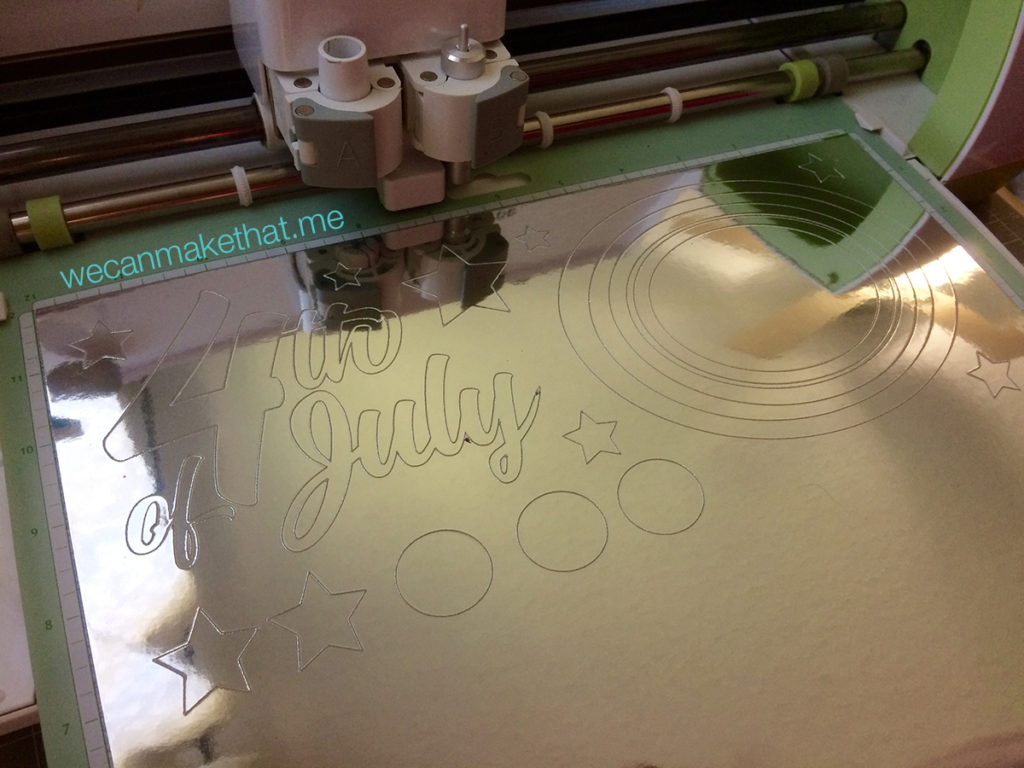
The mirror paper is shown above. There are also a couple of photos of a hologram-type paper that worked well too.
But the mirror paper just jumps off the page. Don’t you just love it?!? I purchased mine at Hobby Lobby: Silver Foil, Bazzill Basics Paper is the brand.

A few notes:
- The SVGs you purchase and upload are color-coordinated with the paper colors shown above but can be cut any color of course. I cut them on Red & Blue cardstock and a Silver Foil, Bazzill Basics Paper, mirror looking paper, [I cut that one on posterboard setting].
- Once they’re cut, simply tape your photos behind the mats and add the extra stars it cut to the layout. I used pop dots on the words to add some dimension. See assembly instructions above for more details.
- TIP: I used pop dots on the words, silver photo frames and a couple of the stars to add some dimension.

Thanks to my Simply CUTe SVG line in my shop, we can make a layout in just minutes. (I’m not responsible for how long it takes you to pick out paper, or any other impulse buys as you run to your favorite craft store for patriotic-themed paper.)

These Simply CUTe SVG files are also great if you do a book for more than one kid! They go so fast and can look adorable. You can add the embellishments right away or go back later and bling to them.
If you attend scrapbooking crop retreats, you can pre-cut many layouts and assemble them there. If you have an event you would like to see a Simply CUTe layout design around; please comment below. I will watch the comments for ideas for my next design.








This such a pretty design. Very much thank you for explain steps to create it, instructions very helpful to me. How you get ideas to creat all different designs?
Love 4th of July