Mummy Halloween Homemade Card

Get your spook on with this Halloween homemade card idea! It’s a fun project to do with kids, and a great way to use up leftover scraps of paper. This easy card requires only paper, pens, and a few embellishments, but I’ve also added some extra tips to lean into your creative side.
Disclosure: Some links on this page are affiliate links – meaning if you click through and make a purchase I may receive a commission at no additional cost to you. For more information, read our full affiliate disclosure here.
If you’re a fan of sending homemade cards, this Halloween homemade card is a perfect project to get creative with scraps of paper. Homemade cards are not only budget-friendly but also a thoughtful way to spread holiday cheer.
Watch the video now! I share how I made this Mummy Halloween Card!

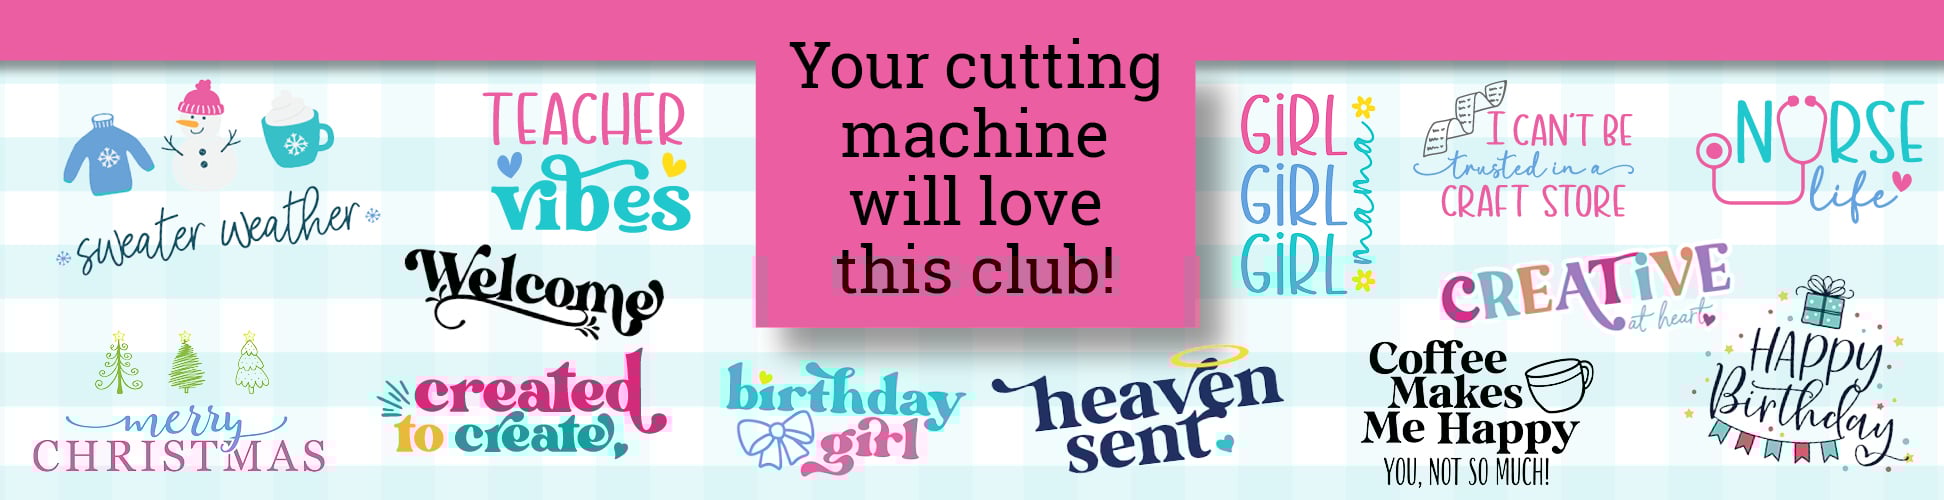
Join the We Can Make That’s Free Crafting Facebook Group Here!
Supplies for Your Mummy Halloween Card
Here are the supplies I used for my Halloween card in this tutorial. Feel free to customize your card with different colors and materials:

- Card base or folded cardstock
- Mummy-Colored Paper “A” (cut 0.75” smaller than your card) – this forms a border behind your mummy. Use black, brown, or another Halloween color.
- Mummy Layer Paper “B” (cut 0.5” smaller than your card) – white works best to match your mummy strips.
- White paper for the mummy strips (linen or textured paper adds extra detail).
- Scissors
- Distressing tool
- Glue or double-sided tape
- Ink pad (gray or brown)
- Personalized stamp for back
- Optional: Marker to draw the eyes
- Embellishments: Googly eyes, ribbon, happy Halloween stamps, etc.
WAIT LIST OPEN


Assembling Your Halloween homemade card
Whether you’re crafting with kids or making something spooky to send to friends, this mummy card is sure to be a smash! Assembly is easy and doesn’t take much time, but it sure is fun!
Step 1: Mummy Card
Begin by choosing your card base—either folded cardstock or a pre-cut/folded card works perfectly. I recommend sticking with Halloween-themed colors.


Cut about 20 strips of white paper, each about 0.5 inches wide and slightly longer than your card.
Ink and distress the edges to give the strips a weathered, mummy-like look. Crumple the strips, smooth them out, and distress them further if desired.
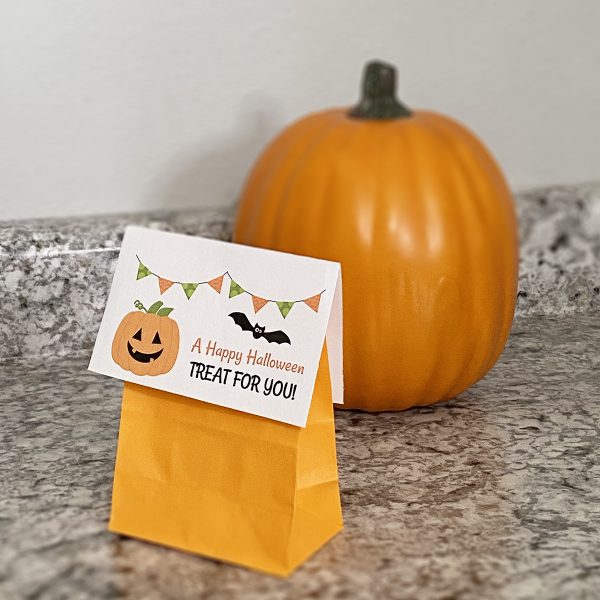
NOTE: For the orange card shown, I use a textured paper and inked only a couple of strips. For the green/black card, I crumbled the paper for the texture and inked all of them.

Step 2: Mummy Strips
Start assembling your mummy by gluing the strips onto Mummy Layer Paper B, beginning at the bottom and layering upwards. When you have all the strips on it, trim the excess strips hanging over the edge.
Attach Mummy Layer Paper B to Mummy-Colored Paper A, leaving a thin colored border around the edges. This adds a fun pop of Halloween color to your card.


Step 3: Finish Your Card
Add googly eyes, draw a face, or even draw on some cute eyelashes to give your mummy some personality. If you want a girl mummy, add a simple bow to the top.
Use foam squares to attach your mummy to the card base, adding dimension to your card look. I love layers on handmade cards. It adds a more professional feel.
Blogs with more cards
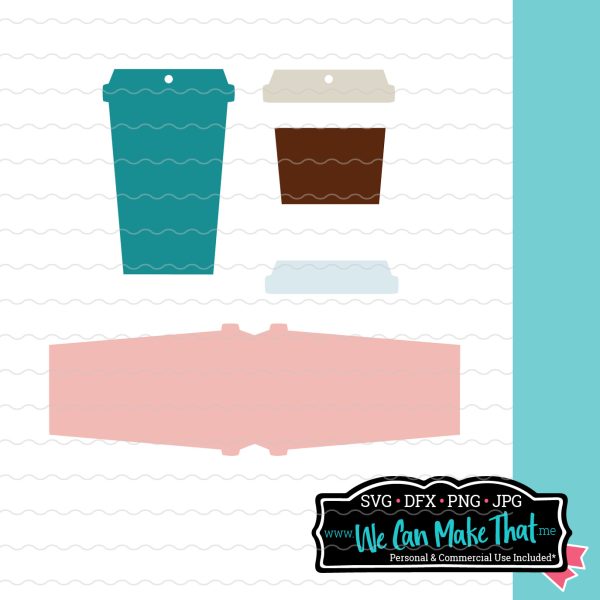
You can use the envelope SVG for more than handmade cards. Here are 2 home decor craft ideas:


Finally, personalize the inside with a Happy Halloween greeting, and stamp the back with your personal signature or branding. This is fun way to upscale your cards.
Now you have a spooky, handmade Halloween card that also helps you use up paper scraps! (Need help organizing your scraps? Click here)
More Handmade Card Ideas
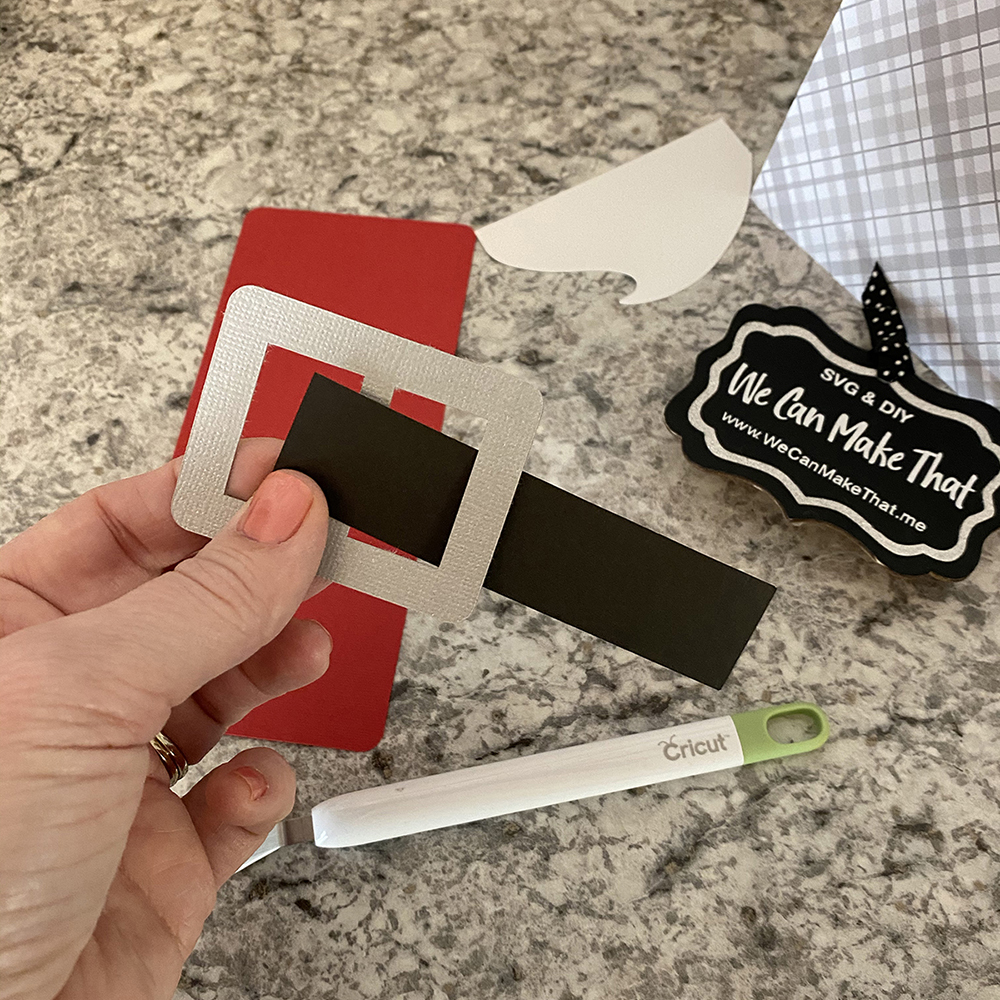
While the mummy card is a standout for Halloween, consider trying other fun themes like pumpkins, ghosts, or black cats. Use your Cricut machine to cut intricate designs or make layered cards with bats and haunted houses. The possibilities are endless when you’re making Halloween homemade cards with a Cricut or just paper and pens.
Year-Round Handmade Cards
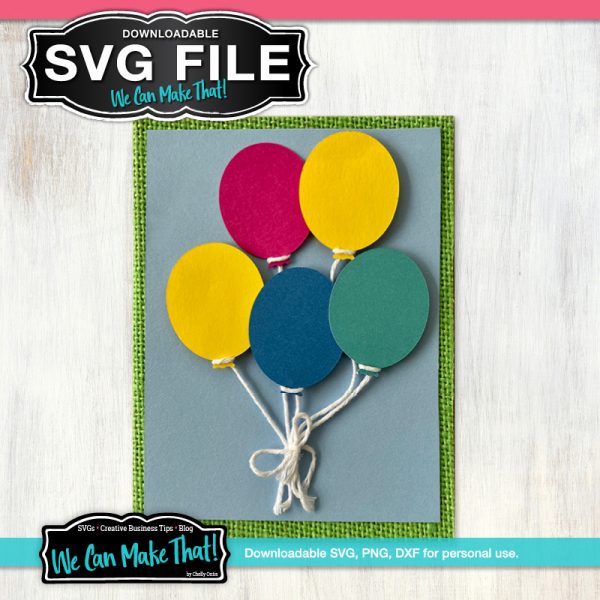
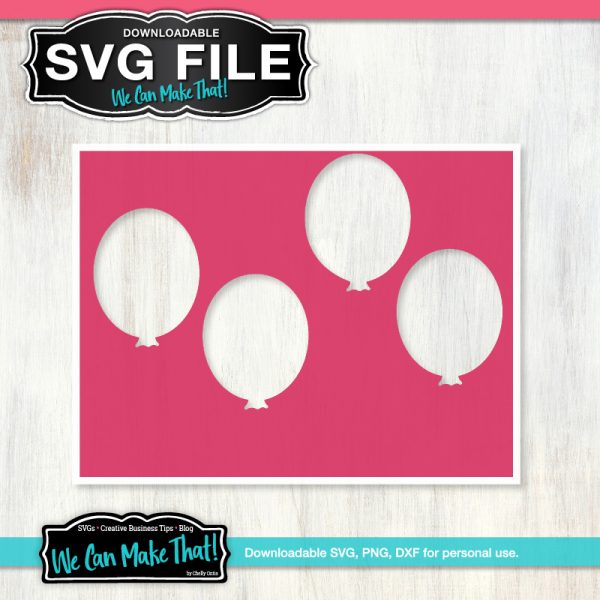
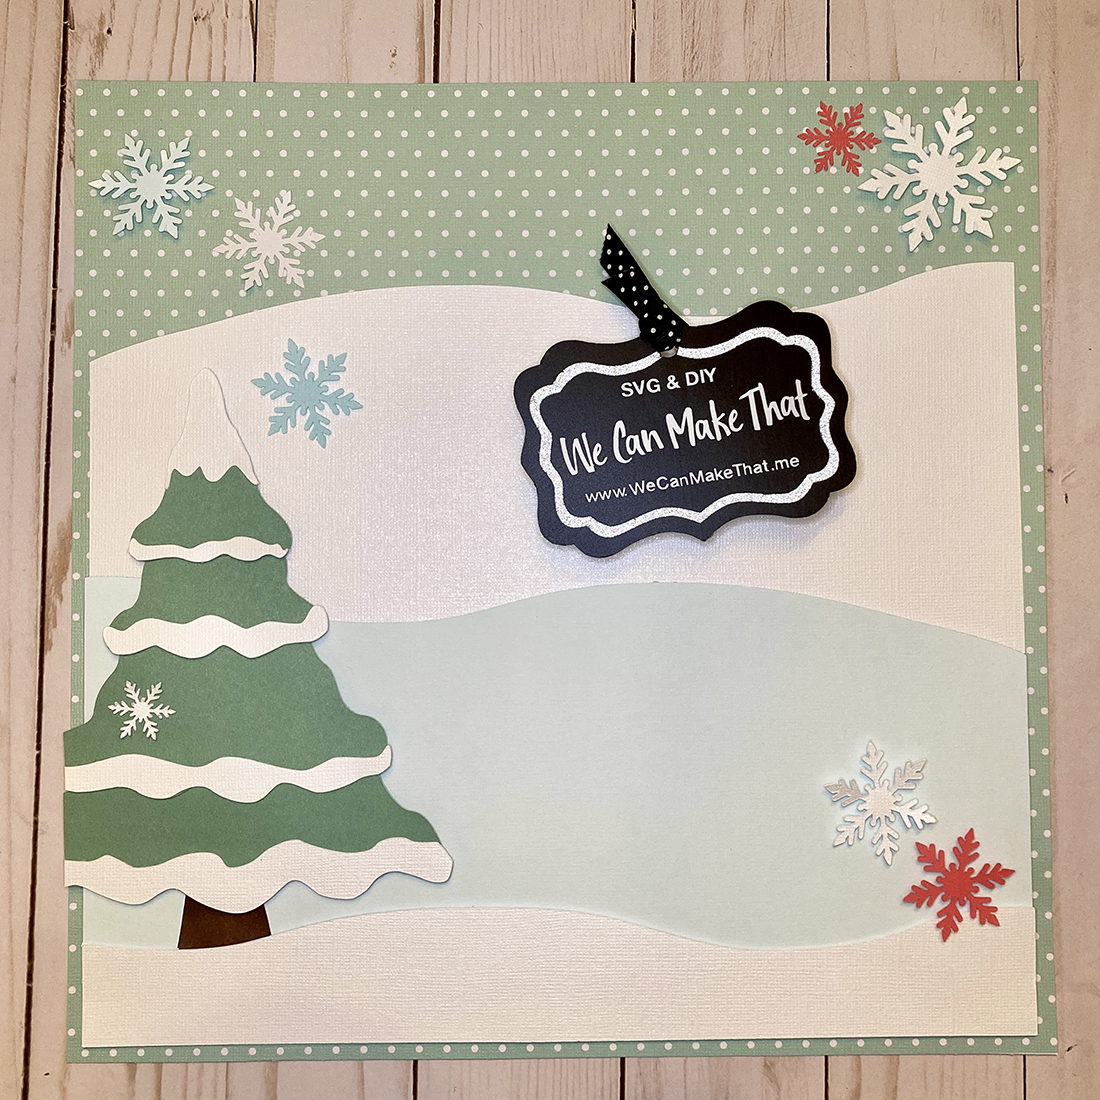
If you love cardmaking, don’t stop at Halloween! You can use similar techniques for other occasions like birthday cards, Christmas cards, and more. For birthdays, add balloons and confetti to your design, and for Christmas, think of layered Christmas trees or snowflakes.
-
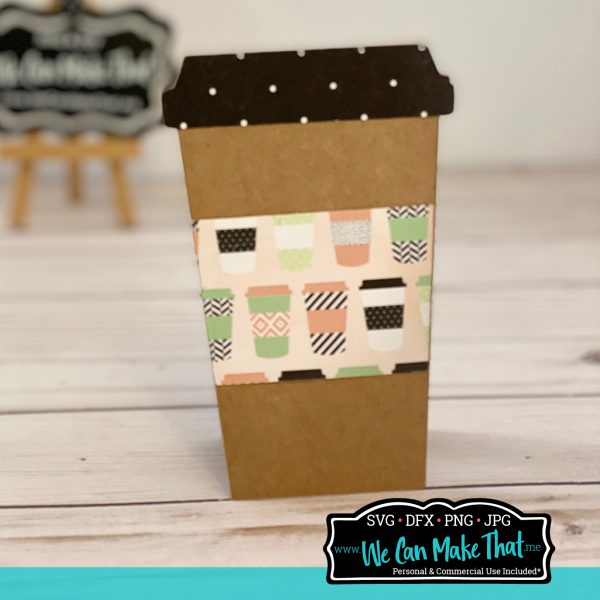
 Coffee Cup SVG Card$3.00
 -
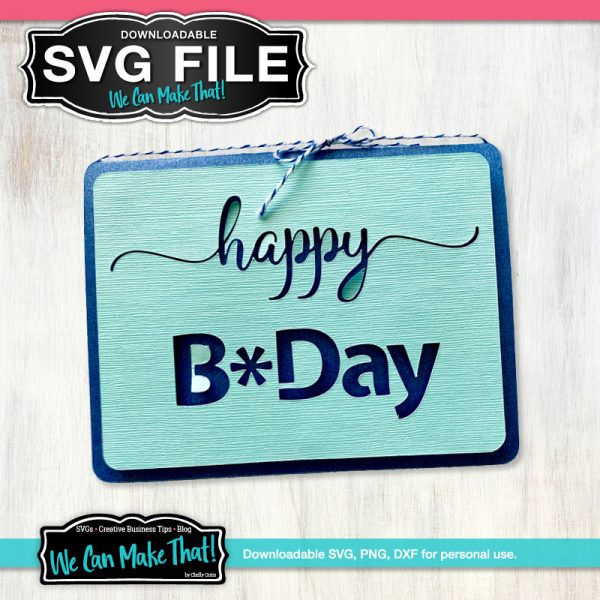
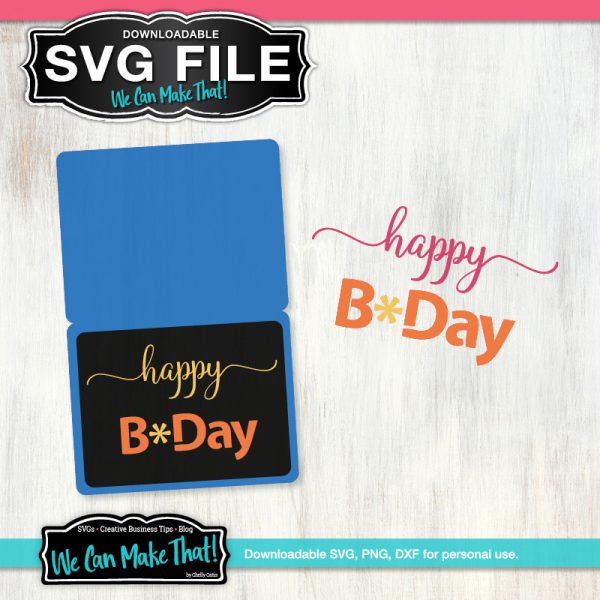
Happy Birthday Card SVG$3.00
-


With a Cricut, you can create personalized designs for every season, and by using up more scraps!
Whatever the occasion, handmade cards show thoughtfulness and creativity—plus, they’re a great way to use up leftover craft supplies. Happy crafting!
-
-
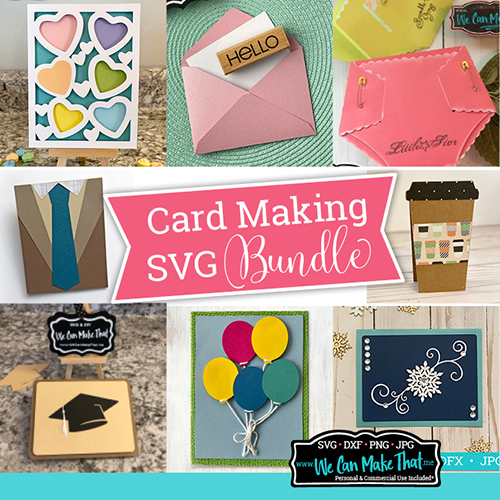
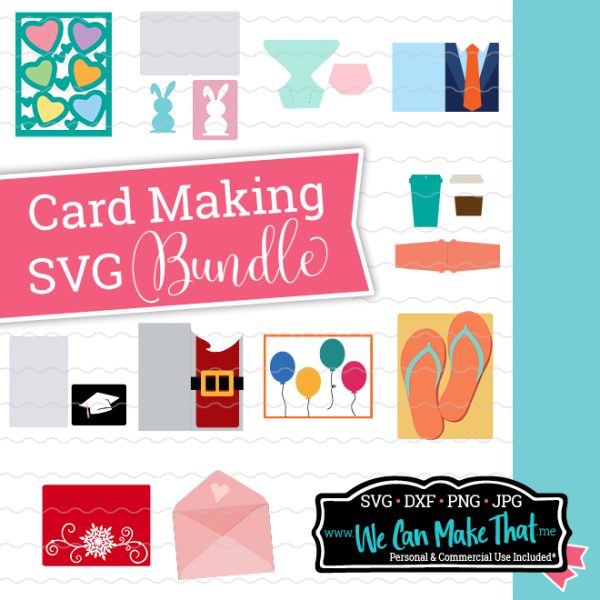
 Card Makers SVG Bundle$30.00
 -