
How to Create Reversed Canvas Signs
First, what is a reversed canvas sign? Before we walk through the steps on how to make a reversed canvas sign, let’s talk about what they are…
A Reversed Canvas simply means you take a regular wrapped canvas and use the uncoated side while exposing the frame.
Disclosure: Some links on this page are affiliate links – meaning if you click through and make a purchase I may receive a commission at no additional cost to you. For more information, read our full affiliate disclosure here.

This gives it a more natural or rustic feel. Also, painting the frame can really change the tone of this art.
How to Make a Reversed Canvas Sign for Your Home
Do you need a thoughtful gift for an upcoming wedding? These reverse canvases make great personalized gifts for new couples, parents, graduates, you name it! The frame can be painted any color, and the text options are endless!
I made these from simple artists’ canvases that I picked up at Michaels. You can get them in packs of two, or you can get them in value packs for multiple projects.
Supplies you will need
- Canvas
- Canvas hangers
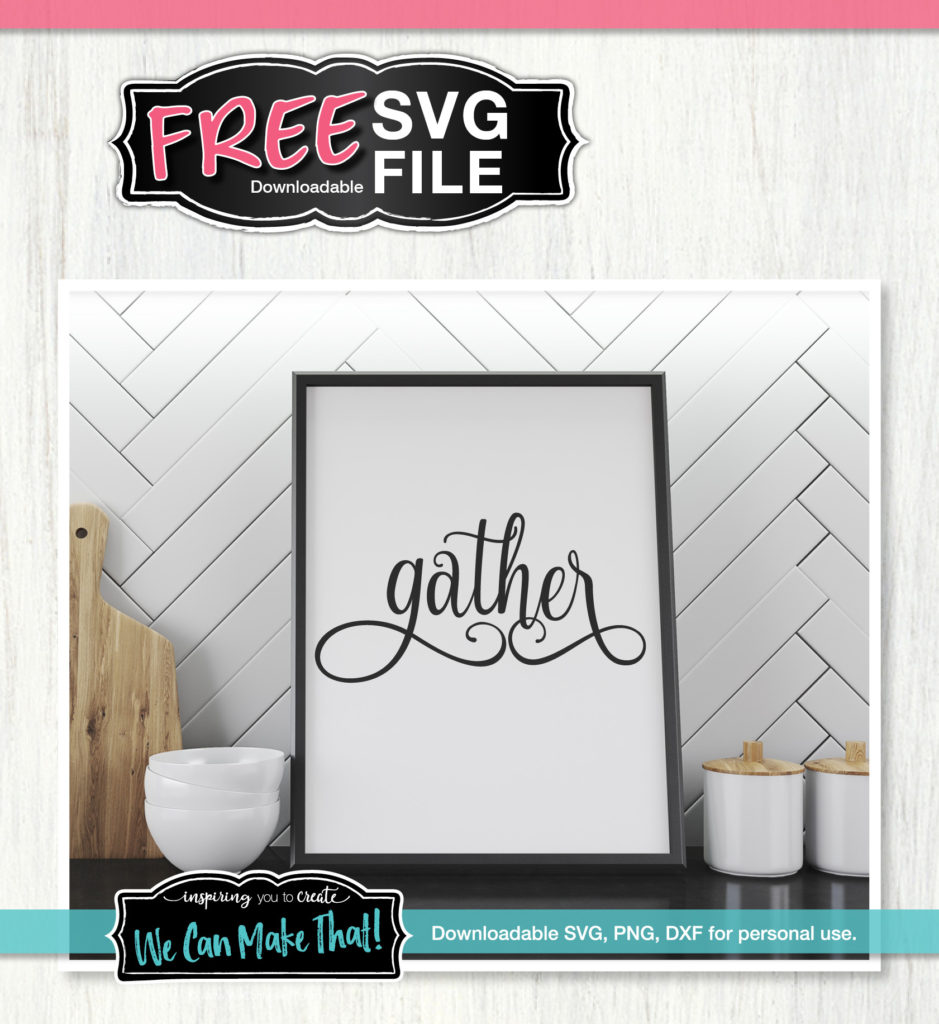
- Good morning Beautiful and handsome SVG file
- Iron-On Vinyl
- Paint or stain for the frame (optional)
- Sandpaper (optional)
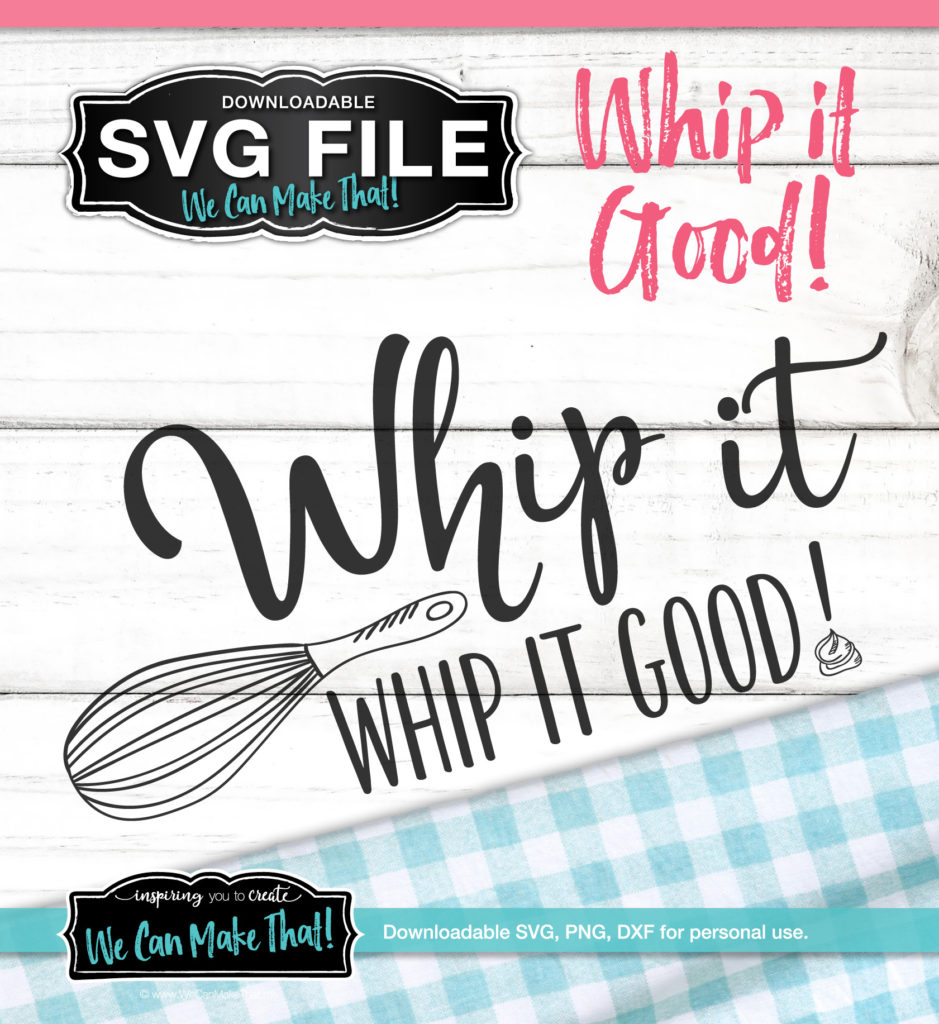
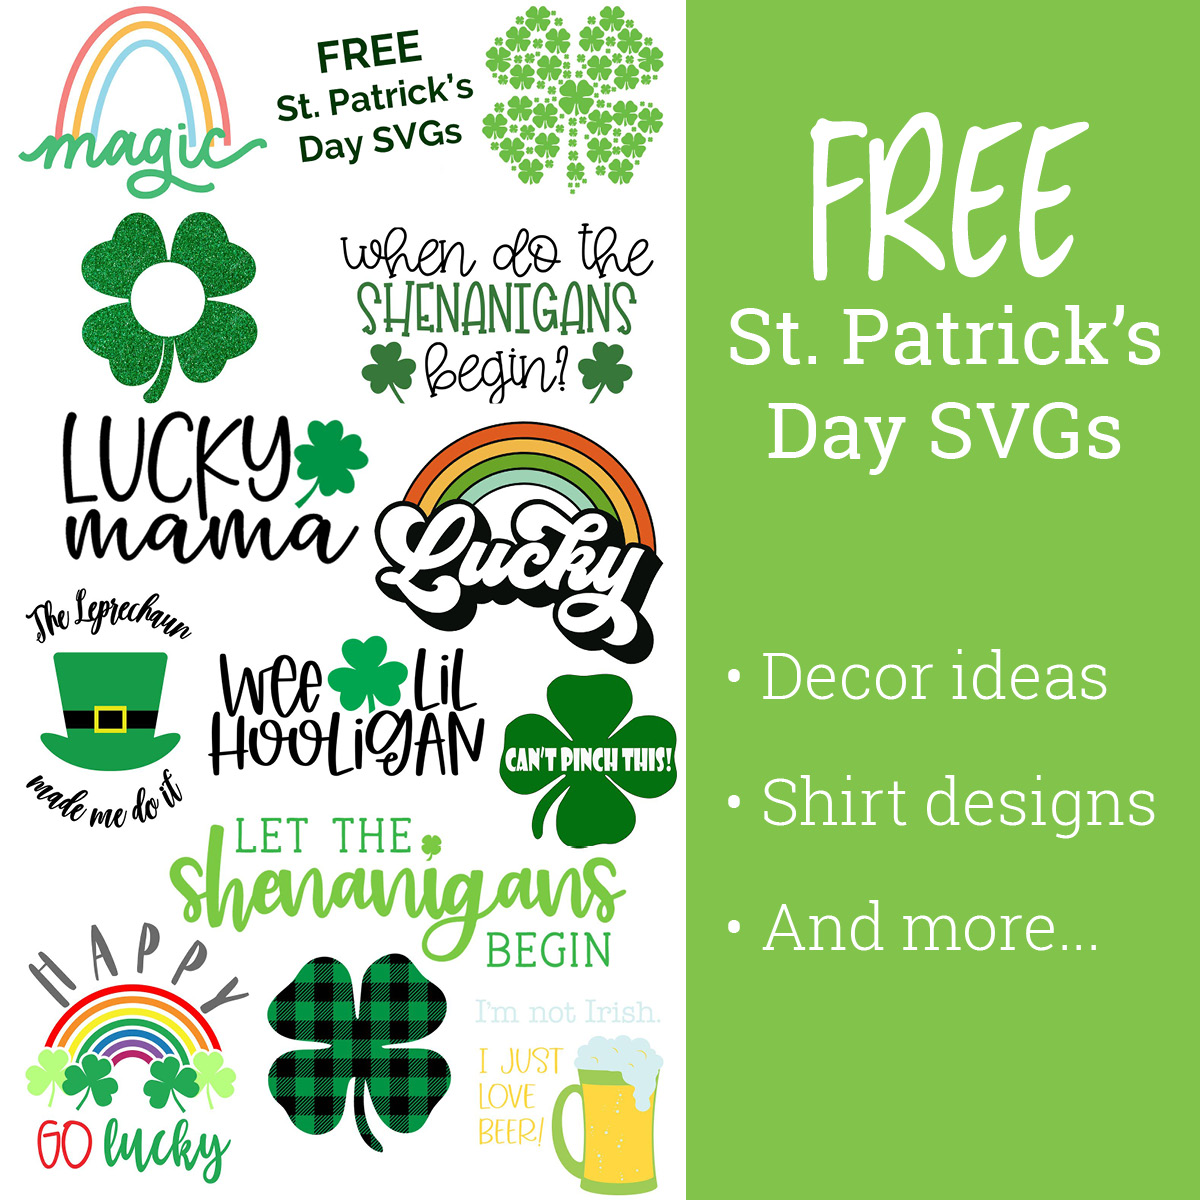
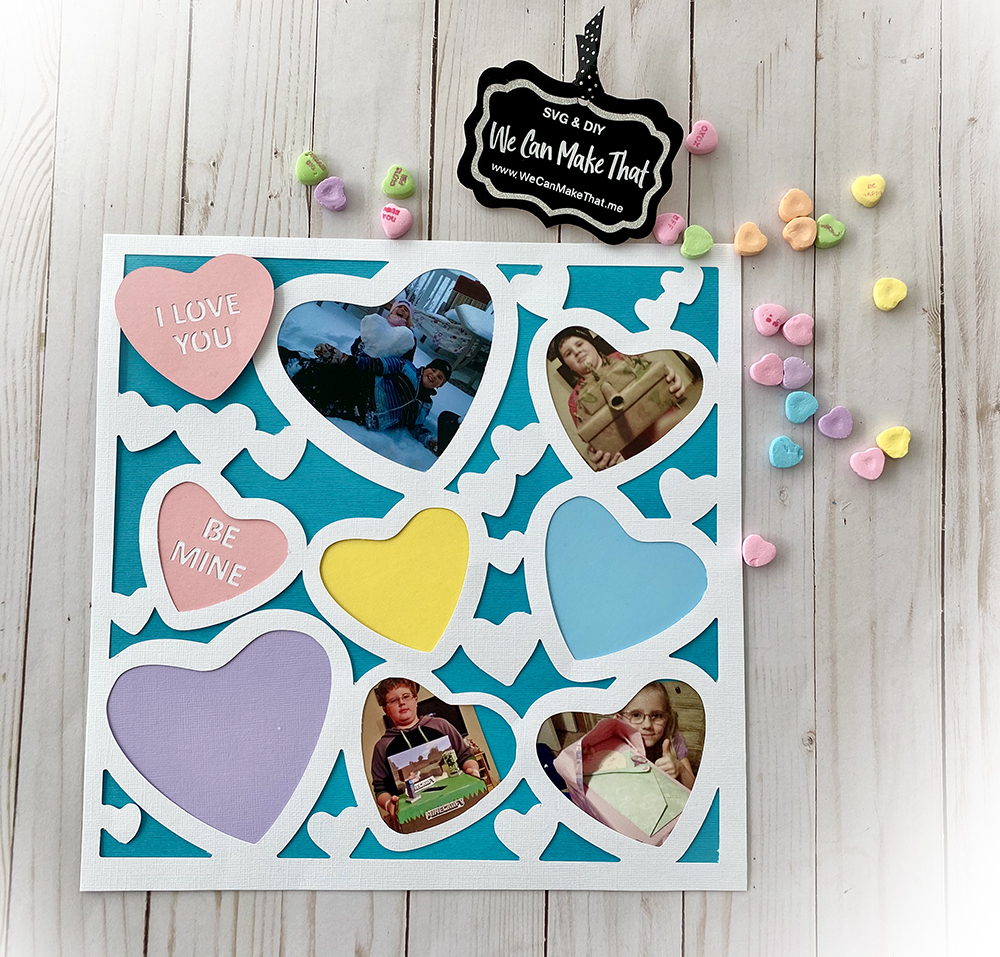
SVGs that would be cute on a Reversed Canvas!


Tools you will need

Video steps on how to make a reversed canvas sign:
The steps are shown here on a Facebook Live I did if you don’t feel like reading through the post.

4 Steps to make a reversed canvas sign:
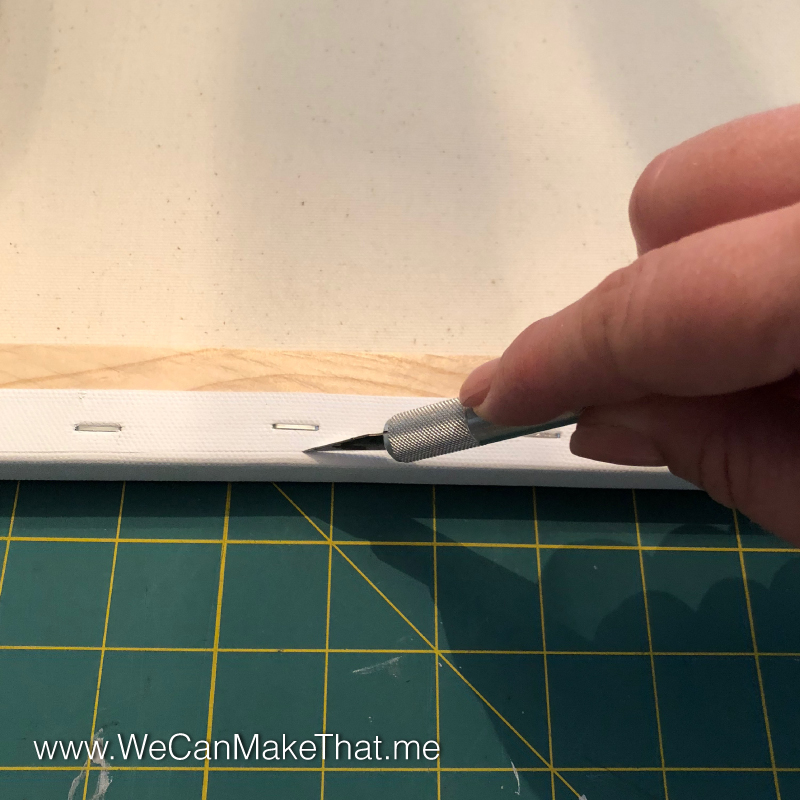
1). Remove the Wrapped Canvas
To get started, you will need to carefully remove the canvas from the frame. I did this by using an X-Acto knife to cut very close to the staples. By doing this, I could remove the canvas without tearing it or needing to pry out every existing staple. I have seen other crafters use a butter knife or pliers to remove each staple but… who has time for that!?
I find trimming the canvas to be much easier, and the staples will be hidden on the back, so you get the same result using either method.

Once I removed all the canvas, I used white spray paint to paint the frames and went over a few edges to give them a rustic look. You can paint the frame in any color that compliments your design of this DIY.
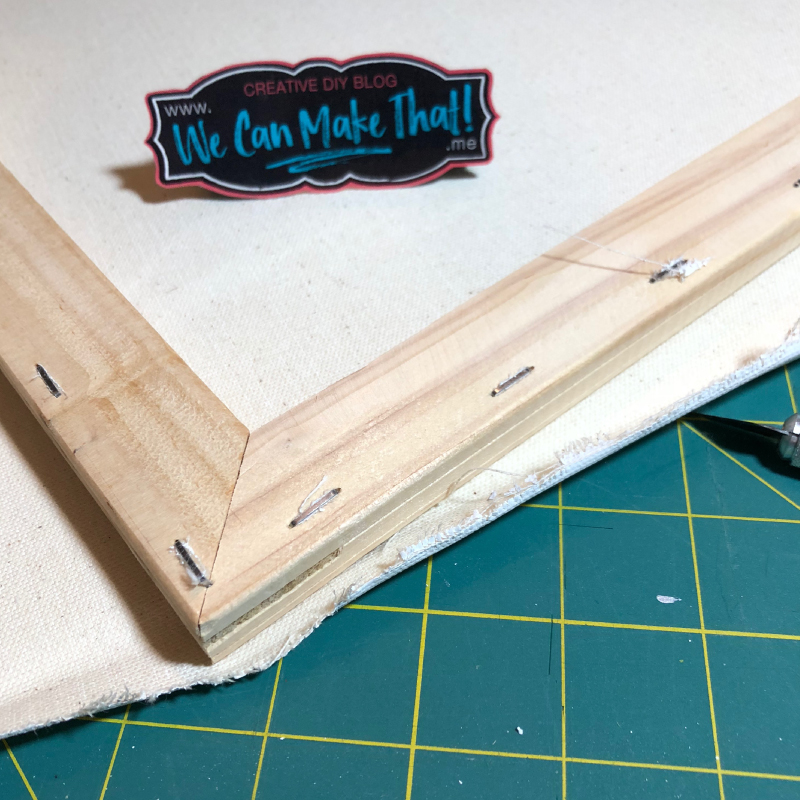
2) Trim & Restaple the Canvas to Fit
In the second step in how to make a reversed canvas sign, you will need to trim the canvas to sit inside the frame. Be sure to leave enough room to staple the canvas inside the back of the frame! I used the existing fold line to guide where I made my cuts. I aimed to cut about a ¼ to ½ inch from the fold line.
I like the unfinished canvas look, so I decided to use the rough side of the canvas. If you like the look of the white canvas, using the finished side is an option too, but I don’t know if the iron-on would work for the glossy side.

Place your frame face down on your workspace and place your cut canvas on top. The matte unfinished side of the canvas should be facing down (if that’s the side you want to see). Using my staple gun, I placed the staples along the edge of the canvas about 2-3 inches apart.
I like to place the staples across one side and then work my way across the opposite side, pulling the canvas tight as I go.
3) Apply Your Iron-on
Once your canvas is in place it’s time to place your vinyl!
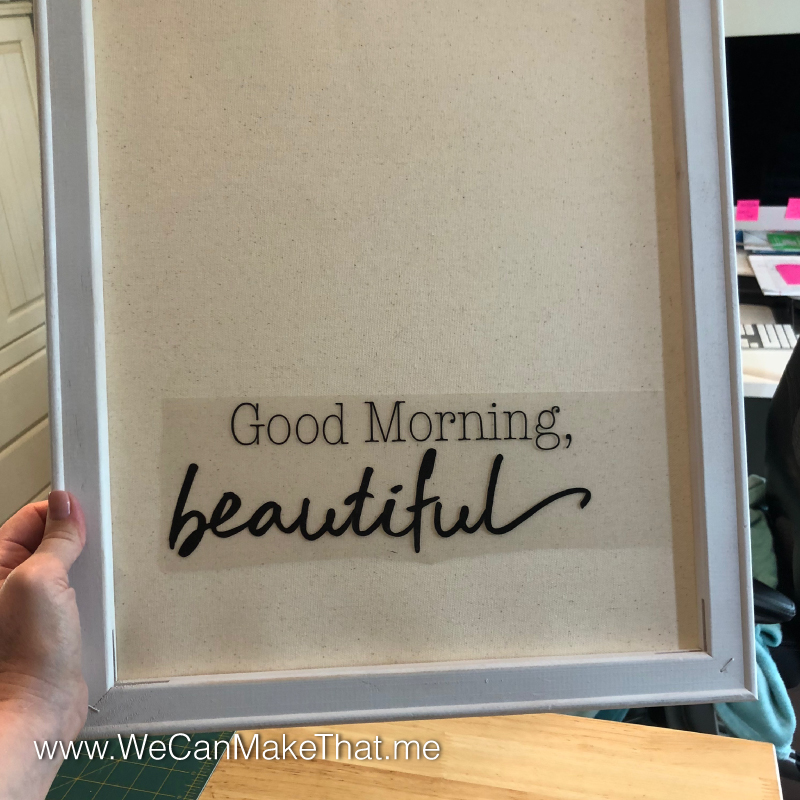
Your image will need to be cut out mirrored onto the adhesive side of the vinyl so that when you place it down to iron it onto your canvas, it reads the right way.
Use a ruler to measure from the baseline of your font to the frame’s edge to line up your graphic evenly. With some fonts, this can be tricky!

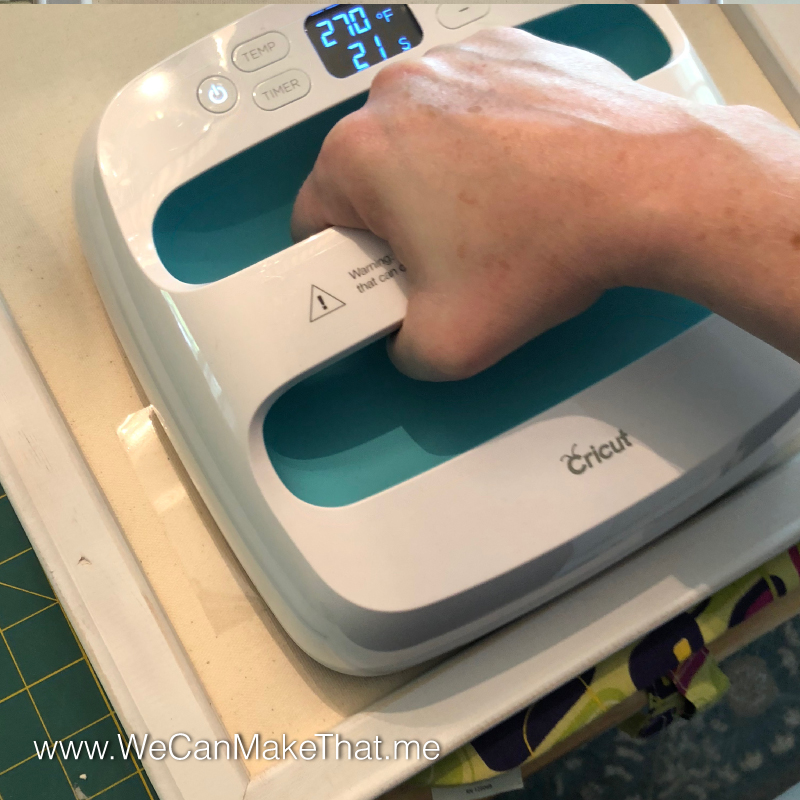
If you are using a Circuit EasyPress, you will need to set it to 270° and let it heat up. With this tool, I applied the heat and some pressure for about 30 seconds over the whole graphic. Gently peel up the images’ plastic while hot, and there you have it! Well, almost!…
4) Hang Your Signs
Don’t forget to add a hanger to the back!

I added little sawtooth canvas hangers to make it much easier to hang these frames evenly. I simply measured to the middle of the fame and centered the hanger.
These nails tend to be very small and it’s hard to hammer them and not hit your fingers! I find holding the nail with a pair of needle-nose pliers helps save my fingers.
If you don’t have any sawtooth hangers, you can always make a loop out of string and hot glue them in the center.
That’s it. All done, you now know how to make a reversed canvas sign and your work is ready to hang or give as an amazing gift!

IDEA: These make amazing baby gifts. Paint the wood a fun color to match the nursery. Pick your favorite font (I love using Creative Market!) and do a simple reversed canvas sign using their name. They can be any size to fit their new room = the new parents will LOVE IT!
Did you give it a try?? I’d love to see them! Feel free to share your version on our Facebook page!


I can’t wait to try this. Is it possible to use the pen and draw on the canvas directly?
This is going to be my next project! Thank you for sharing 🙂
They are so easy, and so many ways you could use this idea.
This will be great for our vow renewal next month and our daughter’s wedding next year~!!!
Great idea! So many fun DIYs for weddings and vow renewals!
I am definitely going to have to try this!
This would be cute on a pillow case
Great idea! That would be adorable!
Love this idea, I always thought it was harder than it actually is. Thank you!
This is adorable! I am going to have to try and make some for my grand daughters.