Quick DIY Kitchen Decor Crafts
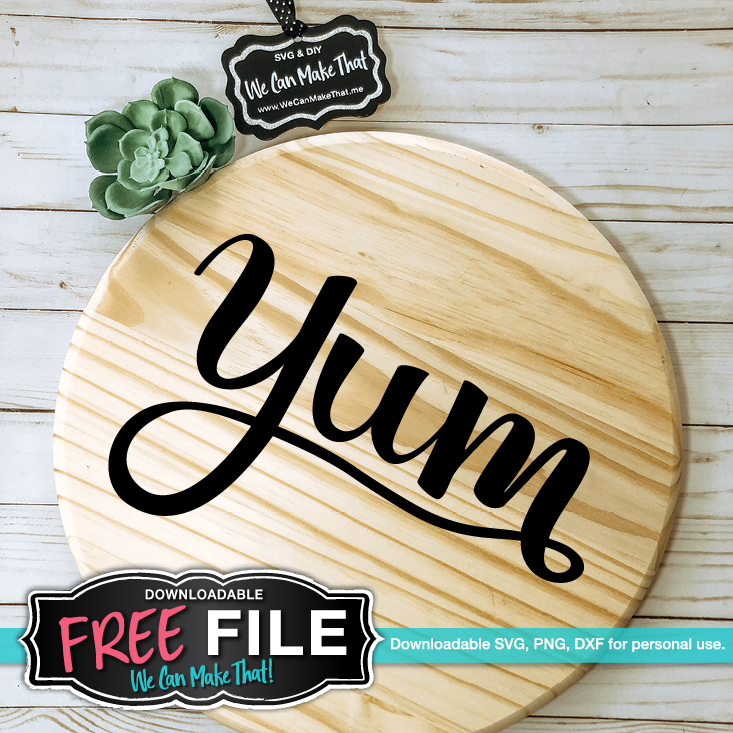
I was looking at creating some fun kitchen decor. I’ve seen “EAT” and “YUM” wall art and pictures at local decor stores. I wanted to create something similar with the letters welded so it would flow together and be easier to apply with vinyl.
Fun Kitchen Decor
Disclosure: Some links on this page are affiliate links – meaning if you click through and make a purchase I may receive a commission at no additional cost to you. For more information, read our full affiliate disclosure here.
I started with a simple script font. I then converted it to outlines and adjusted each letter in Adobe Illustrator. (I like to create thicker letters and most script/fun fonts have thin spots that won’t cut well.) I extended the scrolls at the end of the letters and welded it all together.
Now, let me show you what I made with this YUM SVG file.
Let’s get going – these are all quick decor ideas. After gathering your supplies, you can probably do them in about 10-20 minutes tops!
Kitchen SVGs for Cricut Users

Quick DIY Kitchen Decor Crafts
DIY Tray Kitchen Decor Craft with Free SVG
Supplies I Used:
- YUM Free SVG
- Cricut or personal cutter
- Tray (or frame)
- Waverly matte Chalk Paint – Agave color
- 2 Baby Forks
- Soft brush for chalk paint (foam brushes don’t work well for this)
- White Vinyl (ORACAL 631 white matte) & transfer tape
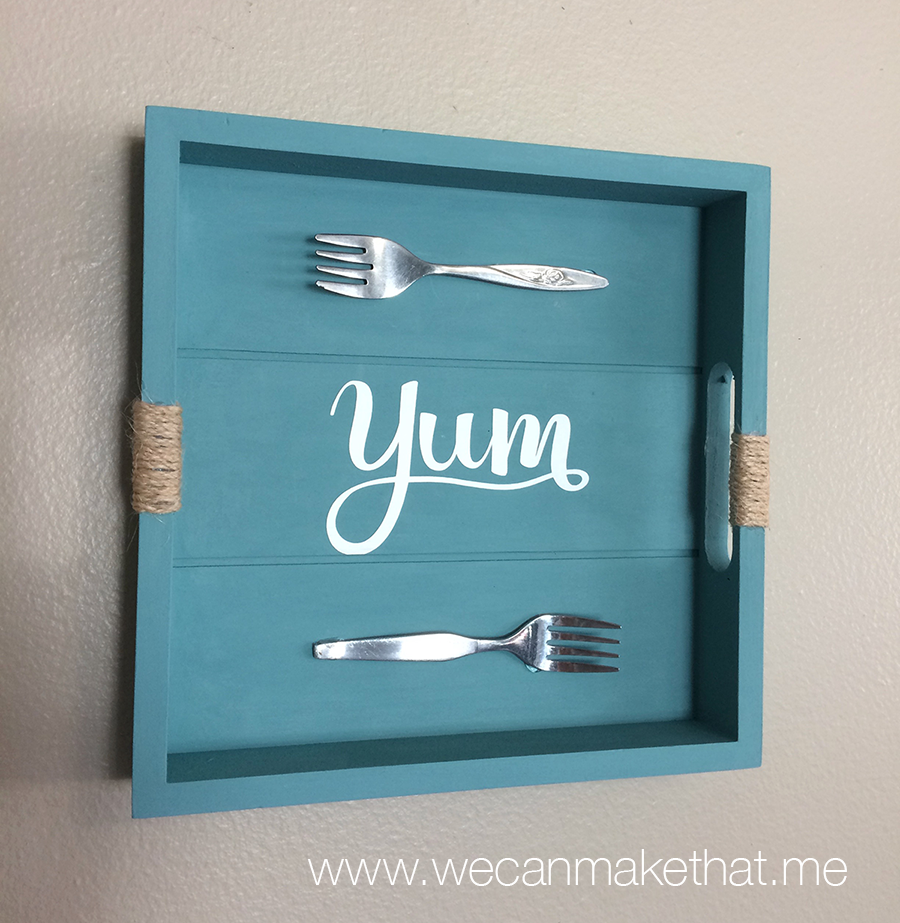
My first idea was this cute little tray (about 9-inches) I found on clearance at Hobby Lobby. I painted this one with Agave blue chalk paint (from Walmart). It took 2 coats and was painted nicely.
The small jar was under $2! {Love this Blue Color!!} Can’t wait to see it done!
I grabbed a jar of their Waverly clear coat but wasn’t impressed. I’ll stick the Rust-Oleum Chalk Protective topcoat matte clear for chalk paint. I ended up painting another coat of the Agave blue because I didn’t like the look of that Waverly clear coat.

Let this dry completely. Mine sat for more than a day. Next, I added a couple of baby forks I found at my favorite thrift store. Finish it up by adding some twine to the handles.
I created the YUM SVG and cut that to fit in the ridges. Easy enough….
Next, I added a couple of baby forks I found at my favorite thrift store. Finish it off by hot-gluing some twine to the handles.

Finished Tray
IDEA: You could also use an old frame. Be sure to mirror the Yum if you add it to the back of the glass. Or you can add it to the outside and then glue the forks on there too. Would be fun to add some material, burlap or pattern paper behind the glass too.
Kitchen SVGs for Cricut Users
10-minute DIY Kitchen Decor Craft with Free SVG
Second item: Charger plate wall hanging
Supplies I Used:
- Free SVG YUM design
- Charger Plate
- White Vinyl (ORACAL 631 white matte) & transfer tape

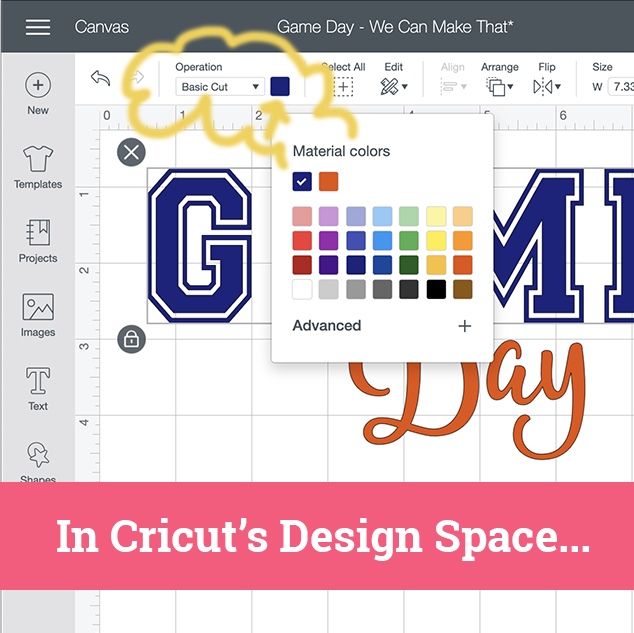
Download the free SVG YUM design for your vinyl here. Next, upload the SVG to your Design Space.
As shown, it works best to begin by using a circle shape in Design Space, the exact size as my charger’s center, to make sure the size looks good before cutting. Remember to delete the circle before you cut the “Yum” vinyl.
Be sure to set the Cricut to match your product setting. I’m doing a happy dance, I remembered to check the settings on my Cricut before I cut it this time. Yay me!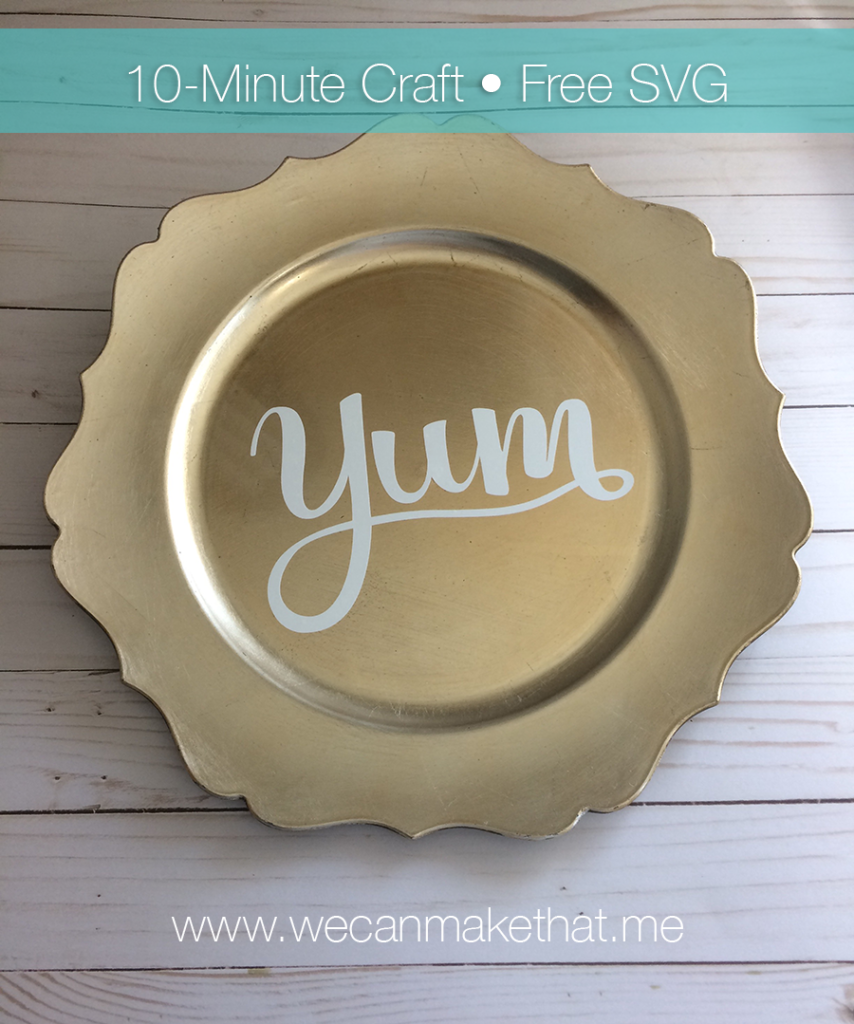
YUM charger decor 10-minute craft with FREE SVG
This was super easy and once I had the supplies gathered, it only took about 10 minutes.
That’s A Wrap! If you find something fun to add to, feel free to share and post pics in the comments! Or add them to my Facebook page.
Happy Crafting,

Share the love! The YUM design is available in my Free SVG Shop so you can download them if you want to make yourself one!






This is so cute! I love the font you used and the blue is beautiful! I may need to add this to my kitchen too!
This looks so fun! I Love it. It’s such a perfect touch to a kitchen too!
Oh I love this! Thanks for easy instructions, I would love to try this out.
This looks like the perfect craft for my fun wine-filled craft nights with girlfriends!
These are cute simple crafts! I love crafts that are easy and can be done in an afternoon or less. 😉
So simple and adorable at the same time. The baby forks are the perfect touch! Thanks for sharing this idea!!
So very Cute! Love the serving tray.