Easy to Make Peanut Butter & Jelly Costume
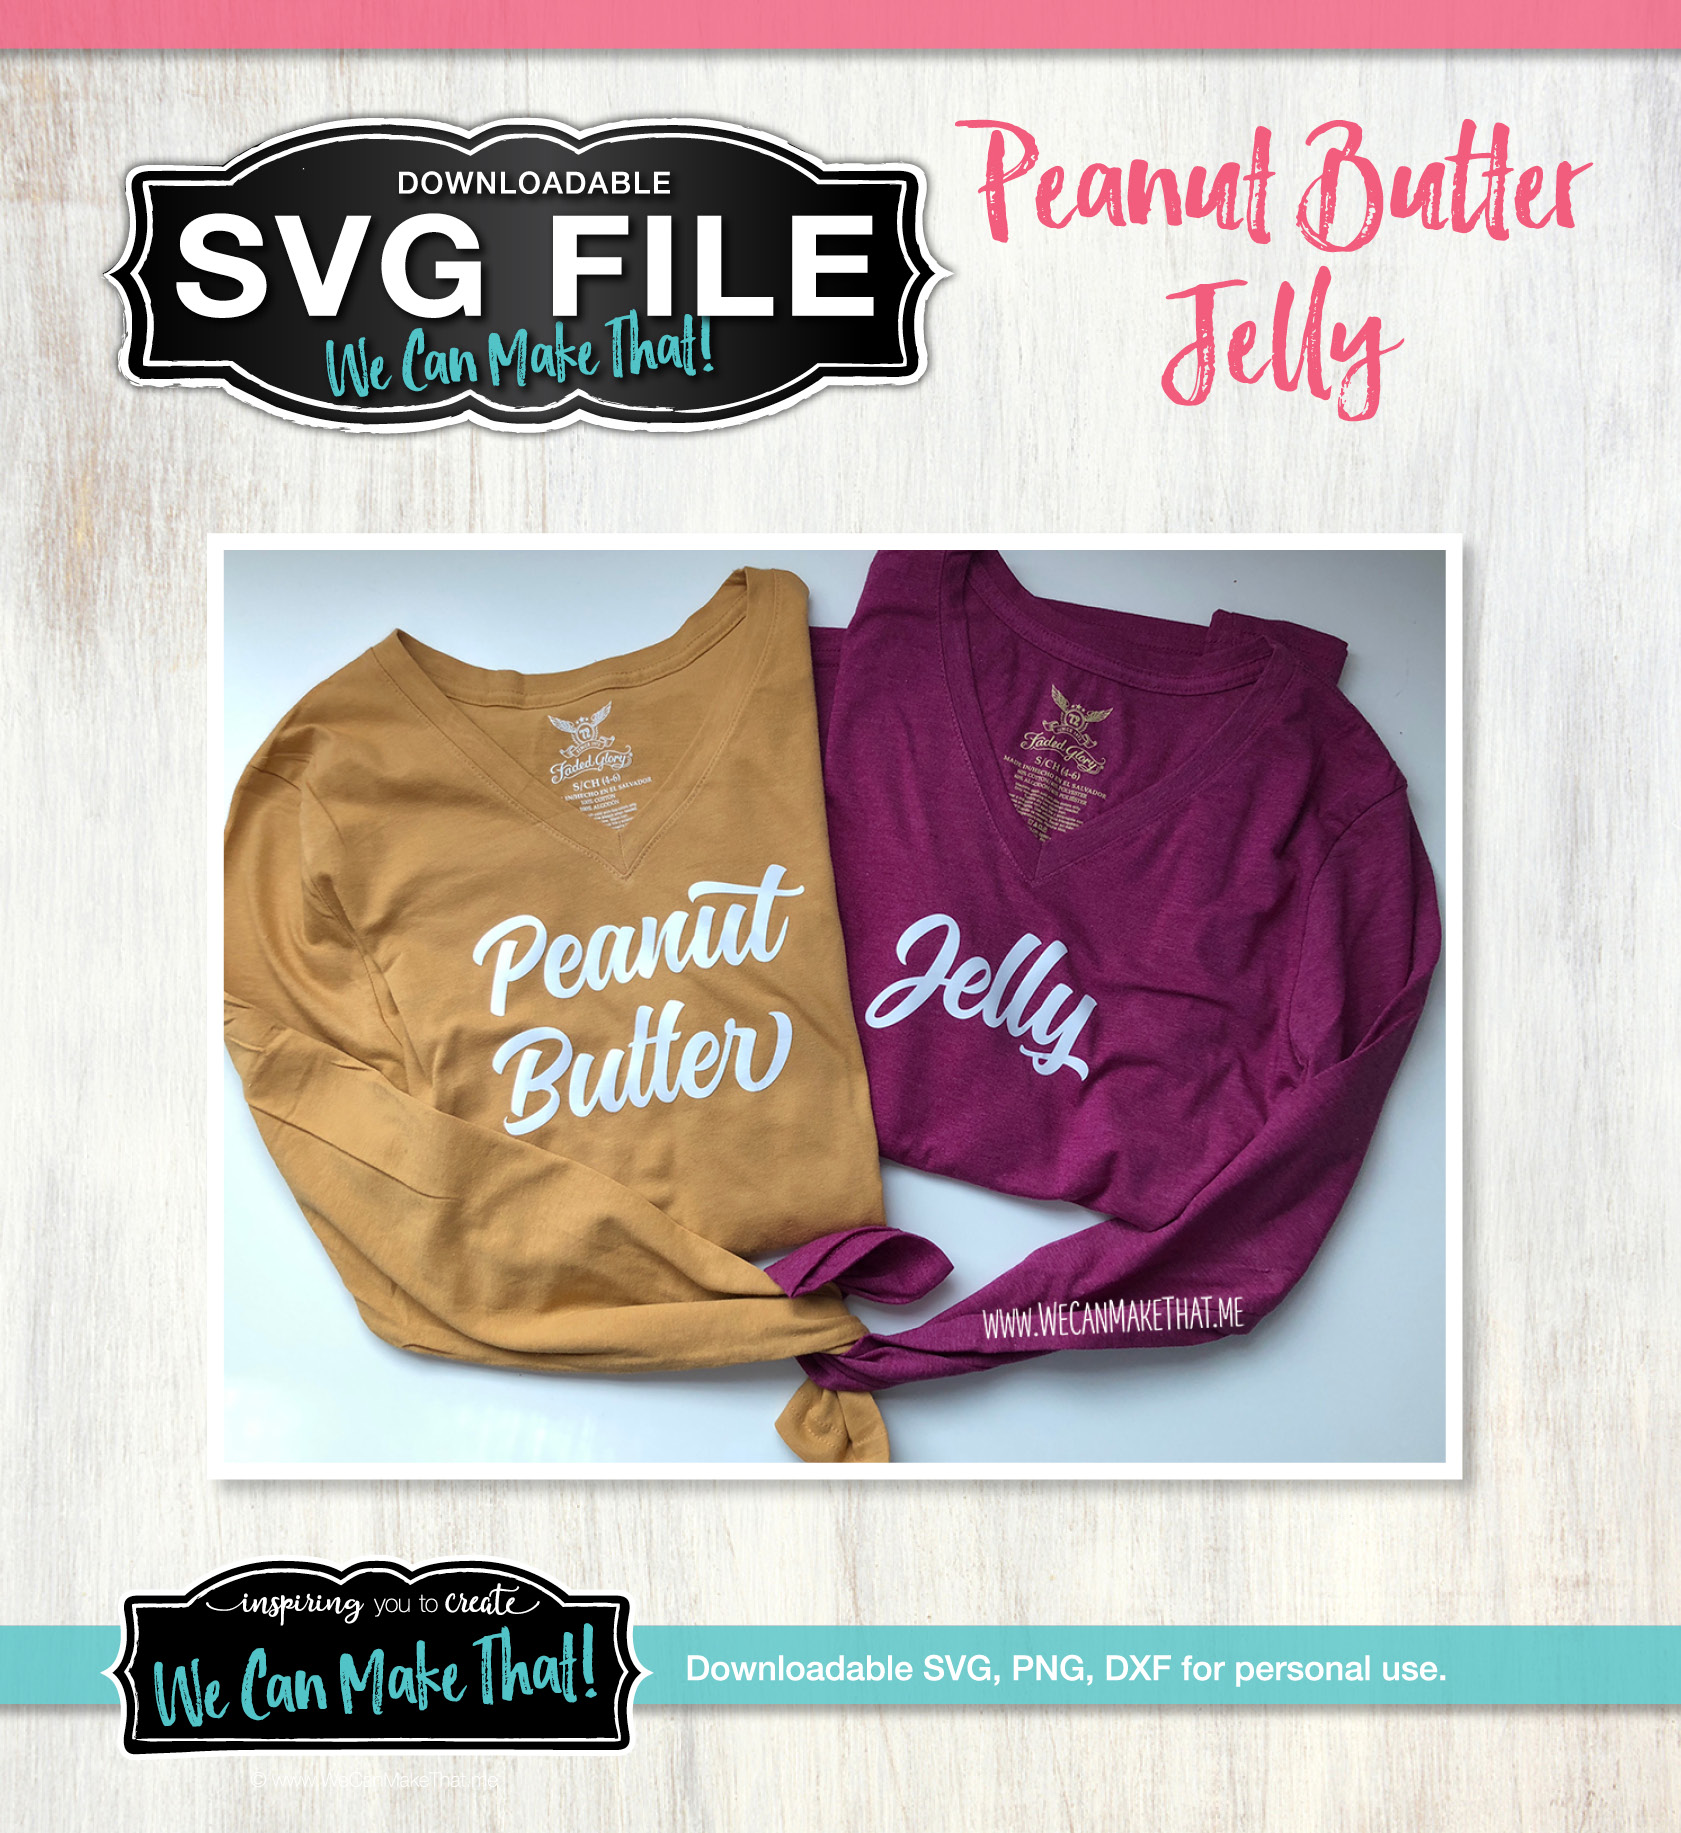
I have to say these turned out adorable! We looked all over for Peanut Butter colored shirts though. We found these two at our local Walmart. It was “Duo Day” at school, and this is Peanut Butter and Jelly Costume idea is so much cuter than any twin day outfit we could think about making. What a great teen Halloween costume idea!

Disclosure: Some links on this page are affiliate links – meaning if you click through and make a purchase I may receive a commission at no additional cost to you. For more information, read our full affiliate disclosure here.
They are so simple to make. I didn’t create an SVG to share with you because I only used the Montana font.
To make this DIY Halloween Costume easier for you to re-create, I’ve outlined the steps. If you haven’t tried iron-on yet, this is an easy place to start!!

Teen Easy Costume Idea
Once you purchase and install the Montana font linked above, check out the tips below for creating this Peanut Butter and Jelly Costume idea.
The supply list is simple for this project:
- Cricut
- Tan & Grape Jelly colored Shirts
- Peanut Butter and Jelly SVG
- Iron-On vinyl to offset the shirt colors, I used Cricut’s, Iron-on Lite

Tips for cutting the items in Cricut Design Space™“>Cricut® Design Space
- Type out your 3 words and center them. Adjust the space between ‘Peanut’ and ‘Butter’ so they are closer together.
- Use the Letter Spacing option (space between each letter) to make the letters touch.
- I used advanced and ungrouped to space things a little better.
- Don’t forget to weld the font so it cuts as one word [Bottom right panel].
- I made “Peanut Butter” about 7.5″ long, and the Jelly was the same size. (Shirts shown are size small).

Cricut Easy Press
This Peanut Butter and Jelly Halloween Costume is a simple project and I admit it was my first Cricut Easy Press project. When we saw a similar set online my first thought, as always, was We Can Make That! And so I did.
I ended up pressing the peanut butter shirt twice. I’ve made three other shirts with an iron, but now that I have the new EasyPress I hope to make lots more.
Cricut Easy Press Things to Know
First, I think it’s pretty. Yes, pretty. HA. The simple design and easy use make it a plus. I have never owned a heat press but for making themed shirts like this or fun sayings for friends or family, it’s a treat. But, with all craft items, there’s usually a Love/Hate relationship. Here’s my review of it:

Things I LOVE about the Cricut Easy Press…
- The color. Ha. Actually, I love the whole look of this puppy. I can leave it out in my office and it’s not an eyesore.
- The Guide Enclosed rocks! There’s a quick guide enclosed with basic settings. This makes it so easy to jump in and crank out this set of shirts in 20 minutes.
- Size. No more pressing the shirt in 3-5 sections as the front imprint is usually about the size of the plate.
- Simplicity. The front panel isn’t full of options, so you just set the temp and the timer, and away we go!

Things I don’t LOVE about the Cricut Easy Press…
- {Hold on, I’m thinking….}
- I am going to the say the price. It does make it easier to press smaller orders but then again everything cost too much for crafting hobbies! I’m glad I bought mine.
- I have found if you use a pressing pill they stay on better. After a bit of practice and playing with different vinyl, I have found it easier than an iron.
I pressed the peanut butter image twice, for 30 seconds at 305° for this one.
Happy Crafting!

Let’s Connect on Social Media



Very Cute project/costume!!